Meters / Gauges / Display
Clock
In this manual: Meters / Gauges / Display
~1min read
Components
COMPONENTS
ILLUSTRATION
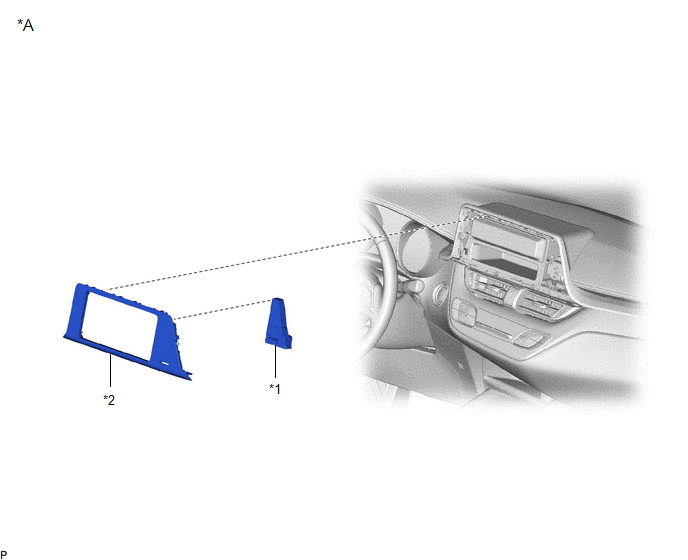
*A |
without Display |
- |
- |
*1 |
INSTRUMENT PANEL ASSEMBLY |
*2 |
CENTER INSTRUMENT PANEL FINISH PANEL SUB-ASSEMBLY |
ILLUSTRATION
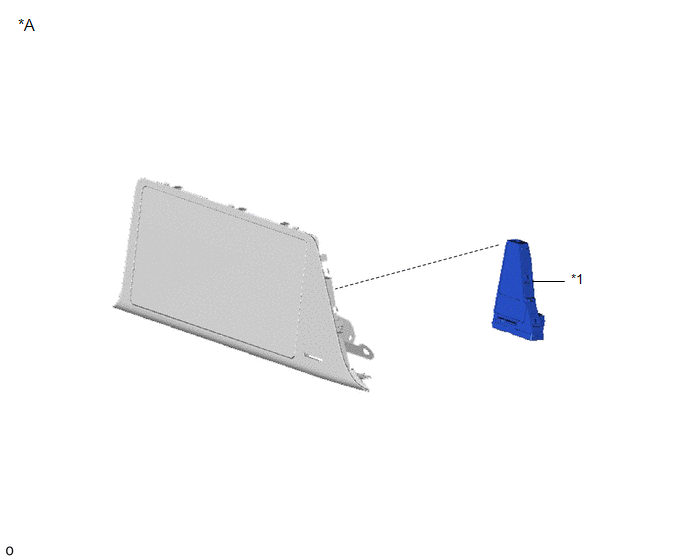
*A |
with Display |
- |
- |
*1 |
INSTRUMENT PANEL ASSEMBLY |
- |
- |
Removal
REMOVAL
PROCEDURE
1. REMOVE CENTER COMBINATION METER FINISH PANEL SUB-ASSEMBLY (without Display)
Click here
2. REMOVE RADIO AND DISPLAY RECEIVER ASSEMBLY WITH BRACKET (with Display)
Click here
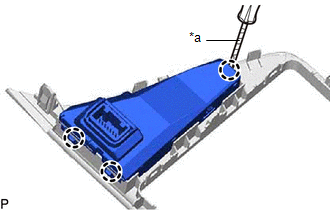
3. REMOVE CLOCK ASSEMBLY
(a) Using a screwdriver with its tip wrapped in protective tape, release the claws to remove the clock assembly. |
|
Installation
INSTALLATION
PROCEDURE
1. INSTALL CLOCK ASSEMBLY
(a) Engage the claws to install the clock assembly. |
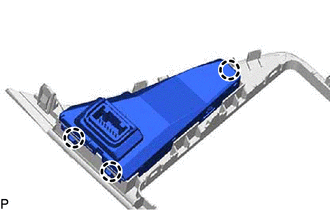 |
2. INSTALL CENTER COMBINATION METER FINISH PANEL SUB-ASSEMBLY (without Display)
Click here
3. INSTALL RADIO AND DISPLAY RECEIVER ASSEMBLY WITH BRACKET (with Display)
Click here
Was this page helpful?