Light Control Rheostat
Components
COMPONENTS
ILLUSTRATION
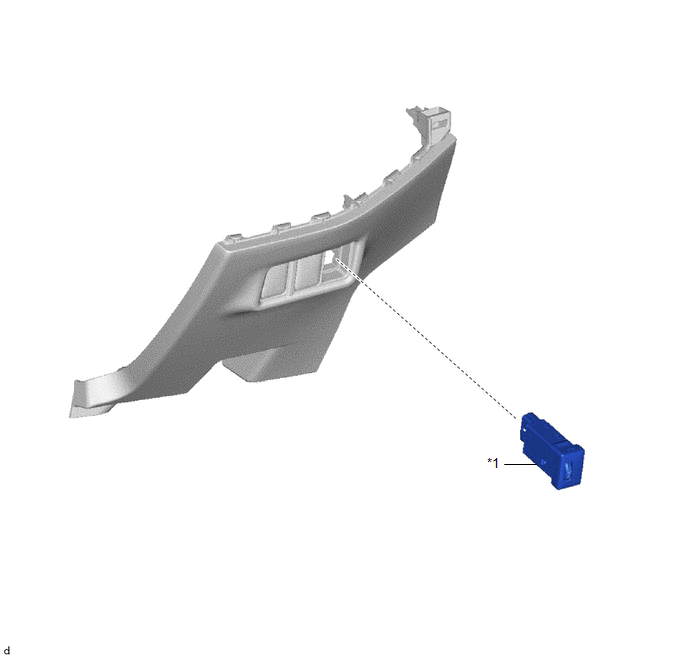
*1 |
LIGHT CONTROL RHEOSTAT |
- |
- |
Inspection
INSPECTION
PROCEDURE
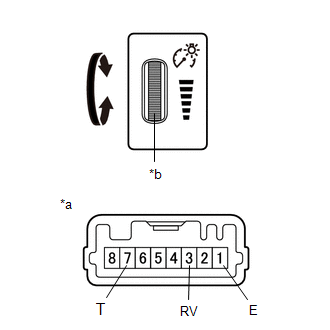
1. INSPECT LIGHT CONTROL RHEOSTAT
(a) Inspect the light control rheostat. (1) Measure the resistance according to the value(s) shown in the table below. Standard resistance:
If the result is not as specified, replace the light control dimmer rheostat. |
|
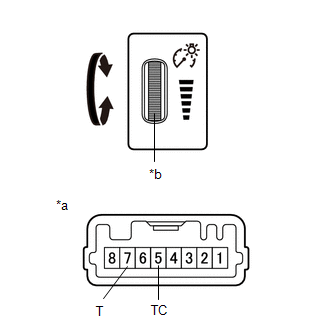
(b) Check the TAIL cancel switch. HINT: The TAIL cancel switch is built into the light control dimmer rheostat. (1) Measure the resistance according to the value(s) shown in the table below. Standard resistance:
If the result is not as specified, replace the light control dimmer rheostat. |
|
Removal
REMOVAL
PROCEDURE
1. REMOVE FUSE BOX COVER
Click here
2. REMOVE LIGHT CONTROL DIMMER RHEOSTAT
(a) Release the claws to remove the light control dimmer rheostat, as shown in the illustration.
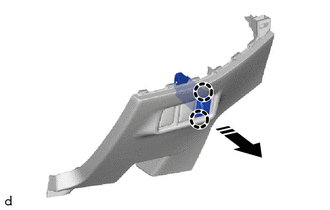
 |
Remove in this direction |
Installation
INSTALLATION
PROCEDURE
1. INSTALL LIGHT CONTROL DIMMER RHEOSTAT
(a) Engage the claws to install the light control dimmer rheostat, as shown in the illustration.
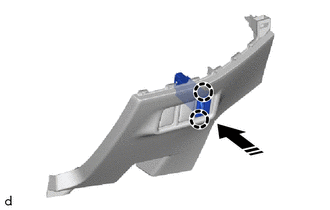
 |
Install in this direction |
2. INSTALL FUSE BLOCK OPENING COVER
Click here