Air Fuel Ratio Sensor
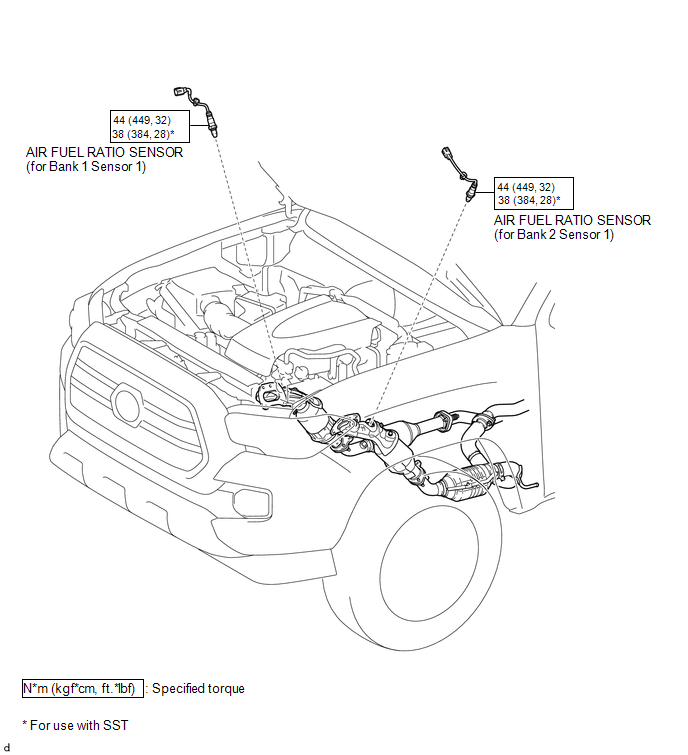 Removal REMOVAL PROCEDURE
1. REMOVE AIR FUEL RATIO SENSOR (for Bank 1 Sensor 1)
(a) Disconnect the air fuel ratio sensor connector. |
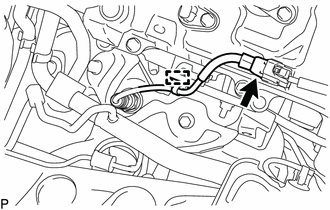 |
(b) Disengage the clamp to separate the air fuel ratio sensor wire.
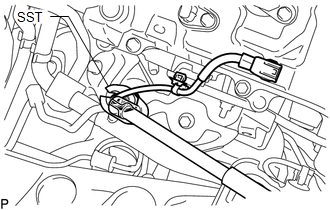
(c) Using SST, remove the air fuel ratio sensor from the exhaust manifold sub-assembly RH. SST: 09224-00011 |
 |
2. REMOVE AIR FUEL RATIO SENSOR (for Bank 2 Sensor 1)
(a) Disconnect the air fuel ratio sensor connector. |
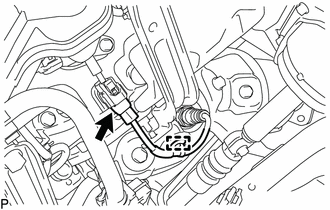 |
(b) Disengage the clamp to separate the air fuel ratio sensor wire.
(c) Using SST, remove the air fuel ratio sensor from the exhaust manifold sub-assembly LH. SST: 09224-00011 |
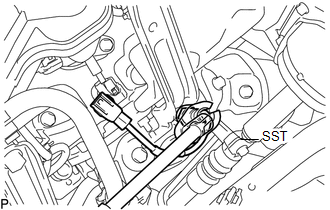 |
1. INSPECT AIR FUEL RATIO SENSOR
(a) Measure the resistance according to the value(s) in the table below. Text in Illustration
Standard Resistance (for Bank 1 Sensor 1):
Standard Resistance (for Bank 2 Sensor 1):
If the result is not as specified, replace the air fuel ratio sensor. |
 |
1. INSTALL AIR FUEL RATIO SENSOR (for Bank 1 Sensor 1)
HINT:
Perform "Inspection After Repair" after replacing the air fuel ratio sensor (See page  ).
(a) Using SST, install the air fuel ratio sensor to the exhaust manifold sub-assembly RH. Text in Illustration
SST: 09224-00011 Torque: Specified tightening torque : 44 N·m {449 kgf·cm, 32 ft·lbf} HINT:
|
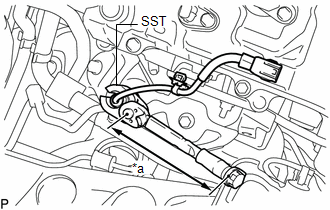 |
(b) Engage the clamp to install the air fuel ratio sensor wire.
(c) Connect the air fuel ratio sensor connector.
2. INSTALL AIR FUEL RATIO SENSOR (for Bank 2 Sensor 1)
HINT:
Perform "Inspection After Repair" after replacing the air fuel ratio sensor (See page ).
(a) Using SST, install the air fuel ratio sensor to the exhaust manifold sub-assembly LH. Text in Illustration
SST: 09224-00011 Torque: Specified tightening torque : 44 N·m {449 kgf·cm, 32 ft·lbf} HINT:
|
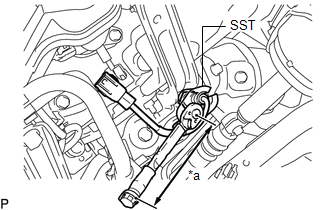 |
(b) Engage the clamp to install the air fuel ratio sensor wire.
(c) Connect the air fuel ratio sensor connector.
Test yourself
A quick Toyota Tacoma quiz: every answer comes with an explanation and a link to the manual page.