Removal
REMOVALHINT:
Standard heating temperature:
NOTICE: Do not heat the vehicle body, moulding and clip excessively. PROCEDURE1. REMOVE REAR ROOF DRIP SIDE FINISH MOULDING LH 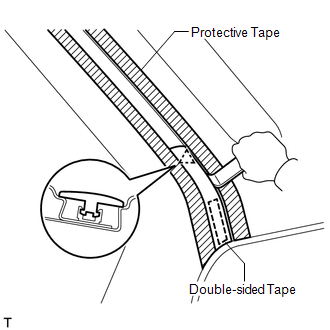
(a) Put protective tape around the moulding. (b) Using a heat light, heat the moulding. NOTICE: Do not heat the moulding and vehicle body excessively. (c) Using a moulding remover, detach the clip and remove the moulding. NOTICE:
2. REMOVE ROOF DRIP SIDE FINISH MOULDING LH (a) Put protective tape around the moulding. (b) Using a moulding remover, detach the clip and remove the moulding. NOTICE:
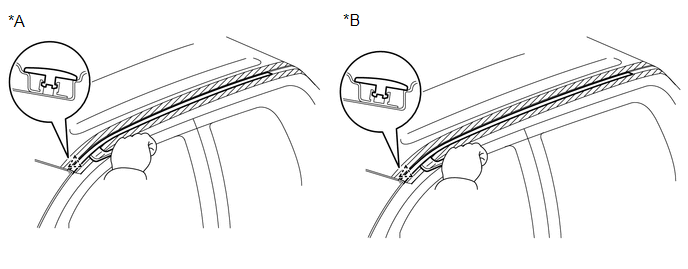
3. REMOVE ROOF DRIP SIDE FINISH MOULDING CLIP HINT: Perform the following procedure only if the clips are damaged or have come off the vehicle. (a) Remove the 2 roof drip side finish moulding clips. 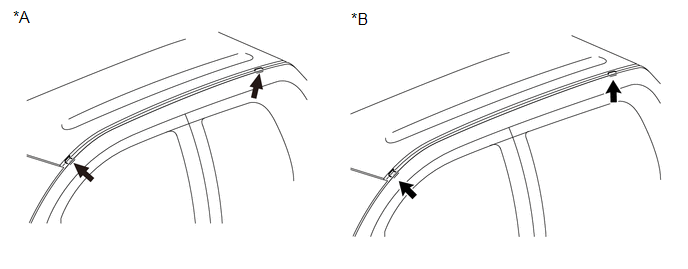
|
