General body repairs, interior
Removing and installing front door trim
In this manual: General body repairs, interior
~2min read
 Note
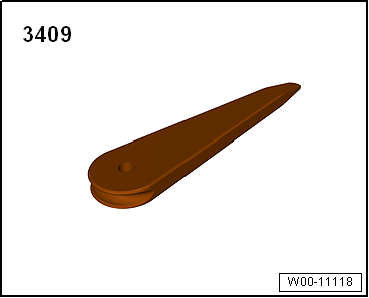
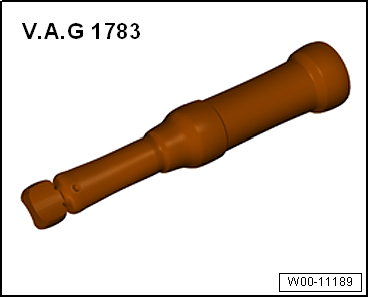
Special tools and workshop equipment required |
|
|
Removing
|
|
|
 |
|
 |
|
 |
|
 |
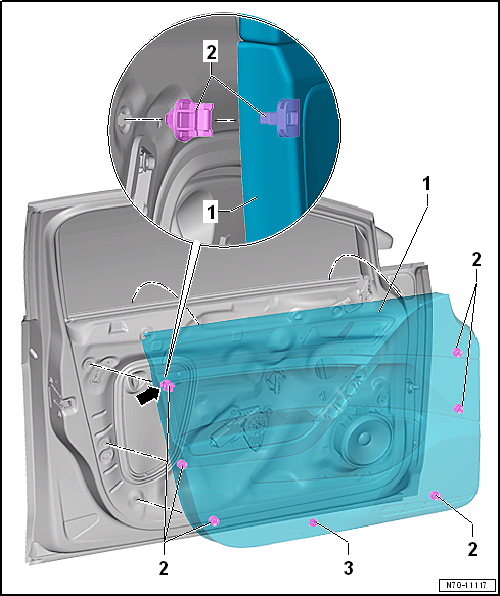
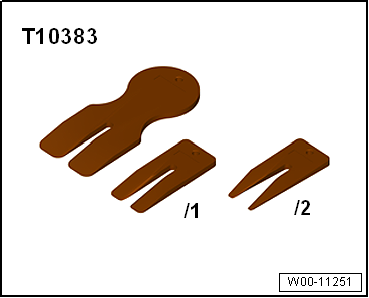
- Force retaining clips -2- of door trim -1- out of mountings with wedges -T10383-. Clip -3- has already been released.
Note
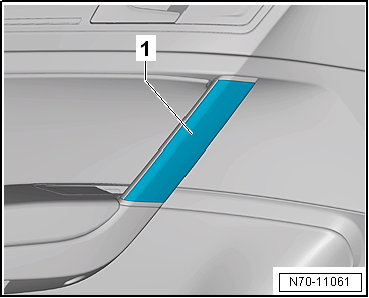
On 4-door and estate models, the upper left clip -arrow- is a crash clip. The crash clip is released automatically when the door trim is detached from the window slot seal. On 2-door models have no crash clips installed. All door trim clips must be released as described.
 Caution If the door trim is removed vertically upwards out of the window slot seal, ensure that the door trim is not damaged by colliding with the mirror cover trim. |
- Pull door trim -1- upwards vertically out of window slot seal. On 4-door and estate models, the crash clip -arrow- is released automatically while doing so.
- Disconnect the electrical plug-in connections from the door trim -1- in accordance with the vehicle's equipment.
Installing Note
Before installing, check all fasteners for damage and renew if necessary.Install in reverse order, but note the following:
|
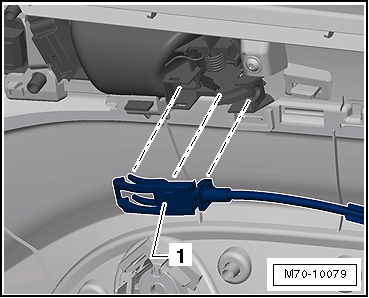 |
| Caution Before installing door trim, ensure that the locking mechanisms of all clips are in -position 1-. It is not possible to install the door trim without problem if clips are in -position 2-! |
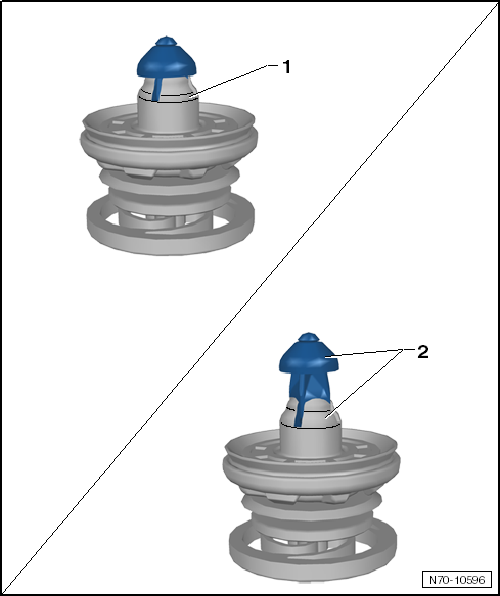
Specified torques
|
Test yourself
A quick Volkswagen Golf quiz: every answer comes with an explanation and a link to the manual page.
Was this page helpful?