General body repairs, exterior
Removing and installing wing
In this manual: General body repairs, exterior
~1min read
Special tools and workshop equipment required |
|
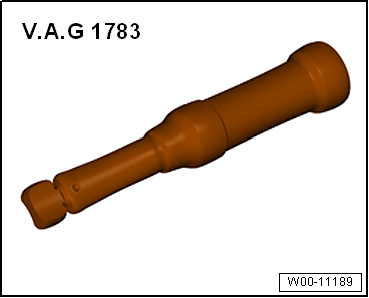
Removing
 Note Removal and installation are described only for the left wing. Removal and installation of the right wing are similar.
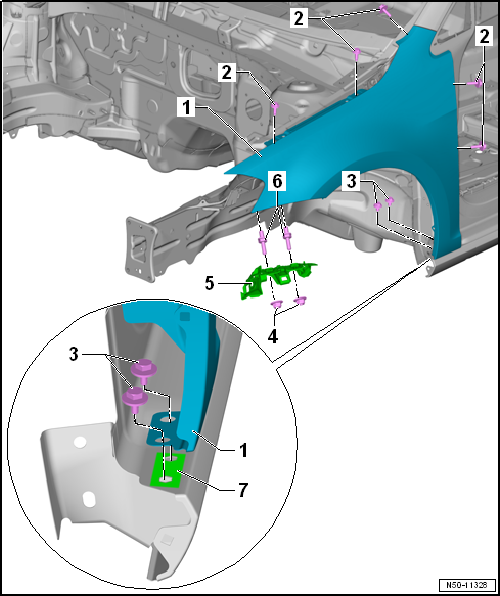
- Remove front wheel housing liner → Chapter.
- Remove front bumper cover → Chapter.
- Remove headlights → Vehicle electrics; Rep. gr.94
- Removing left plenum chamber cover → Chapter.
- Remove water deflector → Chapter.
- Unscrew hexagon nut -4- and remove guide bracket -5-.
- Wing insulation → Item.
- Remove insulation for rib section → Item.
- Remove centre hex studs -6-.
- Remove bolts -2- and -3-
- Remove wing -1- carefully.
Note The zinc intermediate piece -AKL 381 035 50--7- (if there is one) will be damaged during removal. Installing |
Note Install wing -1- without subjecting it to tensile stress.
Install in the reverse order of removal observing the following:
- Wing is aligned free of stress with wing bracket loosened → Chapter.
- Always insert zinc intermediate piece -AKL 381 035 50--7- between wing and side member.
- Ensure joints are parallel and shut lines are equal → Rep. gr.00.
Specified torques
| Wing → Chapter „Assembly overview - wing“ |
Test yourself
A quick Volkswagen Golf quiz: every answer comes with an explanation and a link to the manual page.
Was this page helpful?