Wires with Cross Section up to 0.35 mm 2, Repairing
In this manual: Wiring
~2min read
Special tools and workshop equipment required
Crimping Pliers - .35-2.5mm -VAS1978/1A-
Wiring Harness Repair - Crimping Head - .35-2.5mm -VAS1978/1-1-
When repairing wires with a cross-section up to 0.35 mm2, new contacts must always be crimped on using the Crimping Pliers - JPT -VAS1978/9A- or the Wiring Harness Repair - Crimping Plier - Base Tool -VAS1978/1-2- with the Wiring Harness Repair Set - Crimping Head - JPT -VAS1978/9-1- installed. Due to the low current strengths of these wires in the micro- to milli- range, contacts crimped on incorrectly lead to continuity resistances and cause malfunctions or failure of the respective system. The most frequent applications of these contacts are
Heated Oxygen Sensor
RPM sensor
Mass Airflow Sensor
By using the Crimping Pliers - JPT -VAS1978/9A- or the Wiring Harness Repair - Crimping Plier - Base Tool -VAS1978/1-2- with the Wiring Harness Repair Set - Crimping Head - JPT -VAS1978/9-1- installed, the correct connection between crimp contact, wire and single wire seal is guaranteed. The tool is to be used only for the purpose described. Note Contacts in a normal and a gold-plated version are crimped onto repair wires. The same version of the contact that was installed at the factory must always be used for repairs.
Crimping A New Contact with Single Wire Seal
Insert the Wiring Harness Repair Set - Crimping Head - JPT -VAS1978/9-1- into the Wiring Harness Repair - Crimping Plier - Base Tool -VAS1978/1-2-. Refer to → Chapter „Crimping Pliers - .35-2.5mm -VAS1978/1A-“.
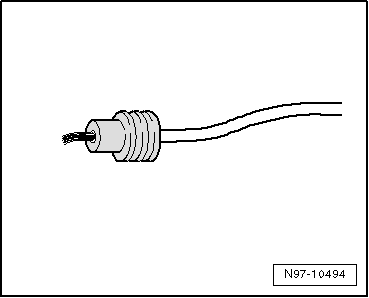
Place the single wire seal onto the repair wire.
Note When doing this, the smaller diameter of single wire seal must be facing in the direction of the contact to be crimped on.
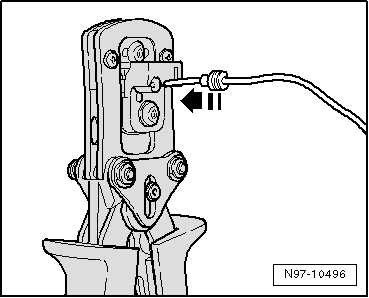
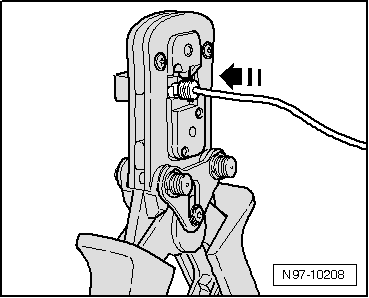
Open crimp pliers and place the repair wire end into stripping slot of crimp pliers.
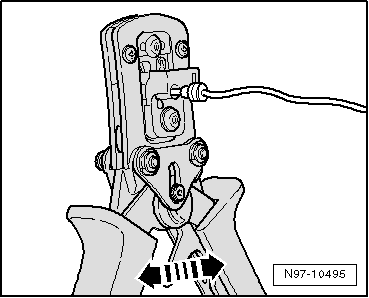
Close crimp pliers completely.
Open crimp pliers again and remove the stripped wire end.
Slide single wire seal in direction of stripped wire end until it rests flush with the wire insulation.
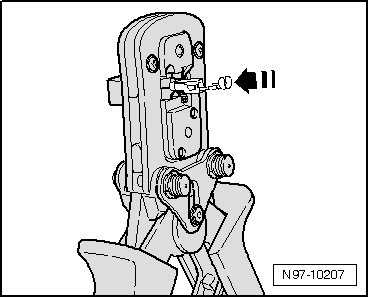
Place new crimp contact into mount on crimp pliers.
Insert the stripped wire end with positioned single wire seal into crimp contact until it makes contact on “wire stop”.
Crimp the contact, wire and single wire seal by closing crimp pliers completely.
Open crimp pliers again and remove the finished crimped-on contact.
A correctly performed crimp is distinguished by a clean compression of wire and single wire seal in the contact and has an impression on the rear side which identifies that the crimp was performed by a professional using the correct tool.
?
Test yourself
A quick Volkswagen Polo quiz: every answer comes with an explanation and a link to the manual page.
 Note Contacts in a normal and a gold-plated version are crimped onto repair wires. The same version of the contact that was installed at the factory must always be used for repairs.