Drive Shaft Disassembly
Disassembly Notes
PROCEDURE
1. Remove the shaft and clamp it in a vise. Protect the shaft with aluminum pads.
2. Mark the edge of the protective boot on the shaft so that the boot can be returned to its original position during assembly.
3. Cut the clamps on both protective boots with side cutters and remove them. Slide the boot back.
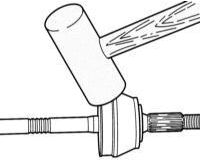
4. Outer joint: Remove the joint from the shaft with a strong blow from a soft-faced (light metal) hammer.
5. Inner joint: Remove the snap ring with suitable pliers, for example VW-161a or HAZET 2525K. Press the joint off with a press, supporting the inner joint hub. Assembly Notes
6. When installing the protective boot on the joint housing, the boot is often compressed. Therefore, inflate the boot at the small diameter using a screwdriver.
7. Fill the joint with "AUDI G6.3" grease. Put half of the grease into the boot and the other half into the joint. The total grease quantity is given in the Specifications.
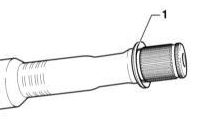
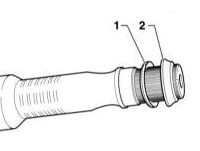
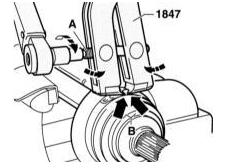
8. To tighten the clamps (alloy steel), use the tool (HAZET 1847) shown in the illustration. Otherwise, the required clamping force cannot be achieved. Position the tool so that the cutting elements are in the corners (B). In this position, tighten screw (A) with a torque wrench to 25 N·m to tension the clamp.
CAUTION
The thread of the tool must move freely. Otherwise, lubricate it beforehand with MoS2 grease.Test yourself
A quick Audi A3 quiz: every answer comes with an explanation and a link to the manual page.