Chevrolet Cruze Repair Manual
Installation Procedure
In this manual: Chevrolet Cruze Repair Manual
16steps
~96min
4/5difficulty
Done 0 of 16
- Align the rear compartment floor panel.
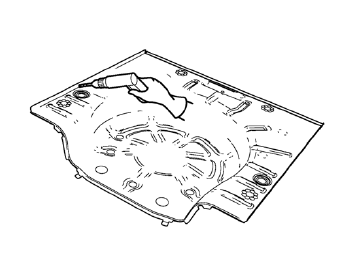
Drill 8 mm (5/16 in) for plug welding along the edges of the rear compartment floor panel as noted from the original panel.
- Clean and prepare the attaching surfaces for welding.
- Position the rear compartment floor panel on the vehicle.
- Verify the fit of the rear compartment floor panel.
- Clamp the rear compartment floor panel into position.
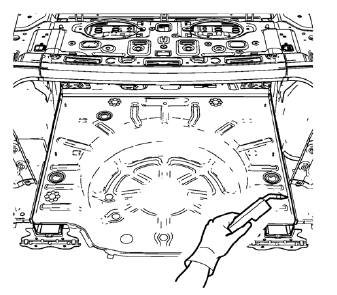
- Plug weld accordingly.
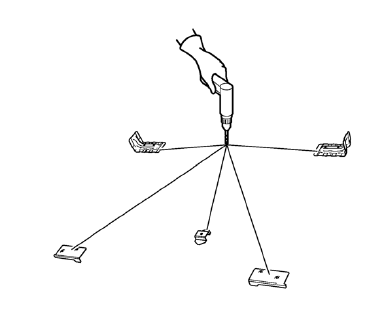
- Drill 8 mm (5/16 in) for plug welding along the edges of the floor panel rear reinforcement, the spare wheel carrier bracket and the rear wheelhouse panel rear brace as noted from the original panel.
- Clean and prepare the attaching surfaces for welding.
- Position the floor panel rear reinforcement, the spare wheel carrier bracket and the rear wheelhouse panel rear brace on the vehicle.
- Verify the fit of the floor panel rear reinforcement, the spare wheel carrier bracket and the rear wheelhouse panel rear brace.
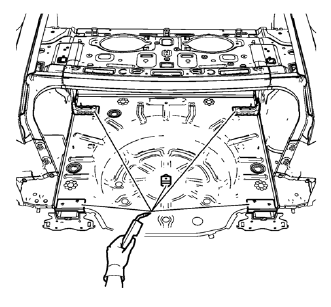
- Plug weld accordingly.
- Weld accordingly the weld studs as noted.
- Apply the sealers and anti-corrosion materials to the repair area, as necessary. Refer to Anti-Corrosion Treatment and Repair.
- Paint the repaired area. Refer to Basecoat/Clearcoat Paint Systems.
- Install all related panels and components
- Connect the negative battery cable. Refer to Battery Negative Cable Disconnection and Connection.
- Enable the SIR system. Refer to SIR Disabling and Enabling.
Test yourself
A quick Chevrolet Cruze quiz: every answer comes with an explanation and a link to the manual page.
Was this page helpful?