Removal and Installation — Lower Arm
Special Service Tools / General Equipment
Vehicle/Axle Stands
Removal
NOTICE: Suspension fasteners are critical parts that affect the performance of vital components and systems. Failure of these fasteners may result in major service expense. Use the same or equivalent parts if replacement is necessary. Do not use a replacement part of lesser quality or substitute design. Tighten fasteners as specified.
- Remove the wheel and tire.
Refer to: Wheels and Tires (204-04A Wheels and Tires, Removal and Installation). - If equipped.
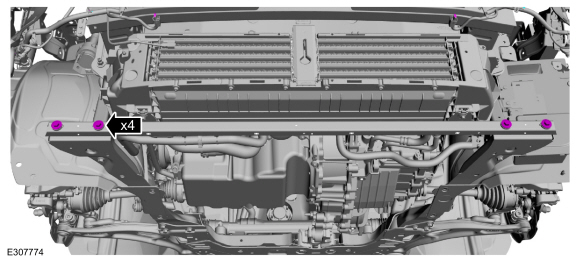
Remove the bolts and the front engine undershield.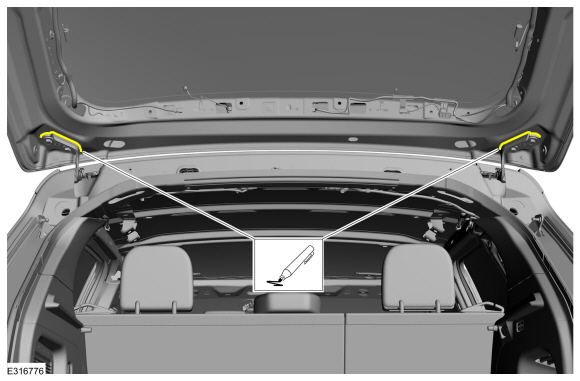
- If equipped, both sides.
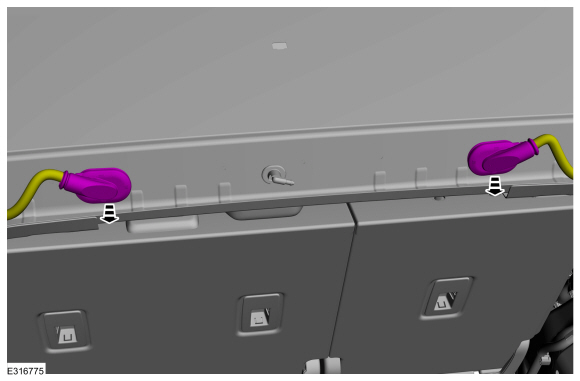
Remove the bolt and disconnect the ride height sensor from the front lower arm.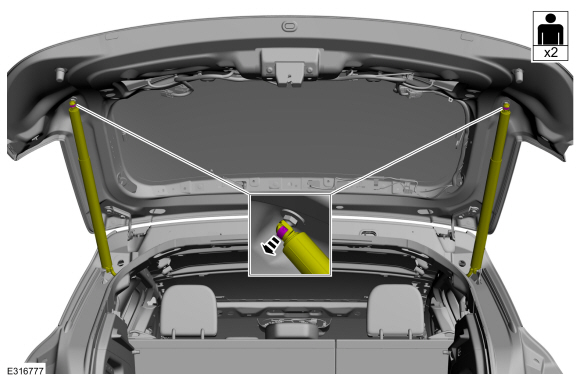
NOTICE: Do not use a pry bar to open the slot in the steering knuckle to separate the lower ball joint from the steering knuckle assembly. Damage to the steering knuckle assembly may occur.
NOTICE: Do not use a pry bar or separator fork between the ball joint and steering knuckle. Damage to the ball joint or ball joint seal may occur. Use a pry bar only by inserting it into the lower arm housing hole.
NOTICE: Be careful when releasing the lower arm and steering knuckle, or damage to the ball joint seal may occur.
NOTICE: Do not use power tools to remove or install the lower arm outer nut. Damage to the ball joint or ball joint seal may occur.
Remove and discard the ball joint pinch bolt and nut and separate the lower arm from the steering knuckle.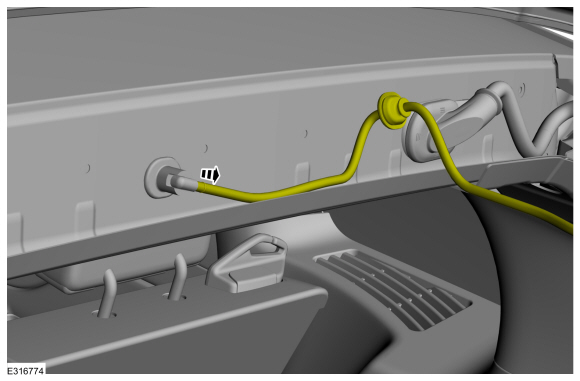
- Remove the front bumper cover.
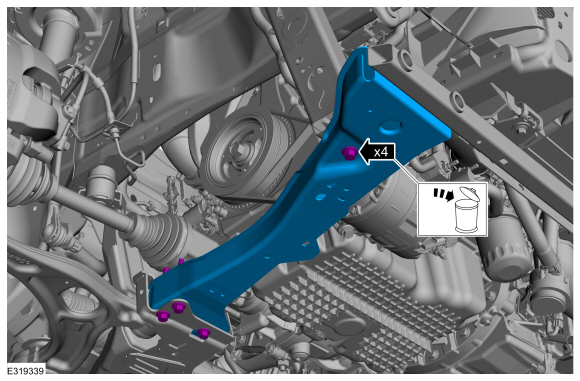
Refer to: Front Bumper Cover (501-19 Bumpers, Removal and Installation). - Remove the subframe support bracket bolts.
- Remove and discard the bolts and remove the front outer side member.
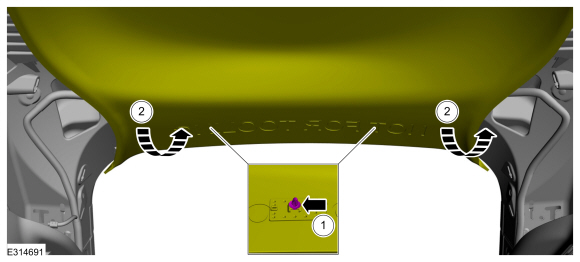
Remove the lower arm.- Remove and discard the front lower arm bolt.
- Remove and discard the rear lower arm bolt and nut.
Installation
NOTICE: Tighten the suspension fasteners with the vehicle on its wheels and tires, or use a suitable jack to raise the suspension to curb height to avoid damage to the bushings.
Install the lower arm.- Install a new front lower arm bolt.
- Install a new rear lower arm bolt and nut.
NOTICE: Do not use power tools to remove or install the lower arm outer nut. Damage to the ball joint or ball joint seal may occur.
Attach the lower arm to the steering knuckle and install a new ball joint pinch bolt and nut.
Torque: 66 lb-ft (90 N·m)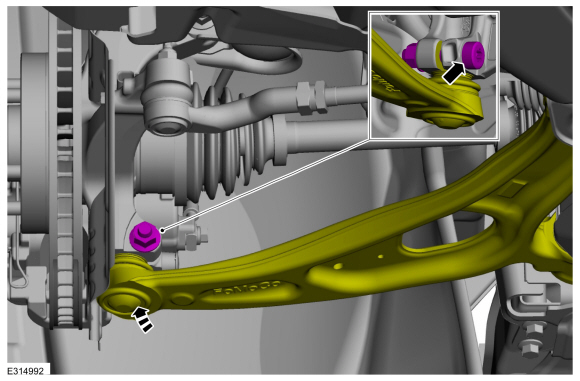
- Install the vehicle/axle stands to support the suspension at curb height.
Use the common service equipment: vehicle/axle stands.
NOTICE: Tighten the suspension fasteners with the vehicle weight on the wheels and tires, or use a suitable jack to raise the suspension to curb height, otherwise bushing damage may occur.
Tighten the lower arm bolts and nuts.- Tighten the new front lower arm bolt.
Torque:
Stage 1: 103 lb-ft (140 N·m)
Stage 2: 120°
- Tighten the new rear lower arm bolt and nut.
Torque:
Stage 1: 98 lb-ft (133 N·m)
Stage 2: 120°
- Tighten the new front lower arm bolt.
- Install the front outer side member with new bolts.
Torque: 22 lb-ft (30 N·m)
- Install the subframe support bracket bolts.
Torque: 22 lb-ft (30 N·m) - Install the front bumper cover.
Refer to: Front Bumper Cover (501-19 Bumpers, Removal and Installation). - If equipped, both sides.
Install the bolt and the ride height sensor.
Torque: 97 lb-in (11 N·m) - If equipped.
Position the underbody shields and install the retainers.
Torque: 13 lb-in (1.5 N·m) - Install the wheel and tire.
Refer to: Wheels and Tires (204-04A Wheels and Tires, Removal and Installation). - Check and adjust the front toe if necessary.
Refer to: Front Toe Adjustment (204-00 Suspension System - General Information, General Procedures).
Test yourself
A quick Ford Escape quiz: every answer comes with an explanation and a link to the manual page.