Body (Interior and Exterior)
Rear Seat Back Trim Repair Procedures
In this manual: Body (Interior and Exterior)
18steps
~113min
5/5difficulty
1special tools
Done 0 of 18
Replacement
[LH]
|

|
- Remove the rear seat assembly [LH]. (Refer to Rear Seat - "Rear Seat Assembly")
- Press the stopper pins and remove the rear seat headrest (A).

- Using a screwdriver or remover, remove the cover (A).
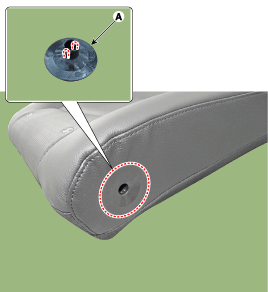
- Using a screwdriver or remover, remove the rear seat back cover (A).

- Pull out the rear seat headrest guides (A) by squeezing both sides of the lower part of the guides, and remove them.
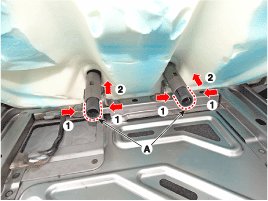
- Remove the rear seat back trim assembly (A) from the rear seat back frame.

- After removing the hook-and-loop fastener (A) and the retaining clips with retaining rings (B) inside the rear seat cushion cover, remove the seat cushion cover (C).


- To install, reverse the removal procedure.

- Make sure the connectors are fully connected.
- Replace any damaged clips (or pin-type retainers).
- To prevent wrinkles, make sure the cover (B) is stretched evenly before connecting the clips (A).
- Replace the ring clips with new ones using the special service tool (C) (09880-4F000).

[RH]
|
|

- Remove the rear seat assembly [RH]. (Refer to Rear Seat - "Rear Seat Assembly")
- Remove the rear armrest. (Refer to Rear Seat - "Rear Armrest")
- Press the stopper pins and remove the rear seat headrest (A).

- Using a screwdriver or remover, remove the cover (A).

- Using a screwdriver or remover, remove the rear seat back cover (A).
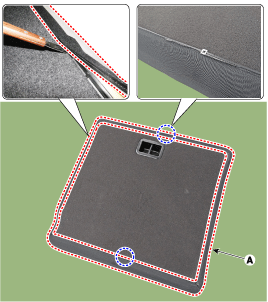
- Remove the rear seat armrest panel (A).
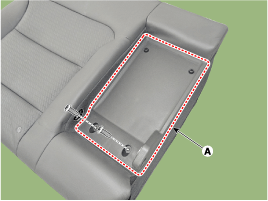
- Pull out the rear seat headrest guides (A) by squeezing both sides of the lower part of the guides, and remove them.


- Remove the rear seat back trim assembly (A) from the rear seat back frame.
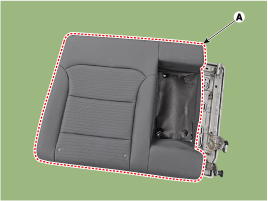
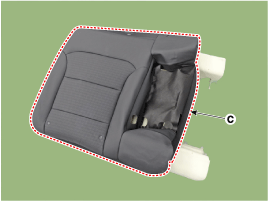
- After removing the hook-and-loop fastener (A) and the retaining clips with retaining rings (B) inside the rear seat cushion cover, remove the seat cushion cover (C).

- To install, reverse the removal procedure.
- Make sure the connectors are fully connected.
- Replace any damaged clips (or pin-type retainers).
- To prevent wrinkles, make sure the cover (B) is stretched evenly before connecting the clips (A).
- Replace the ring clips with new ones using the special service tool (C) (09880-4F000).
Test yourself
A quick Hyundai Elantra AD quiz: every answer comes with an explanation and a link to the manual page.
Was this page helpful?