Body Electrical System
Relay Box (Interior) Repair Procedures
In this manual: Body Electrical System
16steps
~96min
4/5difficulty
Done 0 of 16
Fuse Inspection
- Make sure the fuse holders are secured and that the fuses are firmly retained by the holders.
- Make sure that each fuse circuit has the correct fuse rating.
- Inspect the fuses for damage.
If a fuse must be replaced, be sure to use a new fuse of the same rating. Always determine the cause of a blown fuse and fully correct the problem before installing a new fuse.
Inspection
- The SJB can be diagnosed using GDS. The SJB communicates with GDS, which then displays the input and output data along with the codes.
- To diagnose the SJB function, select the vehicle model, BCM and SJB.
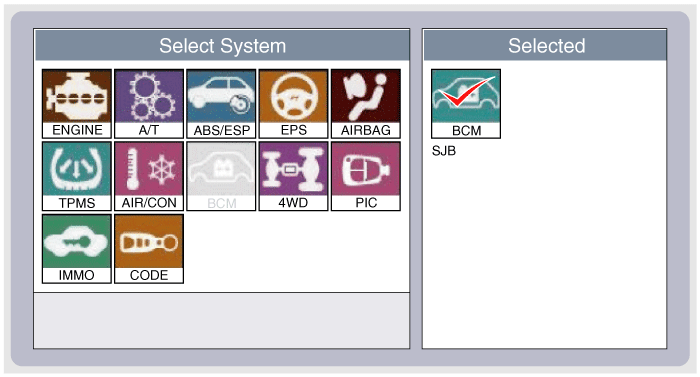
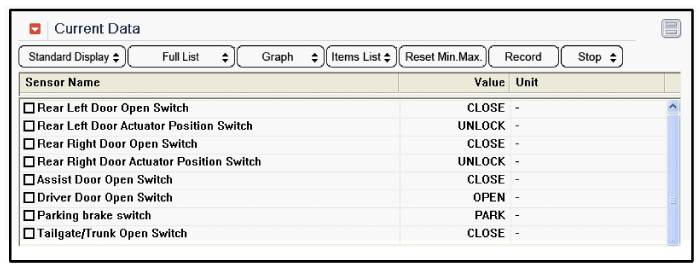
- To view the SJB input/output current value, select "Current DATA". It provides information on the SJB input/output conditions.
- To perform a functional check of the SJB outputs, select "Actuation Test".

Removal
Smart Junction Box (SJB)- Disconnect the negative (-) battery terminal.
- Remove the emergency pad lower panel. (Refer to Body - "Emergency Pad Lower Panel")
- Disconnect the connectors from the internal junction box (intelligent junction block).
- Remove the intelligent junction block after loosening the mounting nuts (2) and bolt.
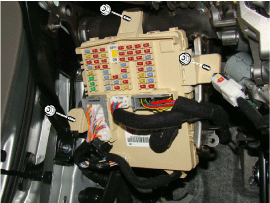
- Disconnect the connectors from the rear side of the smart junction block.
Installation
- Install the smart junction box.
- Install the emergency pad lower panel.
- Make sure that the entire system operates normally.
- Connect the battery negative (-) terminal.
Test yourself
A quick Hyundai Genesis DH quiz: every answer comes with an explanation and a link to the manual page.
Was this page helpful?