Body (Interior and Exterior)
Floor Console Assembly
In this manual: Body (Interior and Exterior)
8steps
~48min
2/5difficulty
Done 0 of 8
Components and Component Location
Component Location
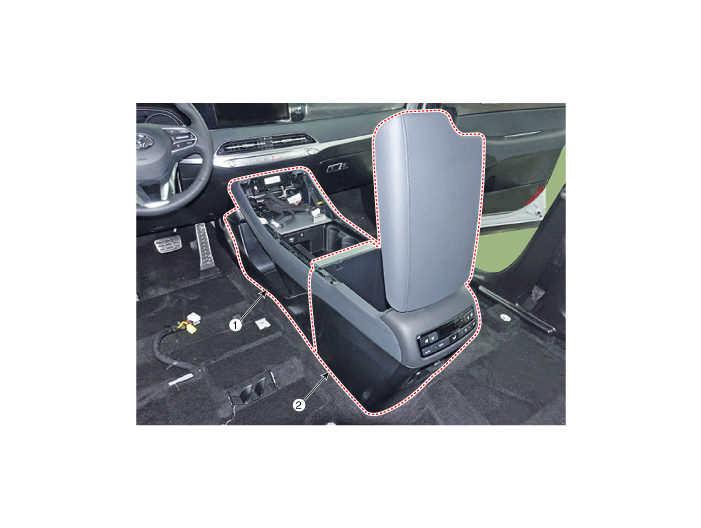
| 1. Front Console Assembly | 2. Rear Console Assembly |
Repair Procedures
Replacement
|

|

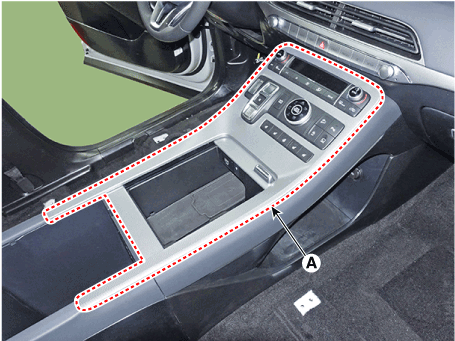
- Using a flat-tip screwdriver or a remover, remove the console upper cover (A).
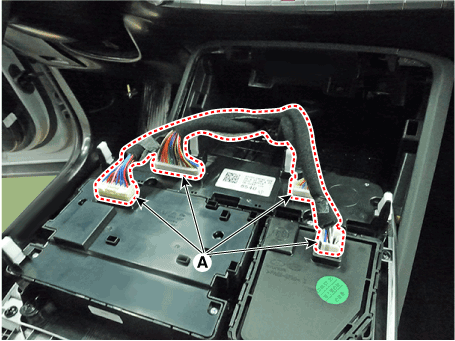
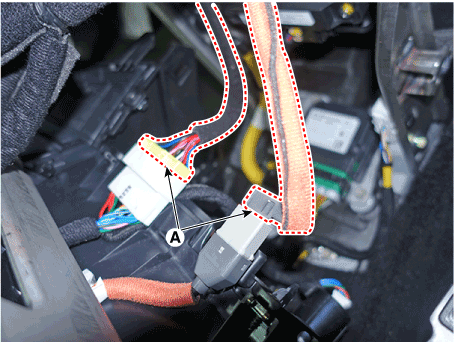
- Press the lock pin and disconnect the various connectors (A).
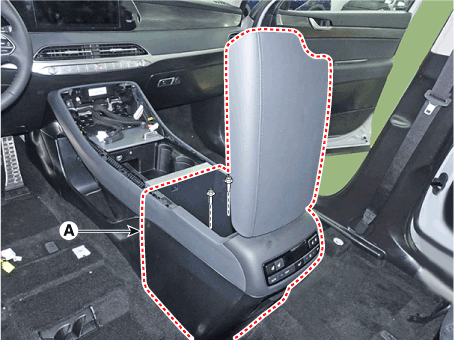
- Loosen the mounting bolts and remove the rear console assembly (A).
- Press the lock pin and disconnect the connector of the rear console assembly (A).
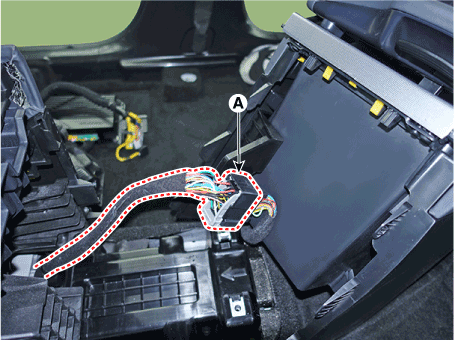
- Using a remover, remove the console side cover (A). [LH]
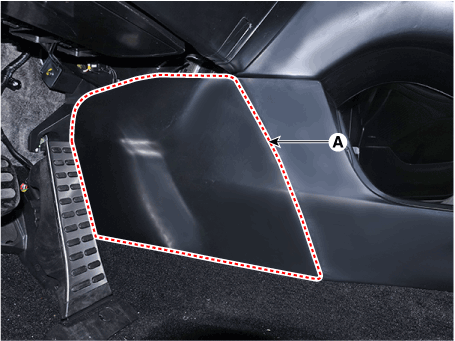
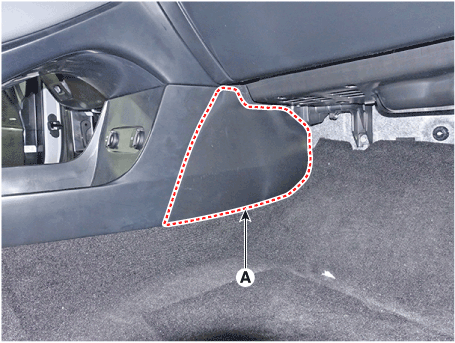
- Loosen the mounting screws and remove the front console assembly (A).
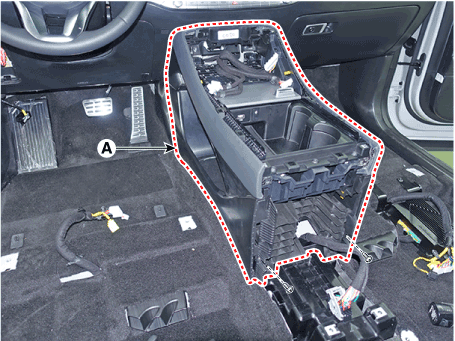
- Press the lock pin and disconnect the connector (A).
- To install, reverse the removal procedure.

- Make sure the connector is properly connected.
- Replace any damaged clips (or pin-type retainers).
Test yourself
A quick Hyundai Palisade quiz: every answer comes with an explanation and a link to the manual page.
Was this page helpful?