Suspension System
Subframe
In this manual: Suspension System
19steps
~124min
5/5difficulty
2special tools
Done 0 of 19
Repair Procedures
Removal
- Turn the ignition OFF and disconnect the negative (-) battery cable.
- Turn the steering wheel so that the front wheels are in the straight-ahead position.
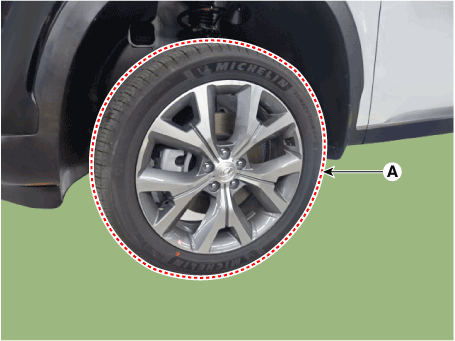
- Remove the front wheel and tire (A) from the front hub.
Tightening torque: 107.9–128 N·m

- Be careful not to damage the hub bolts when removing the front wheel and tire (A).
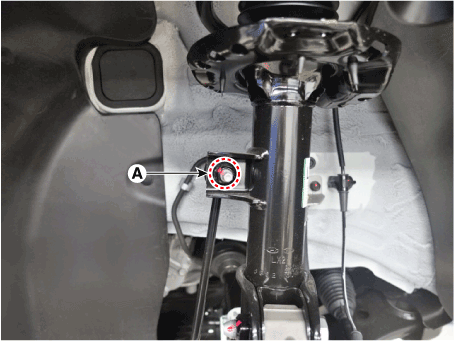
- Disconnect the stabilizer link from the front strut assembly after loosening the nut (A).
Tightening torque: 98.1 - 118 N·m

- When loosening the nut (A), hold the external hexagon of the stabilizer bar link.
- Be careful not to damage the stabilizer bar dust boots.
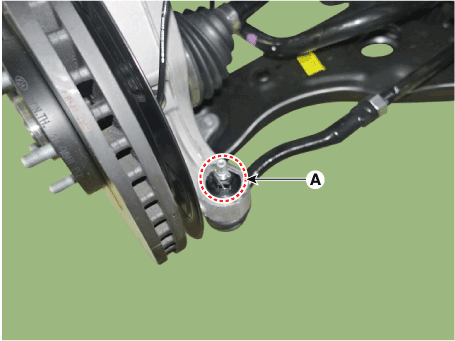
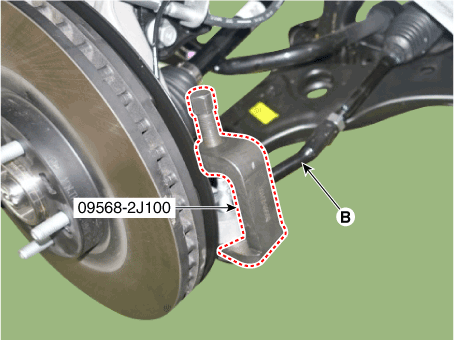
- Remove the tie rod end ball joint.
- Remove the cotter pin and nut (A).
- Using the SST (09568-2J100), separate the ball joint (B) from the knuckle.
Tightening torque: 98.1 - 118 N·m
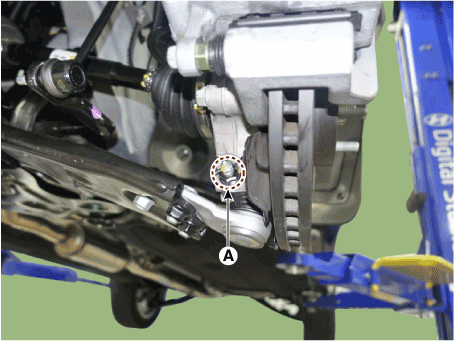
- Remove the cotter pin and nut (A).
Tightening torque: 98.1 - 118 N·m
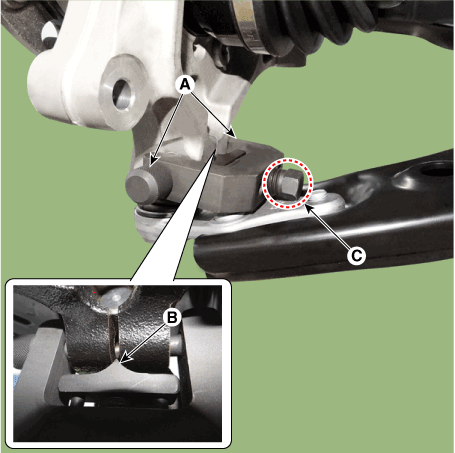
- Remove the lower arm from the steering knuckle using the SST (09568-4R100).
- Insert the support bolt (A) into the bolt hole of the lower arm.
- Install the support housing (B) on the front axle.
- Tighten the bolt (C).
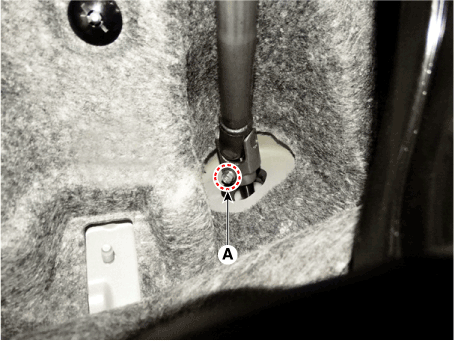
- Loosen the bolt (A), then disconnect the universal joint assembly from the steering gear shaft.
Tightening torque: 32.4 - 37 N·m

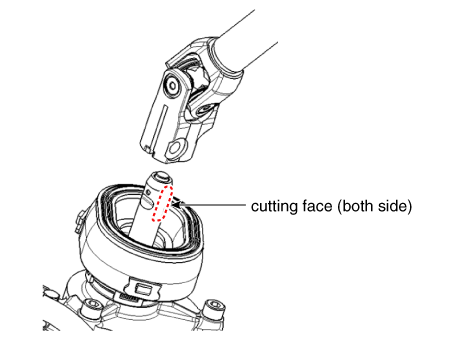
- Do not reuse the bolt.
- Lock the steering wheel in the straight-ahead position to prevent damage to the clock spring internal cable.
- Assemble so that the universal joint hole is fitted to match the cut surface of the pinion shaft.
- Remove the under cover. (Refer to Engine Mechanical System - "Engine Room Under Cover")
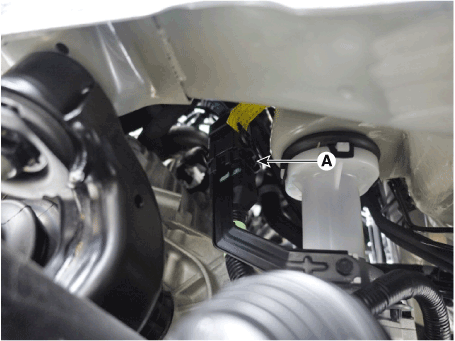
- Disconnect the R-MDPS main connector (A). [R-MDPS Type Only]
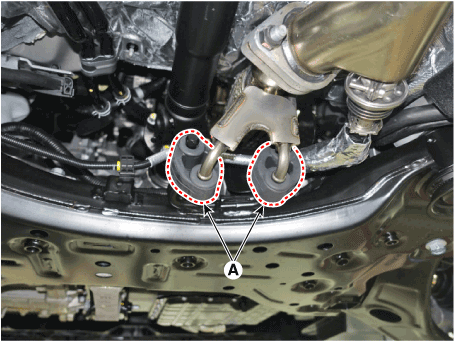
- Remove the muffler rubber mount (A).
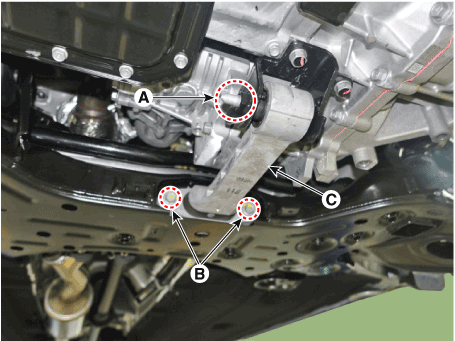
- Remove the idler arm bracket (C) by loosening the bolts (A) and (B). Tightening torque: (A): 107.9 - 128 N·m, (B): 49.0 - 64 N·m
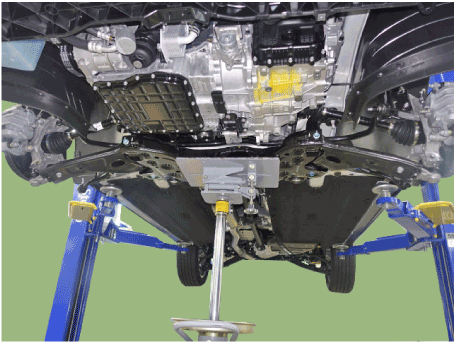
- Remove the subframe by loosening the mounting bolts and nuts.
Tightening torque: Subframe mounting bolts and nuts: 176.5 - 196 N·m; Subframe mounting bolt: 44.1 - 54 N·m
- Install a transmission jack for safety.
- Remove the heated protective cover (A).
Tightening torque: 6.9–10.8 N·m
[C-MDPS]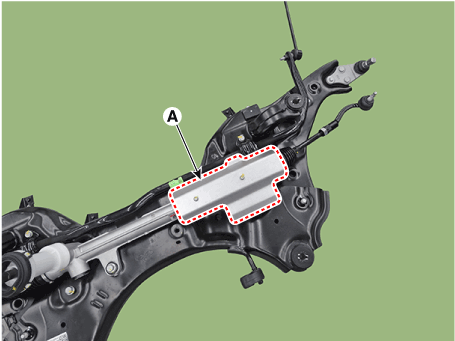
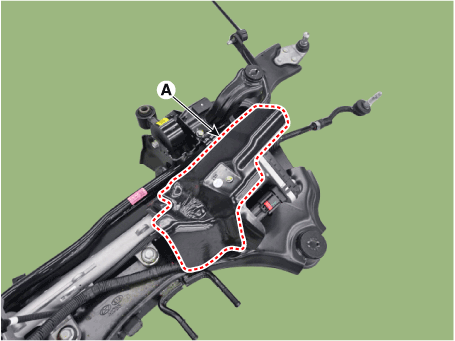
- Remove the steering gear box (A) from the front subframe by loosening the mounting bolts.
Tightening torque: 88.2 - 108 N·m
[C-MDPS]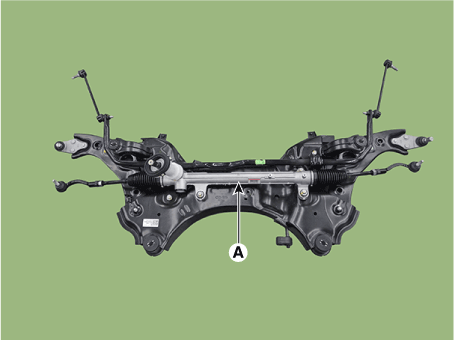
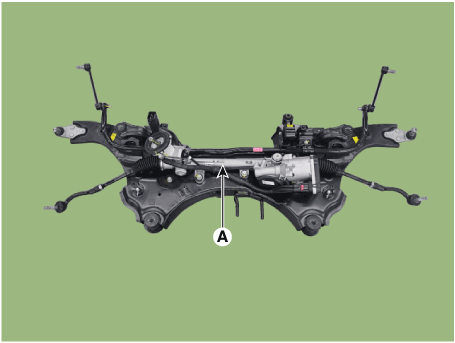
- Loosen the mounting bolts and remove the stabilizer bar (A).
Tightening Torque: 49.0–64 N·m
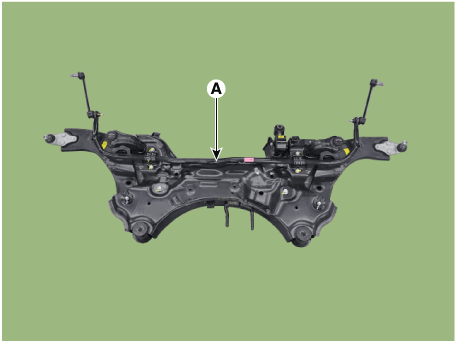
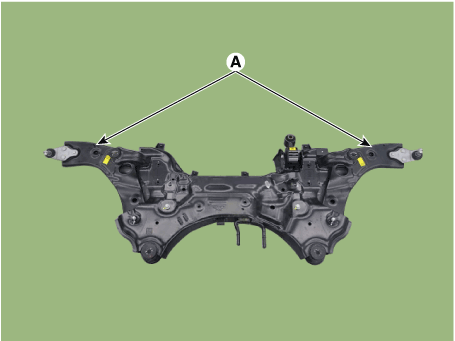
- Remove the front lower arm (A) from the subframe. Tightening torque: Front: 117.7–137 N·m Rear: 156.9–176 N·m
Installation
- Install in the reverse order of removal.
- Check the alignment. (Refer to Suspension System - "Alignment")
Test yourself
A quick Hyundai Palisade quiz: every answer comes with an explanation and a link to the manual page.
Was this page helpful?