Drive Shaft and Axle
Repair Procedures
In this manual: Drive Shaft and Axle
27steps
~162min
4/5difficulty
Done 0 of 27
DEPOSIT
- Raise the vehicle and make sure it is securely supported.
- Remove the front wheel and tire assembly (A) from the hub.
Tightening torque: 88.3 ~ 108 N·m

- Loosen the staked hub nut (A).
Tightening torque: 294.2 ~ 314 N·m N·m (30.0 ~ 32.0 kgf·m, 217.0 ~ 231.5 ft-lbf)
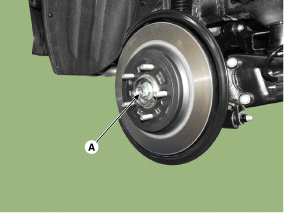
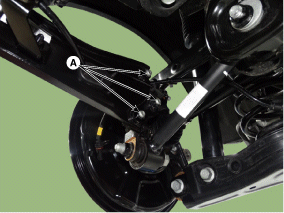
- Loosen the nuts securing the trailing arm, then remove the trailing arm (A).
Tightening torque: 98.1 ~ 118 N·m
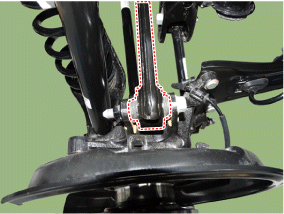
- Loosen the nut and bolt securing the rear upper arm, then remove the rear upper arm (A).
Tightening torque: 98.1 ~ 118 N·m
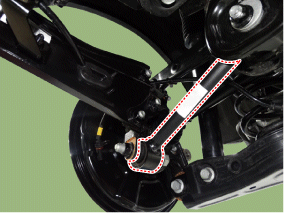
- Loosen the bolt and nut, then remove the additional arm.
Tightening torque: 137.3 ~ 157 N·m (14.0 ~ 16.0 kgf·m, 101.3 ~ 115.7 lbf·ft)
- Disconnect the propeller shaft (A) from the rear hub.

- Loosen the nut and bolt securing the lower arm, then remove the rear axle carrier to remove the rear drive shaft.
Tightening torque: 137.3 ~ 157 N·m (14.0 ~ 16.0 kgf·m, 101.3 ~ 115.7 lbf·ft)
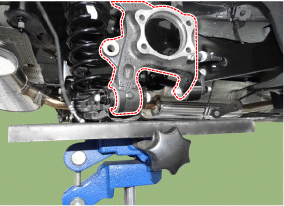
- Insert a pry bar between the differential case and the seal housing, and separate the drive shaft from the differential case.
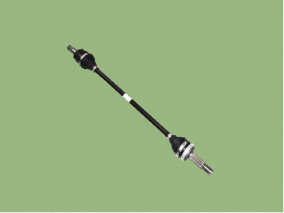
- To install, perform the removal procedure in reverse order.
- Check the rear toe alignment. (See Suspension System — Wheel Alignment)
DISASSEMBLY
- Remove the boot bands from the tripod joint, and pull the boot off its outer ring.
- Using pliers or a flat-tip screwdriver (-), remove the G boot band and the TJ G boot band from the drive shaft.
- Remove the right boot clamp and boot band from the tripod joint in the same way as the left side.
- Remove the drive shaft from the tripod joint outer race.
- Remove the snap ring (A), then remove the inner race (B), cage (C), and balls (D) together.

- Clean the inner race, cage and balls without disassembling them.
- Remove the bands from the JB boot, and remove the TJ boot and the JB boot.
Installation
- Wrap tape around all splines of the drive shaft (tripod joint side) to avoid damaging the boot.
- Apply grease to the propeller shaft and install the boots.
- Apply the specified grease to the inner race (A) and cage (B). Install the cage (B) so that it is positioned as shown.
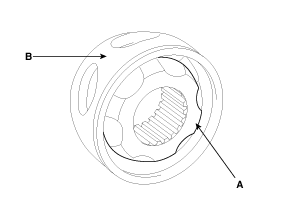
- Apply the specified grease to the cage and place the balls in the cage.
- Position the chamfered side (A) as shown. Install the inner race on the transaxle shaft (B) and the elastic ring.
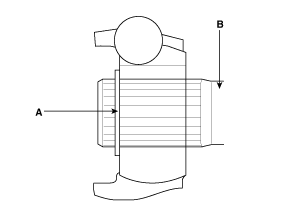
- Apply the specified grease to the outer race, and install the outer race of the ball joint on the drive shaft.
- Apply the specified grease to the tripod joint boot and secure the boot with the clamp.
- Tighten the bellows clamps of the tripod joint.
- Add the specified grease to the Birfield boot in the amount removed during inspection.
- Install the boots.
- Tighten the Birfield boot clamps.
Test yourself
A quick Hyundai Tucson quiz: every answer comes with an explanation and a link to the manual page.
Was this page helpful?