Electrical System
Meter Unit Removal/Installation
In this manual: Electrical System
~1min read
- Remove the upper fairing assembly (see Upper Fairing Assembly Removal in the Frame chapter)
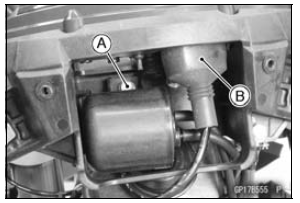
- Remove the bolt [A] (other than US, CA and CALmodels).
- Slide back the dust cover and disconnect the meter unit connector [B].
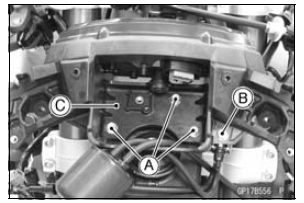
- Remove: Bolts [A] Nut [B] (other than US, CA and CAL models) Meter Bracket [C]
- Remove: Screws [A] Meter Unit [B]
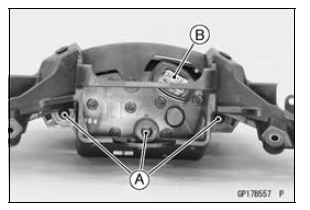
NOTICE
Place the meter unit so that the face is up. If ameter unit is left upside down or sideways for any length of time, it will malfunction.
- Installation is the reverse of removal. Note the following.
Run the lead correctly (see Cable, Wire, and Hose Routing section in the Appendix chapter).
Tighten: Torque - Meter Unit Mounting Screws: 1.2 NВ·m (0.12 kgfВ·m, 11 inВ·lb)
Meter Unit Disassembly
NOTICE
Do not disassemble the meter unit, because the individual parts of meter unit are damaged.
Test yourself
A quick Kawasaki Ninja ZX-10R quiz: every answer comes with an explanation and a link to the manual page.
Was this page helpful?