Body (Interior and Exterior)
Roof Trim Repair Procedures
In this manual: Body (Interior and Exterior)
21steps
~126min
4/5difficulty
Done 0 of 21
Replacement
Sun Visor Replacement
|
- Loosen the mounting screws, then remove the sun visor (A) and clip (B).

- Installation is the reverse of removal.
|
- Remove the caps (A) and screws, then remove the assist grip (B).

- Installation is the reverse of removal.
|
- Loosen the mounting bolts, then remove the premium lamp (A).

- Disconnect the connector (A).

- Installation is the reverse of removal.

- Make sure the connector is properly connected.
- Replace any damaged clips.
- Using a screwdriver or removal tool, remove the cosmetic lamp (A).
- Disconnect the vanity lamp connector (B).

- Installation is the reverse of removal.
- Make sure the connector is properly connected.
|
- Remove the following components:
- Front Seat (Refer to Group BD - "Front Seat")
- Rear Seat (Refer to Group BD - "Rear Seat")
- Sun Visor
- Deluxe Overhead Lamp
- Map lamp
- Assist Grip
- Front pillar garnish (Refer to Group BD - "Interior Trim")
- Front Door Scuff Plate and Rear Door Scuff Plates (Refer to Group BD - "Interior Trim")
- Lower Pillar Garnish (Refer to Group BD - "Interior Trim")
- Upper Pillar Garnish (Refer to Group BD - "Interior Trim")
- Rear Pillar Trim (Refer to Group BD - "Interior Trim")
- Remove the ECM mirror cover (A).
- Disconnect the ECM mirror connector (B).

- Remove the cover of the auto defogger sensor and rain sensor (A).
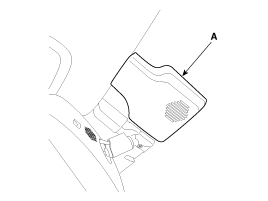
- Disconnect the auto defogger sensor connector (A) and the rain sensor connector (B).

- Remove the LDWS cover (A).
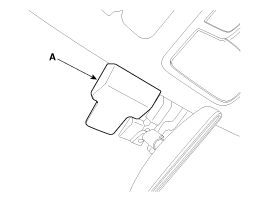
- Disconnect the LDWS connector (A).

- Disconnect the roof trim main connectors (A). [Driver]
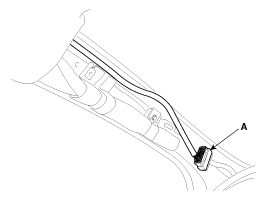
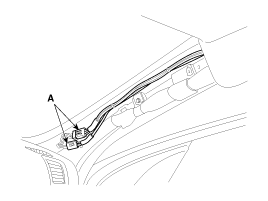
- Disconnect the antenna connector (A). [Left]
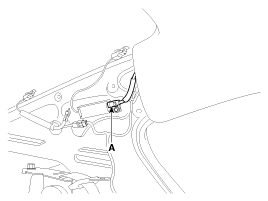

- Remove the clips and roof trim (A).
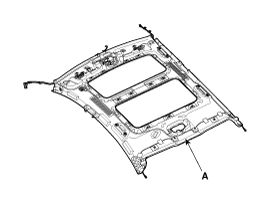
- Installation is the reverse of removal.
- Replace any damaged clips.
- Make sure the connector is properly connected.
Test yourself
A quick Kia Cadenza VG Owner's Manual quiz: every answer comes with an explanation and a link to the manual page.
Was this page helpful?