Stop Lamp Switch Repair procedures
Removal
Turn ignition switch OFF and disconnect the negative (-) battery terminal.
Remove the crash pad lower panel.
(Refer to Body - "Crash Pad")
Remove the knee air bag.
(Refer to Restraint - "Knee Airbag(KAB) Module")
Disconnect the stop lam switch connector (A).
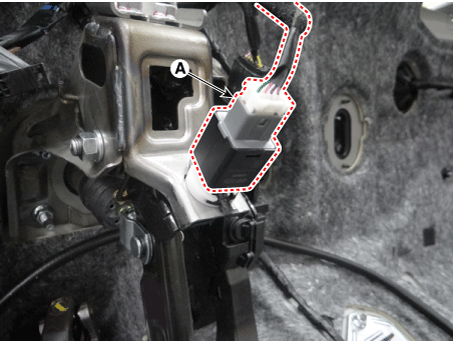
Pull the locking plate (A) as indicated by the arrow.
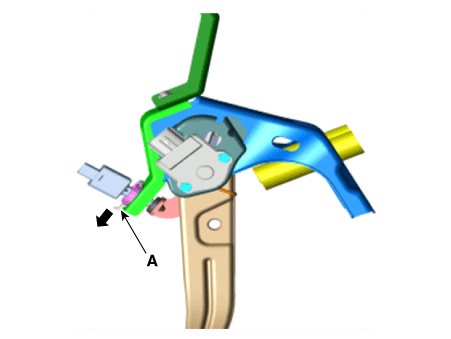
Turn brake switch 45° counterclockwise and remove it.

Inspect a removed stop lamp switch along the below procedures.
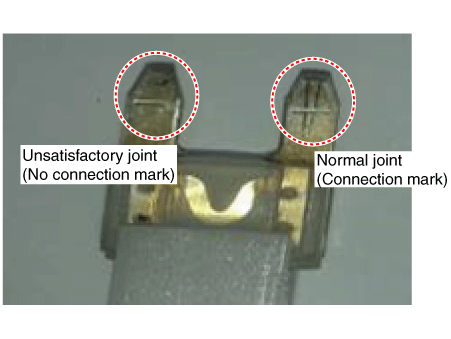
Confirm a normal connection with terminal part
A confirmation can be made to see if the connector has been secured properly and if a connection mark is present.
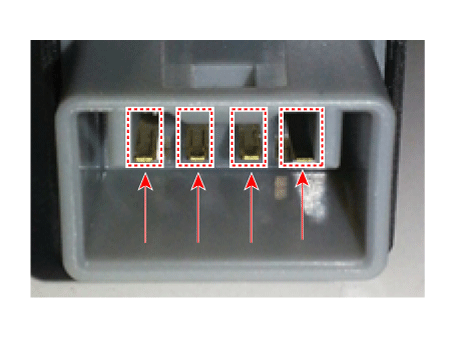
Perform the inspection of parts resistance.
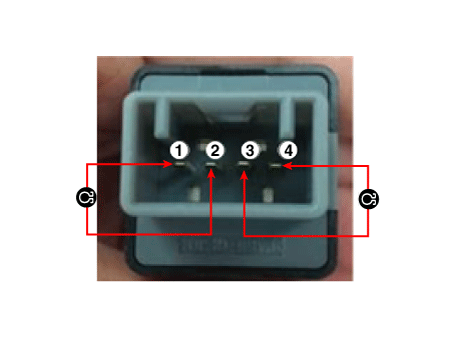
Resistance (?) .3-4 .1-2 Plunger depressed
(switch turned OFF)Infinite 0 Plunger released
(switch turned ON)0 Infinite
Installation
Fix the brake pedal arm and insert fully the stop lamp switch as hiding contact part.
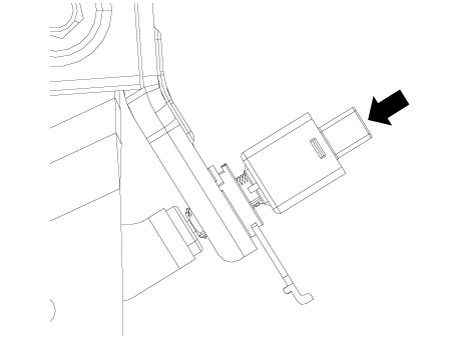
After inserting, turn the stop switch 45° clockwise, and then assemble locking plate by pushing.
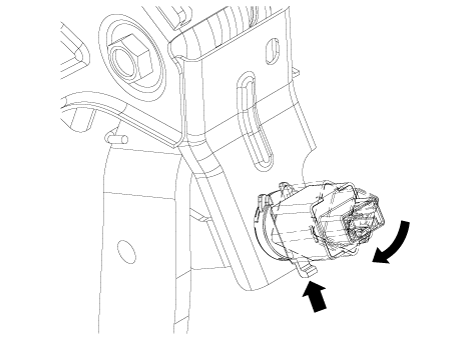
Confirm the gap (A) between stop lamp switch and bracket.
Stop lamp clearance : 1.0 - 2.0 mm (0.04 - 0.08 in.)

Connect the stop lamp switch connector.
Install the knee air bag.
(Refer to Restraint - "Knee Airbag (KAB) Module")
Install the lower crash pad.
(Refer to Body - "Crash Pad")
Inspection
1. Fuse inspection
Mount the test fuse to the switch fuse and relay fuse part to confirm a normal joint fit.

2. GDS Data Analysis
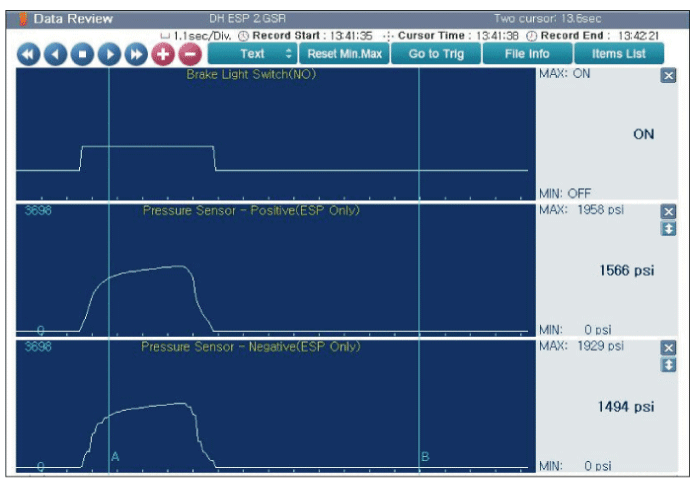
Analyze GDS data and confirm if there is anything wrong with the stop lamp switch.
Connect the GDS to the self-diagnosis connector.
Turn the spark switch on
Step on the brake pedal.
Inspect the "brake switch" category that displays the "sensor data" GDS.)
Normal waveform : The pressure sensor signal value will change according to the brake ON/OFF switch.
3. Inspection of connector by each part
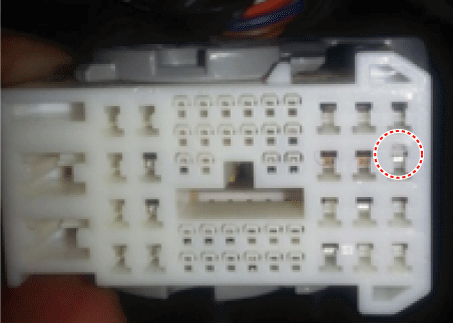
Check to see whether or not each connector has been damaged, or terminal surge, or incomplete connection has taken place
[Engine room junction box]

[ABS/VDC control module]
4. Inspect the stop lamp circuit
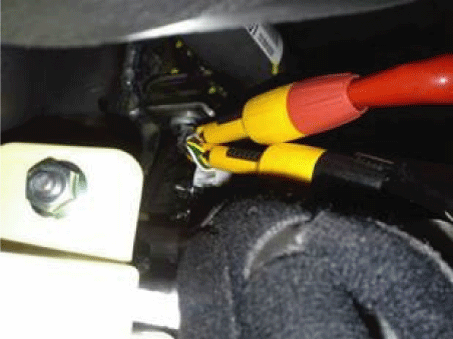
Connect probe to each terminal wire and confirm oscilloscope waveform.
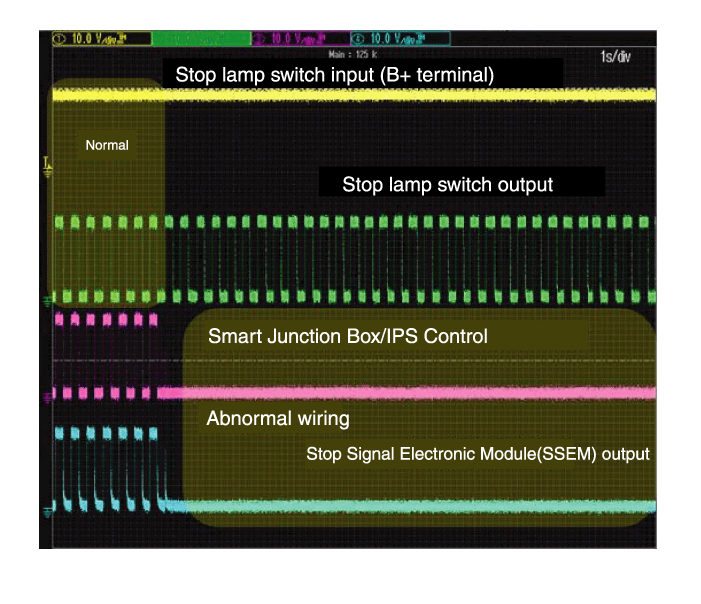
[Stop lamp switch input/output]
[Oscilloscope waveform screen]