Suspension System
Front strut assembly
In this manual: Suspension System
17steps
~107min
5/5difficulty
1special tools
Done 0 of 17
Components and Component Location
Component Location
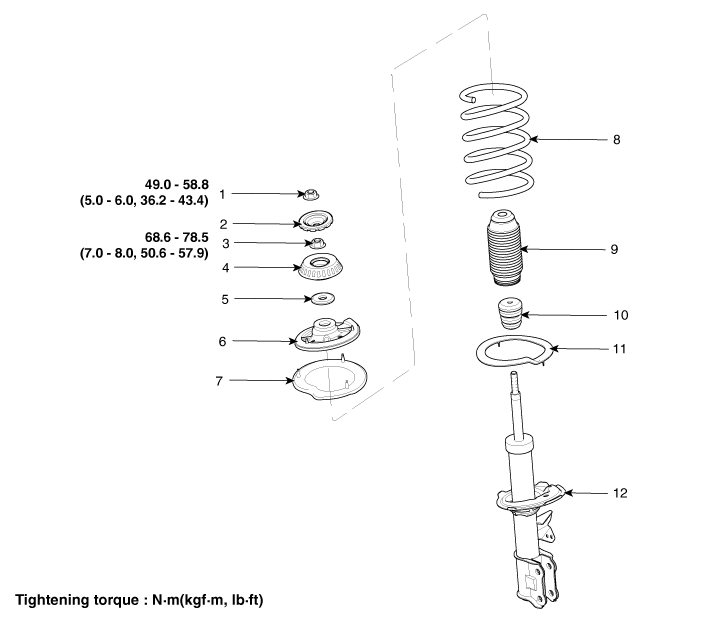
| 1. Lock Nut 2. Strut Mount Dust Cover 3. Self-locking Nut 4. Strut Mount Insulator 5. Strut Bearing 6. Upper Spring Seat |
7. Spring Upper Pad 8. Coil Spring 9. Dust Cover 10. Bump Stopper Rubber 11. Spring Lower Pad 12. Shock Absorber |
Repair Procedures
Removal
- Remove the front/rear wheel tire (A).
Tightening torque: 107.9–128 N·m

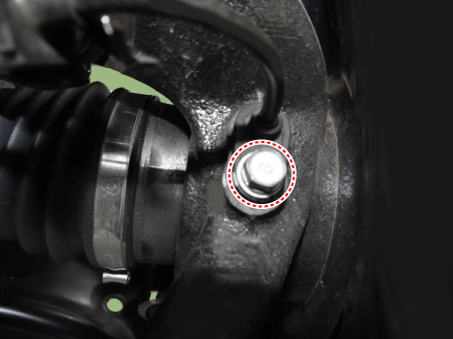
- Loosen the bolt and remove the wheel speed sensor.
Tightening torque: 6.9–10.8 N·m
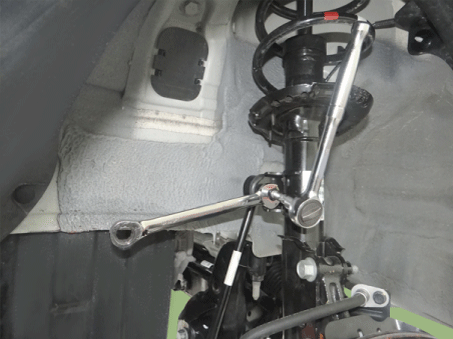
- Remove the stabilizer link nut.
Tightening torque: 49.0–59 N·m
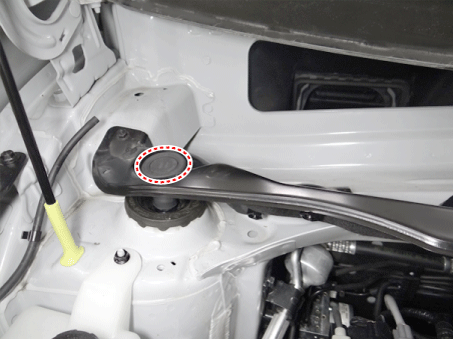
- Remove the upper hood cover. (Refer to Body - "Upper Cover Panel")
- Remove the cover.

- Loosen the front strut mounting nut.
Tightening torque: 49.0–59 N·m
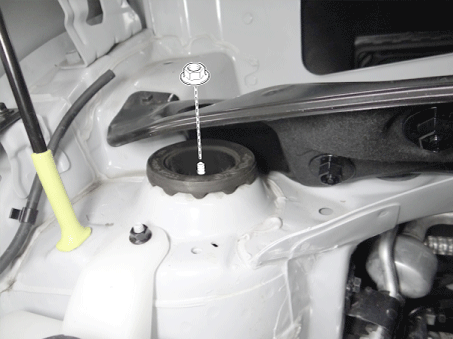
- Loosen the bolts and remove the strut assembly (A) from the steering knuckle.
Tightening torque: 98.0–118 N·m
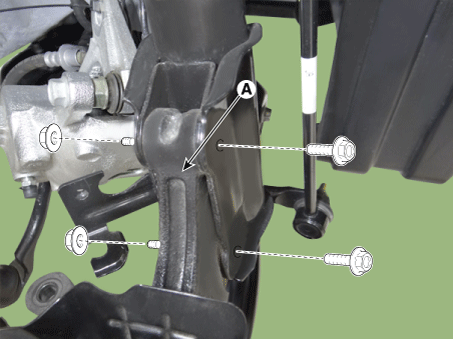
- Install in the reverse order of removal.
Disassembly
- Using a coil spring compressor, compress the coil spring.
- Using SST (09546-3X100), loosen the self-locking nut.
Tightening torque: 68.6–78 N·m

- Remove the insulator, spring seat, coil spring and dust cover from the strut assembly.
- Assembly is the reverse of disassembly.
Inspection
- Inspect the strut insulator for wear or damage.
- Inspect the rubber components for damage or wear.
- Compress and extend the piston rod (A) and make sure there is no abnormal resistance or unusual noise during operation.

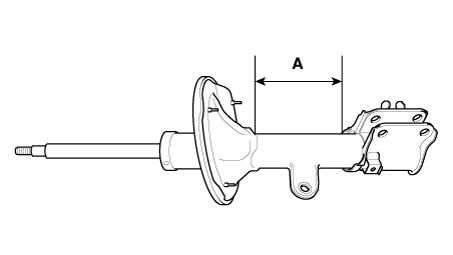
- Fully extend the piston rod.
- Drill a hole in section A to release the gas from the cylinder.
Test yourself
A quick Kia Picanto JA quiz: every answer comes with an explanation and a link to the manual page.
Was this page helpful?