Rear Wheel Hub

| 1. | Hub cap | 2. | Bushings | 3. | Rear knuckle |
| 4. | Back plate | 5. | Anchor block | 6. | Wheel hub and bearing |
| 7. | Cotter pin (AWD) | A. | Rear wheel hub and bearing bolt | B. | Wheel hub lock nut (AWD) |
| C. | Wheel stud |
REMOVAL
Remove disc brake rotor. Refer to Removal and Installation.
Remove bolt (1) and separate rear wheel sensor from knuckle. Refer to Removal and Installation.
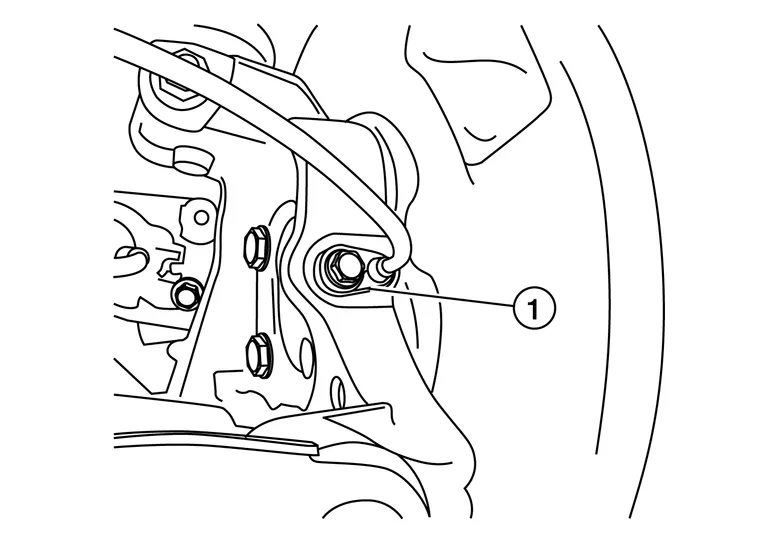
For AWD Nissan Murano vehicles, remove cotter pin.
For AWD vehicles, loosen, but do not remove, the wheel hub lock nut from drive shaft using power tool.
For AWD Nissan Murano vehicles, using a piece of wood and a suitable tool, tap on wheel hub lock nut to disengage drive shaft from wheel hub and bearing.
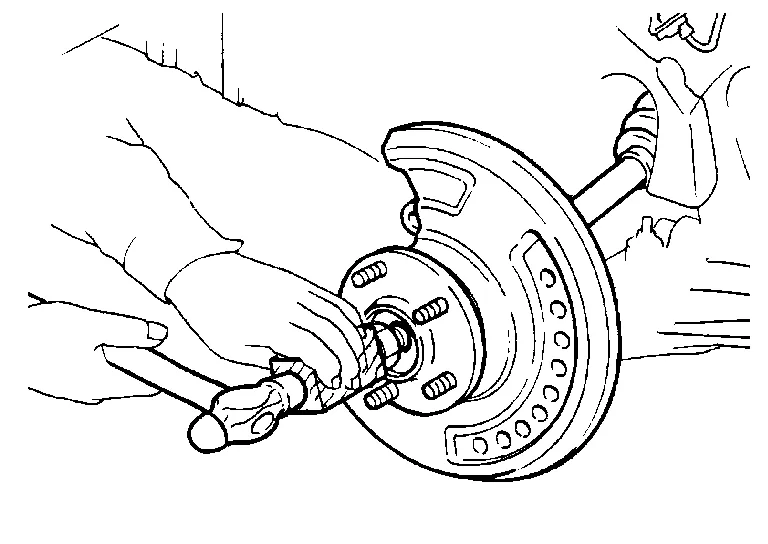
For AWD Nissan Murano vehicles, remove wheel hub lock nut.
Remove wheel hub and bearing bolts (A).
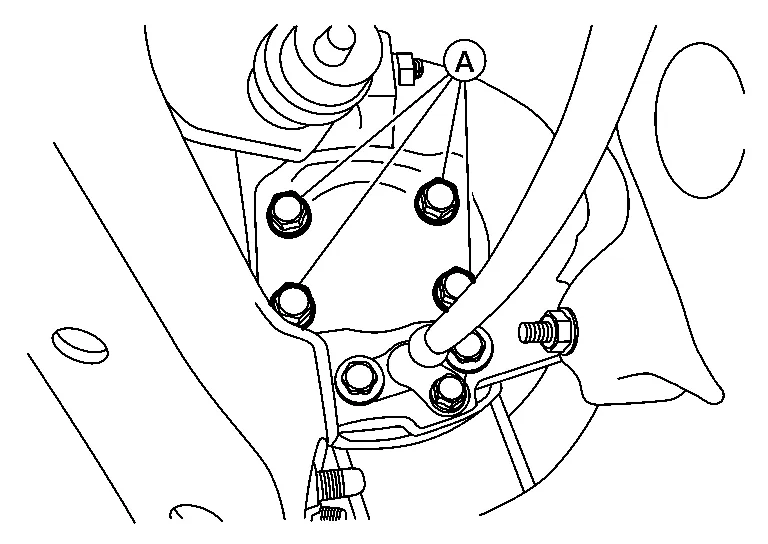
Remove wheel hub and bearing.
Remove hub cap.
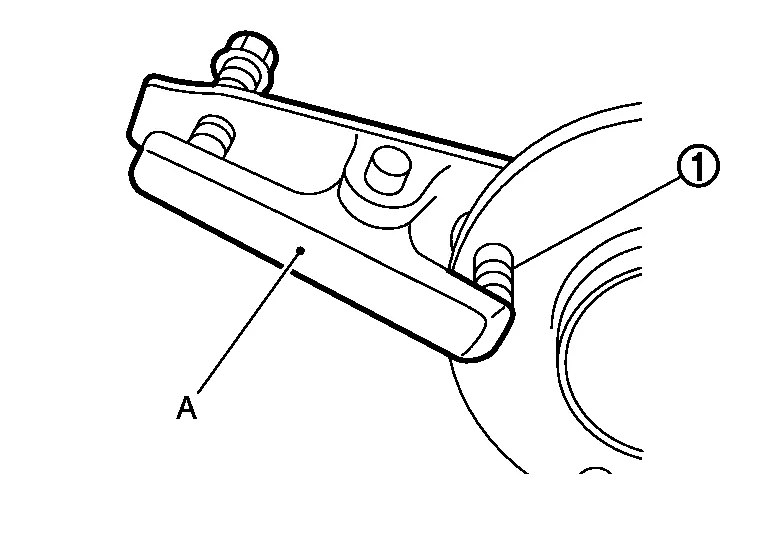
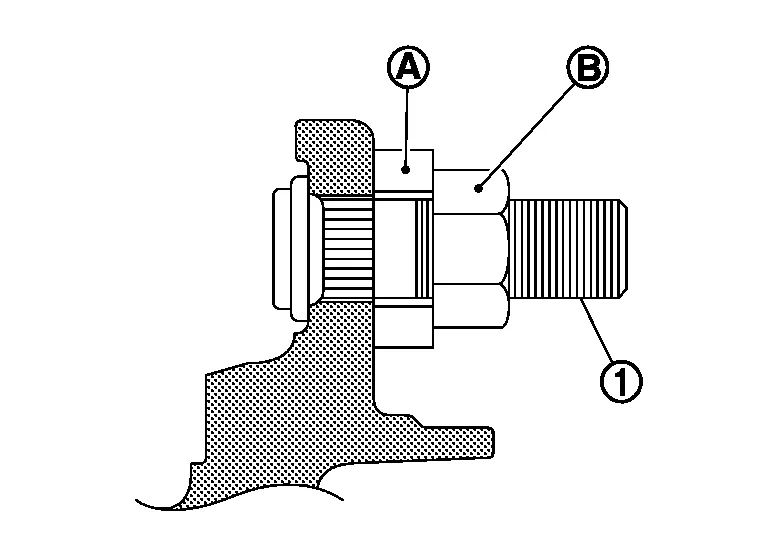
If necessary, remove wheel studs (1) from wheel hub and bearing using a suitable tool (A).
INSPECTION AFTER REMOVAL
Wheel Hub and Bearing
Check wheel hub and bearing for wear, cracks, and damage. Replace wheel hub and bearing if necessary.
Rear Knuckle
Check rear knuckle for wear, cracks, and damage. Replace rear knuckle if necessary.
INSTALLATION
Installation is in reverse order of removal.
Place a washer (A) as shown to install wheel studs (1) by using tightening force of nut (B).
Clean mating surface of wheel hub lock nut and wheel hub and bearing.
Clean mating surface of drive shaft and wheel hub and bearing.
Make sure wheel hub and bearing operate smoothly.
Install rear wheel sensor to rear knuckle. Refer to Removal and Installation.
When installing cotter pin, securely bend cotter pin to prevent rattles.