Unit Removal and Installation. Rear Final Drive Assembly
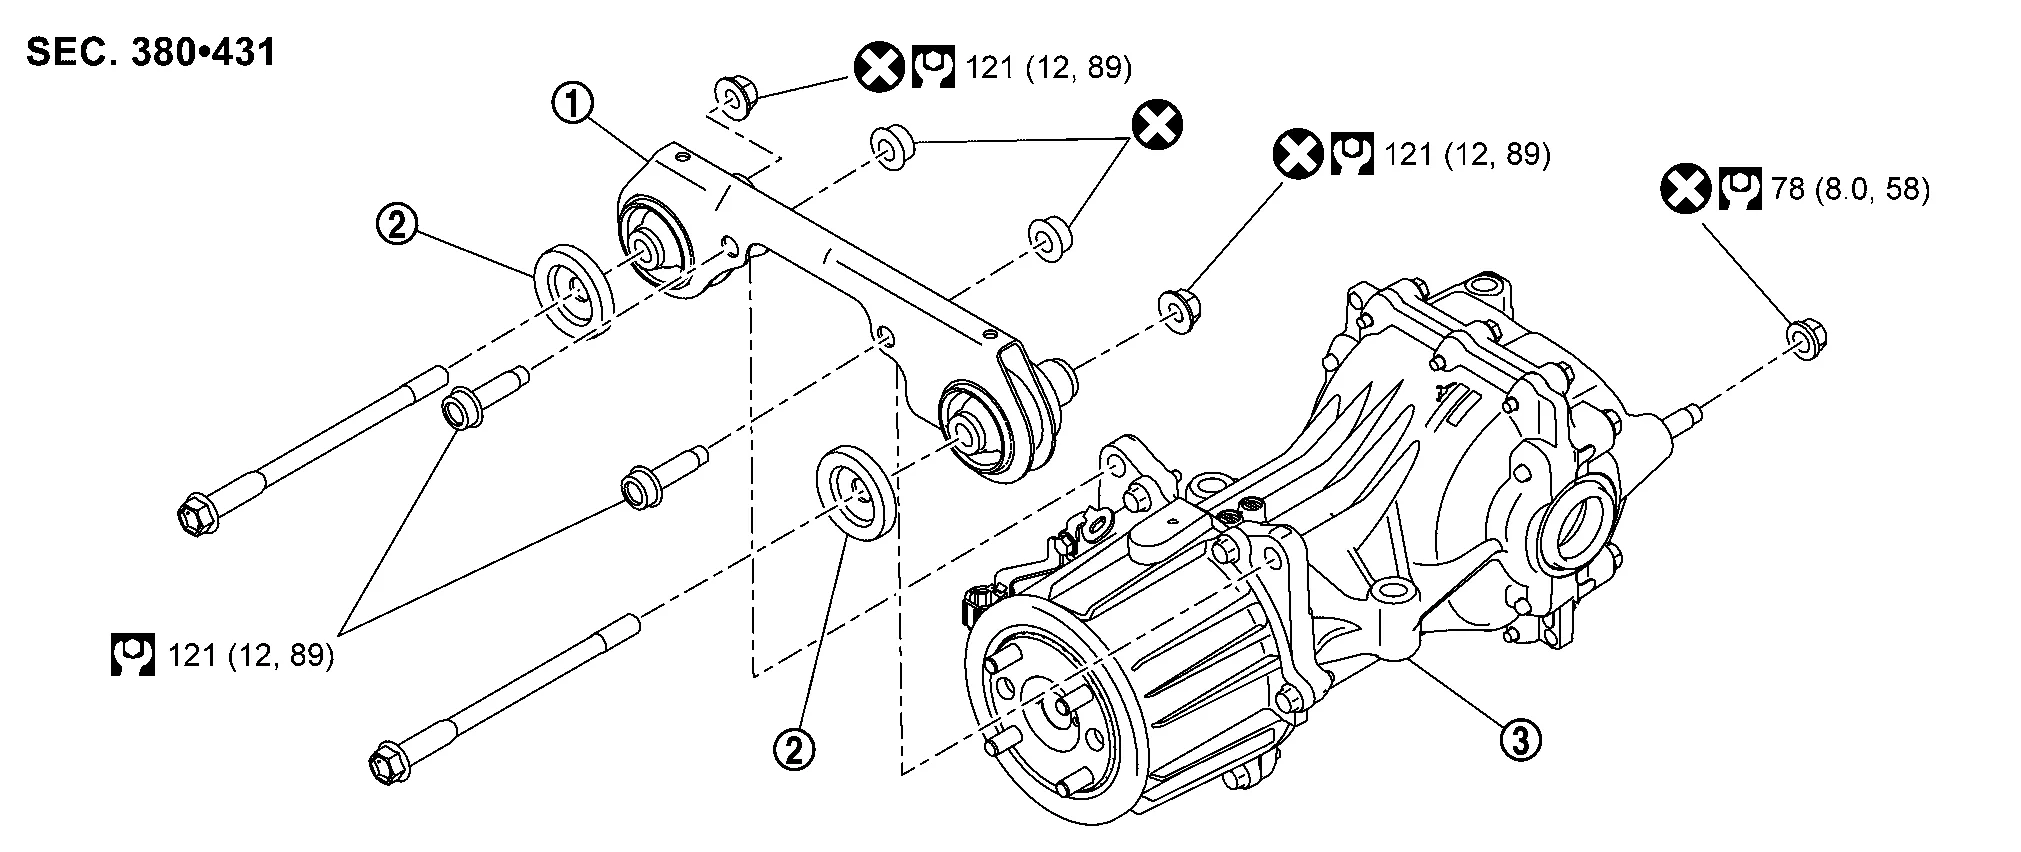
| 1. | Final drive bracket | 2. | Stopper | 3. | Rear final drive assembly |
REMOVAL
Remove rear drive shaft. Refer to Removal and Installation.
Remove propeller shaft from rear final drive assembly. Refer to Removal and Installation.
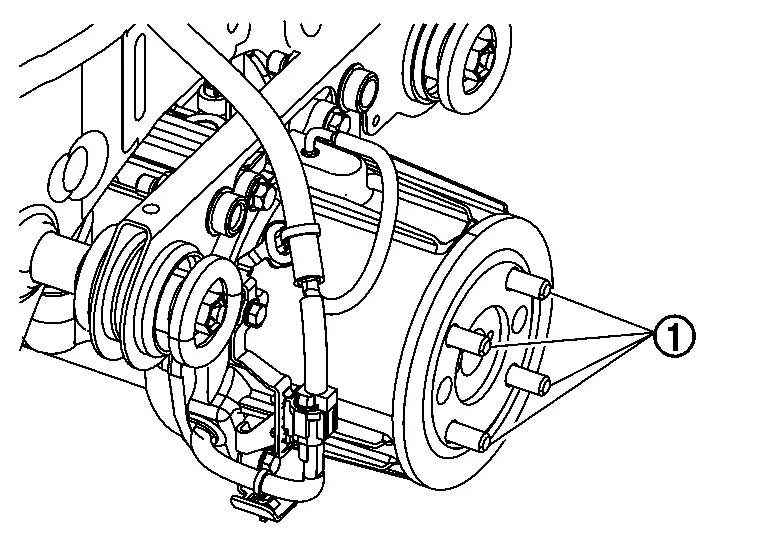
Disconnect harness connector (1) from AWD solenoid.
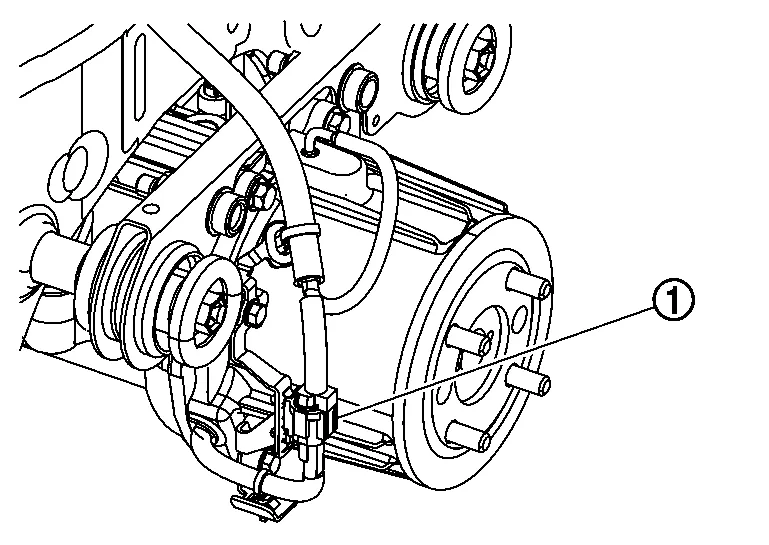
Remove air breather hoses from rear final drive and electric controlled coupling assembly. Refer to Removal and Installation.
Remove fuel tank protector. Refer to Exploded View (FWD models),Exploded View (AWD models).
Set a suitable jack to rear final drive assembly.
Remove rear final drive assembly nut (A) at rear suspension member.
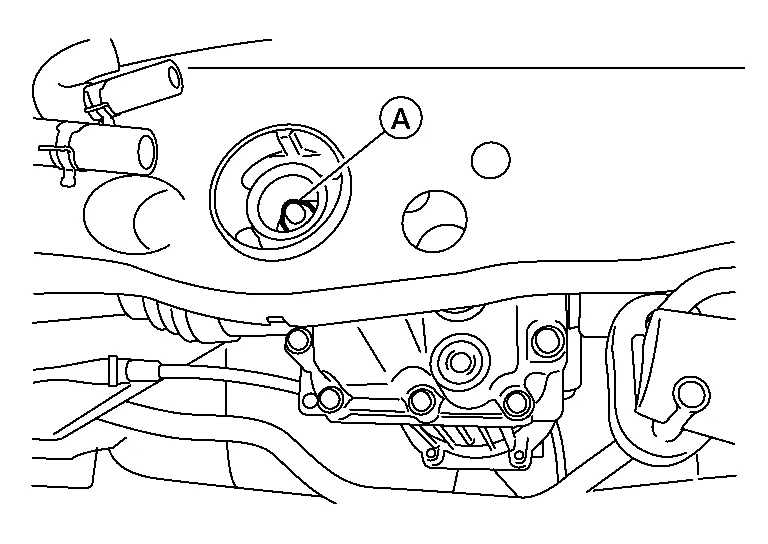
Remove bolts and nuts (A) engaging final drive bracket with rear suspension member.
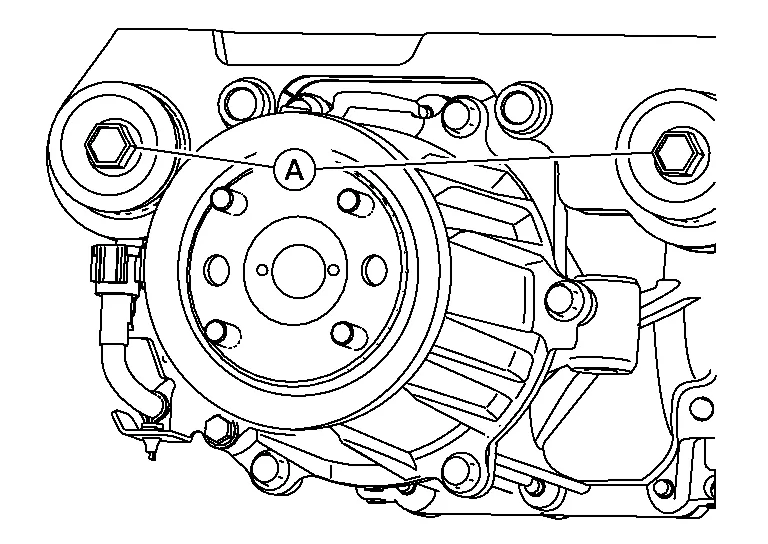
Remove stoppers.
Remove rear final drive assembly.
Remove bolts and nuts (A) engaging final drive bracket with rear final drive assembly.
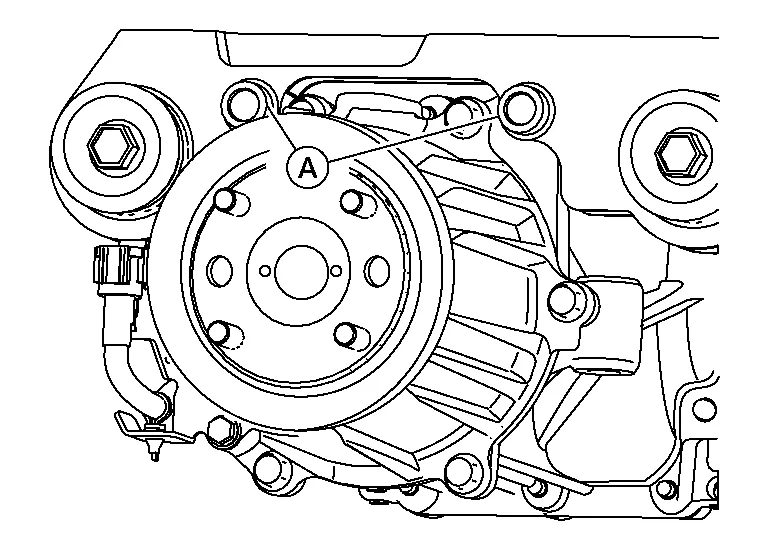
Remove final drive bracket.
INSTALLATION
Installation is in the reverse order of removal.
Be careful not to install wrong stud bolt (1) direction.


: Electric controlled coupling side Thread length (A) : Long (B) : Short
INSPECTION AFTER INSTALLATION
When oil leaks while removing/installing final drive assembly, check oil level after the installation. Refer to Inspection.
ADJUSTMENT AFTER INSTALLATION
When replaced rear final drive assembly, perform writing unit characteristics. Refer to Description.
When electric controlled coupling was changed, perform writing unit characteristics. Refer to Description.