Remove the air cleaner box. Refer to “air cleaner box removal and installation” in section 1d .
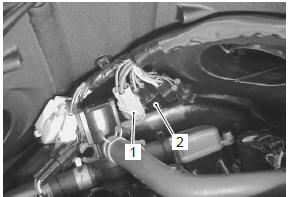
Disconnect the ignition switch lead wire coupler (1).
Disconnect the immobilizer lead wire coupler (2).
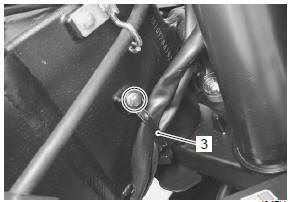
(For e-02, 19, 24, 51)
Remove the harness clamp (3).
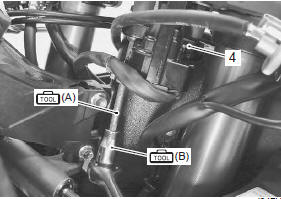
Remove the ignition switch (4) with the special tools.
Special tool (a): 09930–11920 (torx bit (jt40h)) (b): 09930–11940 (torx bit holder) Installation
Install the ignition switch in the reverse order of removal.
Pay attention to the following points:
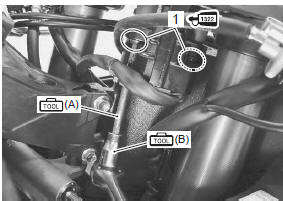
tighten the ignition switch mounting bolts (1), right and left with the special tools.
Caution
when reusing the ignition switch bolts, clean the threaded part and apply a thread lock to them.
Special tool (a): 09930–11920 (torx bit (jt40h)) (b): 09930–11940 (torx bit holder) : Thread lock cement 99000–32110 (thread lock cement super “1322” or equivalent)
?
Test yourself
A quick Suzuki GSX-R 1000 quiz: every answer comes with an explanation and a link to the manual page.
 (a): 09930–11920 (torx bit (jt40h))
 (b): 09930–11940 (torx bit holder)
 : Thread lock cement