Installation
HINT:
- Use the same procedure for the RH and LH sides.
- The procedure listed below is for the LH side.
- A bolt without a torque specification is shown in the standard bolt chart (See page
 ).
1. TEMPORARILY INSTALL FRONT SUSPENSION UPPER ARM ASSEMBLY LH
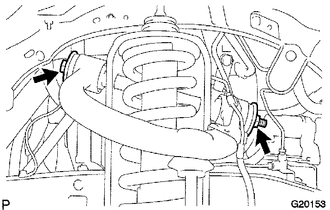
(a) Temporarily install the suspension upper arm and 2 washers with the bolt and nut. HINT: After stabilizing the suspension, tighten the nut. |
 |
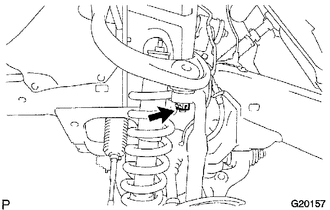
(b) Connect the bracket with the bolt.
Torque:
8 N·m {82 kgf·cm, 71 in·lbf}
(c) Install a new nut and clip. Torque: 110 N·m {1122 kgf·cm, 81 ft·lbf} |
 |
2. INSTALL SKID CONTROL SENSOR WIRE
3. INSTALL FRONT WHEEL
Torque:
for aluminum wheel :
103 N·m {1050 kgf·cm, 76 ft·lbf}
for steel wheel :
112 N·m {1142 kgf·cm, 83 ft·lbf}
4. STABILIZE SUSPENSION
5. TIGHTEN FRONT SUSPENSION UPPER ARM ASSEMBLY LH
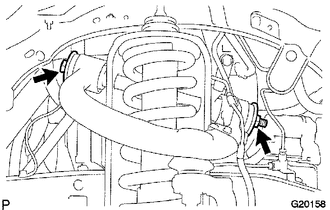
(a) Tighten the nut. Torque: 115 N·m {1173 kgf·cm, 85 ft·lbf} |
 |
6. INSPECT AND ADJUST FRONT WHEEL ALIGNMENT
(a) Inspect and adjust the front wheel alignment (See page ).
Test yourself
A quick Toyota 4Runner quiz: every answer comes with an explanation and a link to the manual page.