Removal
HINT:
- Use the same procedure for the RH and LH sides.
- The procedure listed below is for the LH side.
1. REMOVE FRONT WHEEL
2. DRAIN BRAKE FLUID
NOTICE:
Wash off the brake fluid immediately if it comes into contact with a painted surface.
3. REMOVE FRONT DISC BRAKE PAD
(a) Remove the pin hold clip. Text in Illustration
NOTICE: The pin hold clip can be reused if it has sufficient rebound; no deformation or wear; and has had all rust, dirt and foreign matter cleaned off. |
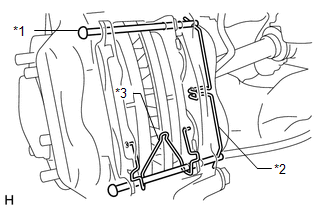 |
(b) Remove the 2 hole pins.
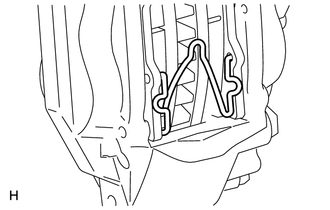
(c) Remove the front disc brake anti-rattle spring. NOTICE: The anti-rattle spring can be reused if it has sufficient rebound; no deformation, cracks or wear; and has had all rust, dirt and foreign matter cleaned off. |
 |
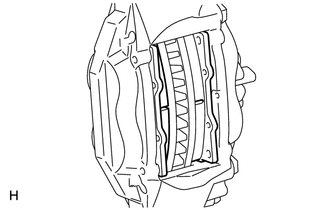
(d) Remove the 2 front disc brake pads from the disc brake cylinder. |
 |
(e) Remove the front No. 1 anti-squeal shims from each pad.
4. REMOVE DISC BRAKE CYLINDER ASSEMBLY LH
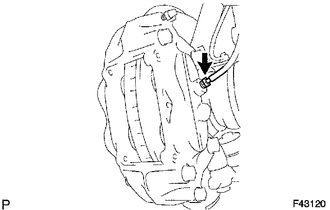
(a) Using a union nut wrench, disconnect the brake tube from the disc brake cylinder assembly. HINT: Use a container to catch brake fluid as it drains out. |
 |
(b) Remove the 2 bolts and disc brake cylinder assembly. |
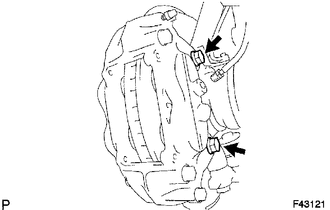 |
5. REMOVE FRONT DISC
(a) Place matchmarks on the disc and axle hub if planning to reuse the disc. Text in Illustration
|
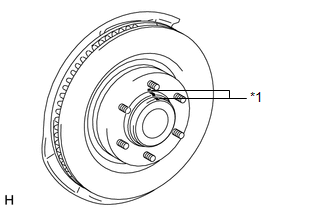 |
(b) Remove the front disc.
Test yourself
A quick Toyota 4Runner quiz: every answer comes with an explanation and a link to the manual page.