Removal
REMOVAL
PROCEDURE
1. REMOVE REAR WHEEL
Click here
2. REMOVE REAR STABILIZER LINK ASSEMBLY LH
(a) Loosen the nut (A) of the rear stabilizer link assembly LH. HINT: If the ball joint turns together with the nut, hold the stud with a 6 mm hexagon socket wrench. |
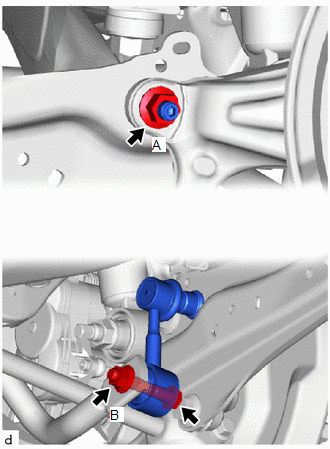 |
(b) Loosen the nut (B) of the rear stabilizer link assembly LH.
NOTICE:
Do not turn the bolt as it has a stopper. Loosen the nut with the bolt in place.
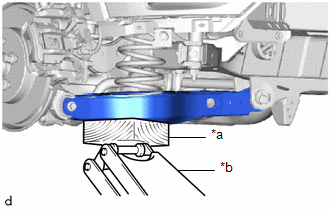
(c) Using a jack and a block of wood, support the No. 2 rear suspension arm assembly. NOTICE:
|
|
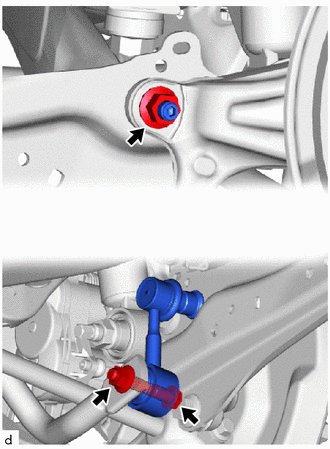
(d) Remove the bolt, 2 nuts and rear stabilizer link assembly LH. |
 |
3. REMOVE REAR STABILIZER LINK ASSEMBLY RH
HINT:
Perform the same procedure as for the left side.
4. REMOVE REAR STABILIZER BAR
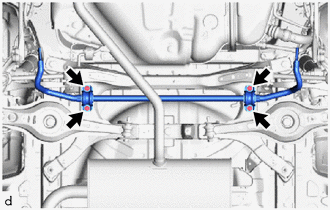
(a) Remove the 4 bolts, rear stabilizer bar, 2 No. 1 rear stabilizer bar brackets and 2 rear stabilizer bar bushings from the rear suspension member sub-assembly. |
 |
5. REMOVE NO. 1 REAR STABILIZER BAR BRACKET
(a) Remove the 2 No. 1 rear stabilizer bar brackets from the 2 rear stabilizer bar bushings. |
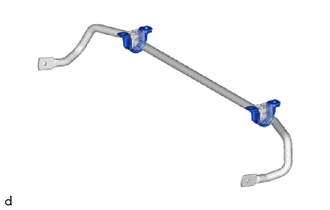 |
6. REMOVE REAR STABILIZER BAR BUSHING
(a) Remove the 2 rear stabilizer bar bushings. |
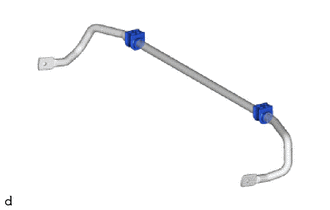 |