Room Light
Removal
REMOVAL
COMPONENTS (REMOVAL)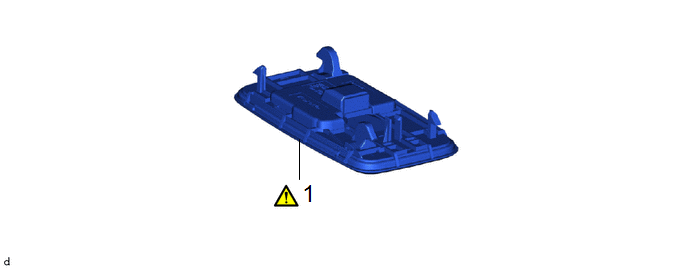
Procedure | Part Name Code |  |  |  |
|
|---|---|---|---|---|---|
1 |
NO. 1 ROOM LIGHT ASSEMBLY |
81240 |
 |
- |
- |
PROCEDURE
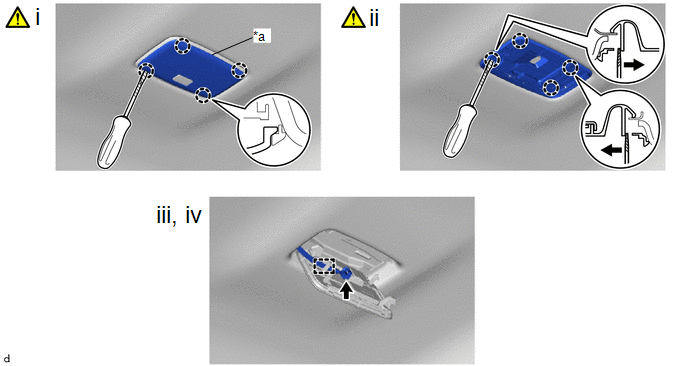
1. REMOVE NO. 1 ROOM LIGHT ASSEMBLY
*a |
Room Light Lens |
- |
- |
(1) Using a screwdriver with its tip wrapped with protective tape, disengage the claws to remove the room light lens.
(2) Using a screwdriver with its tip wrapped with protective tape, disengage the claws to remove the No. 1 room light assembly as shown in the illustration.
(3) Disconnect the connector.
(4) Disengage the guide to disconnect the wire harness.
Inspection
INSPECTION
PROCEDURE
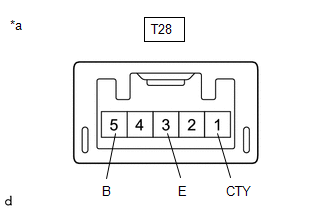
1. INSPECT NO. 1 ROOM LIGHT ASSEMBLY
(a) Check the illumination.
(1) Apply auxiliary battery voltage to the No. 1 room light assembly and check that the lights illuminate. OK:
If the result is not as specified, replace No. 1 room light assembly. |
|
Installation
INSTALLATION
COMPONENTS (INSTALLATION)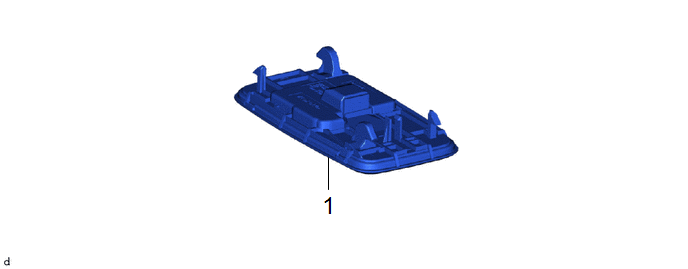
Procedure | Part Name Code |  |  |  |
|
|---|---|---|---|---|---|
1 |
NO. 1 ROOM LIGHT ASSEMBLY |
81240 |
- |
- |
- |
PROCEDURE
1. INSTALL NO. 1 ROOM LIGHT ASSEMBLY