Disassembly
1. REMOVE REAR END COVER
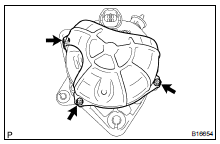
(a) Remove the 3 screws and rear end cover.
2. REMOVE END COVER
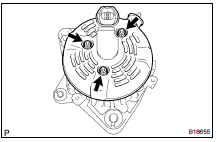
(a) Remove the 3 nuts and end cover.
(b) Remove the terminal insulator.
3. REMOVE BRUSH HOLDER
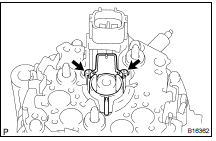
(a) Remove the rear seal plate from the brush holder.
(b) Remove the 2 screws and brush holder.
(c) Remove the front seal plate from the coil assembly.
4. REMOVE PULLEY

(a) Hold SST (A) with a torque wrench, and tighten SST (B) clockwise to the specified torque.
SST 09820-6301 1
Torque: 39 N·m
(b) Check that SST (A) is secured to the rotor shaft.

(c) Mount SST (C) in a vise.
(d) Insert SST (B) into SST (C), and attach the pulley nut to SST (C).
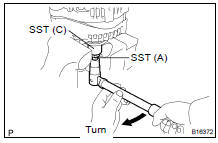
(e) To loosen the pulley nut, turn SST (A) in the direction shown in the illustration.
NOTICE: To prevent damage to the rotor shaft, do not loosen the pulley nut more than one-half of a turn.
(f) Remove the generator from SST (C).
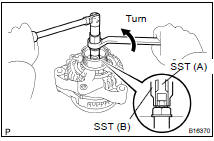
(g) Turn SST (B), and remove SST (A and B).
(h) Remove the pulley nut and pulley.
5. REMOVE COIL ASSEMBLY
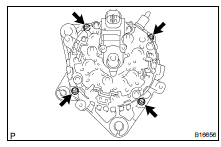
(a) Remove the 4 bolts.
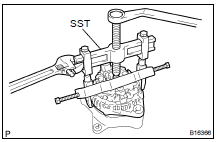
(b) Using SST, remove the coil assembly.
SST 09950-4001 1 (09951-04020, 09952-04010 09953- 04020, 09954- 04010, 09955- 04071, 09958-0401 1)
(c) Remove the generator washer.
6. REMOVE ROTOR FROM DRIVE END FRAME
Test yourself
A quick Toyota Land Cruiser quiz: every answer comes with an explanation and a link to the manual page.