Caution:Wait at least 90 seconds after disconnecting the cable from the negative (-) battery terminal to prevent airbag and seat belt pretensioner activation.
Remove shift lever knob sub-assembly
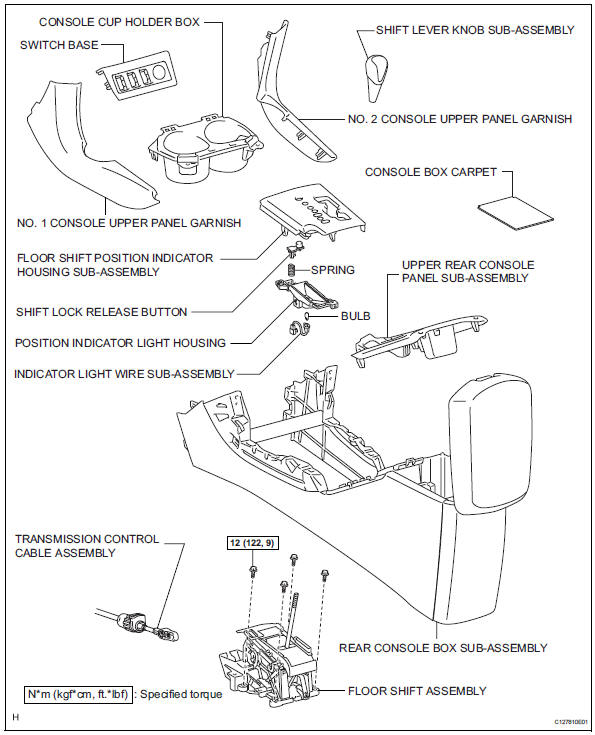
Remove rear console box sub-assembly
Remove the console box (see page ip-20).
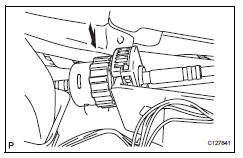
Disconnect transaxle control cable assembly
disconnect the control cable from the shift lever.
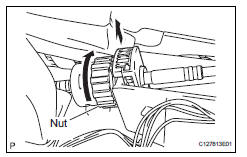
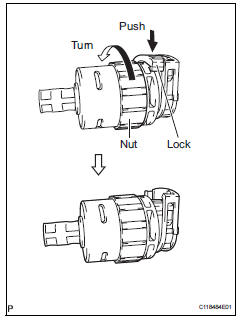
Turn the nut and disconnect the control cable from the shift lever retainer.
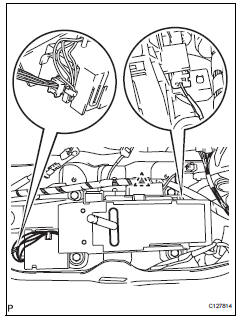
Remove floor shift assembly
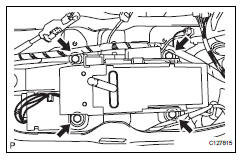
Remove the 4 bolts and floor shift.
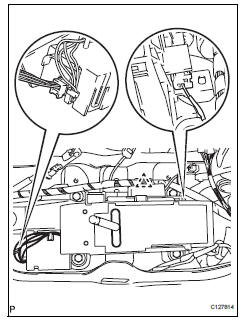
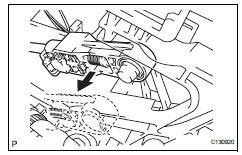
Disconnect the 2 connectors and detach the clamp.
Disassembly
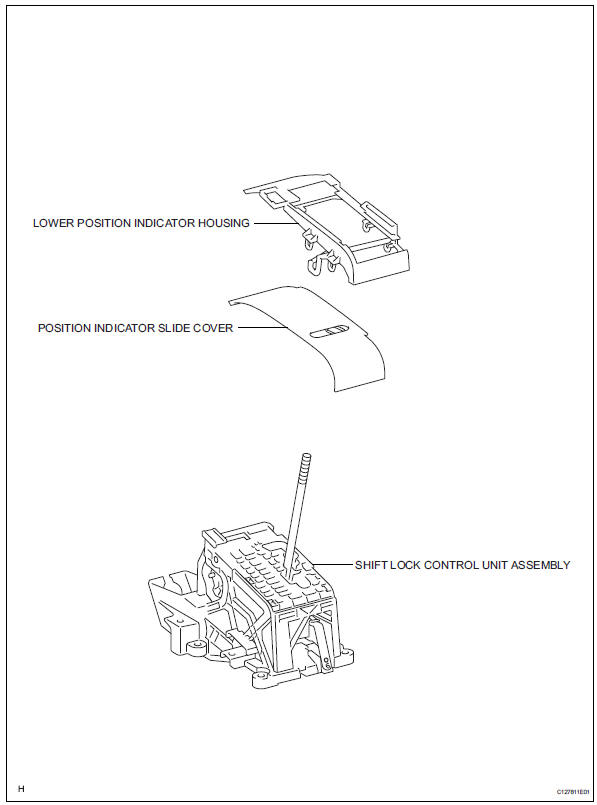
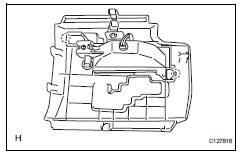
Remove lower position indicator housing
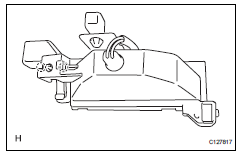
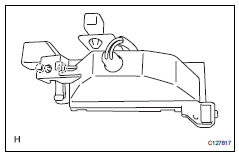
Detach the 4 claws and remove the housing.
Remove the position indicator slide cover with slide no. 2 Cover.
Remove position indicator light housing
Detach the 2 claws and remove the indicator light housing from the floor shift position indicator housing.
Remove indicator light wire sub-assembly
Remove shift lock release button
Detach the 2 claws and remove the button and spring from the position indicator light housing.
Adjustment
Inspect shift lever position
When shifting the lever from p to the r position with the ignition switch on and the brake pedal depressed, make sure that the shift lever moves smoothly and moves correctly into position.
Start the engine and make sure that the vehicle moves forward when shifting the lever from n to the d position and moves rearward when shifting the lever to the r position.
Adjust shift lever position
Shift the shift lever to the n position.
Slide the adjuster case cover in the direction shown in the illustration and pull out the lock piece.
Gently pull the cable rod toward the rear of the vehicle by hand to pull the cable taut.
If the operation cannot be performed as specified, inspect the park/neutral position switch assembly and check the shift lever assembly installation condition.
Press the lock piece into the adjuster case and lock it.
Slide the cover in the direction shown in the illustration.
Notice:
Slide the cover past the protrusion of the lock piece.
Inspect the operation after the adjustment.
Reassembly
Install shift lock release button
Install the spring and button and attach the claws to the position indicator light housing.
Install indicator light wire sub-assembly
Install position indicator light housing
Attach the indicator light housing to the shift position indicator housing with the 2 claws.
Install lower position indicator housing
Install the position indicator slide cover with slide cover no. 2 To the indicator housing.
Attach the housing to the floor shift assembly with the 4 claws.
Installation
Install floor shift assembly
Connect the 2 connectors and attach the clamp.
Install the floor shift with the 4 bolts.
Connect transaxle control cable assembly
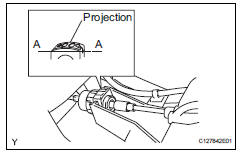
turn the nut of the control cable and push in the lock.
Install the control cable onto the shift lever retainer.
Notice:
Install the cable with the protruding portion of the cable outer facing upward.
After installing, check that the lock of the cable outer is protruding beyond portion a-a, as shown in the illustration.
Connect the control cable to the shift lever.
Notice:
Connect the control cable so that the adjusting mechanism lock of the control cable is installed on the driver side of the vehicle.
Connect cable to negative battery terminal
Inspect shift lever position (see page ax-138)
Adjust shift lever position (see page ax-138)
Install rear console box sub-assembly
Install the rear console box (see page ip-26).
Install shift lever knob sub-assembly
?
Test yourself
A quick Toyota RAV4 quiz: every answer comes with an explanation and a link to the manual page.