Pcv Valve
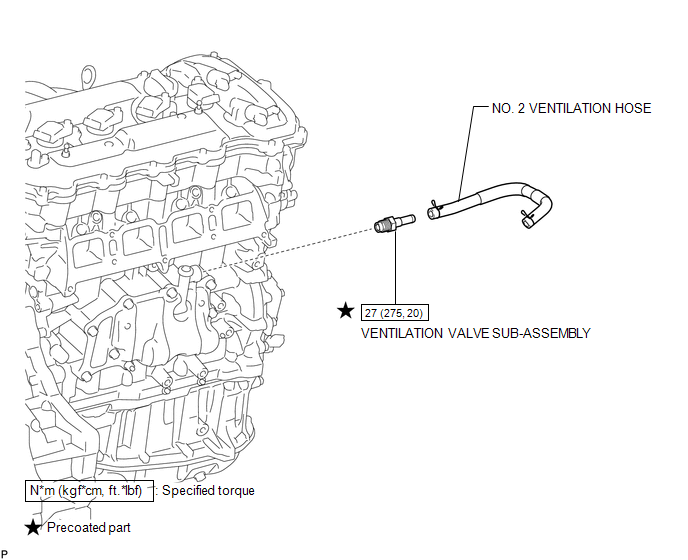
Removal REMOVAL PROCEDURE
1. REMOVE INTAKE MANIFOLD
(a) Remove the intake manifold (See page  ).
2. REMOVE VENTILATION VALVE SUB-ASSEMBLY
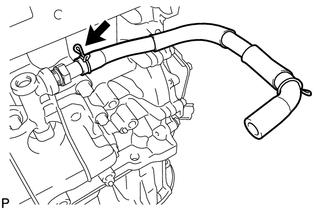
(a) Disconnect the No. 2 ventilation hose from the ventilation valve. |
 |
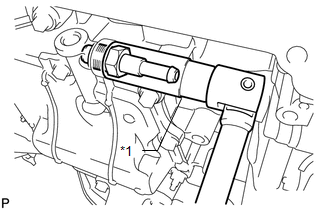
(b) Using a 19 mm deep socket wrench, remove the ventilation valve. Text in Illustration
|
 |
1. INSPECT VENTILATION VALVE SUB-ASSEMBLY
(a) Install a clean hose to the ventilation valve. |
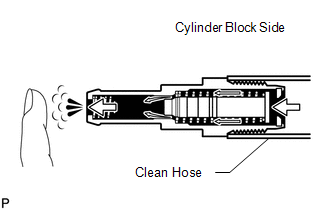 |
(b) Check the ventilation valve operation.
(1) Blow air into the cylinder block side and check that air passes through easily.
If the result is not as specified, replace the ventilation valve sub-assembly.
CAUTION:
Do not suck air through the valve.
Petroleum substances inside the valve are hazardous to your health.
(2) Blow air into the intake manifold side and check that air passes through with difficulty. If the result is not as specified, replace the ventilation valve sub-assembly. |
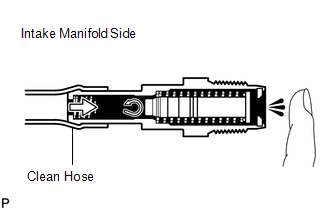 |
(c) Remove the clean hose from the ventilation valve.
Installation INSTALLATION PROCEDURE1. INSTALL VENTILATION VALVE SUB-ASSEMBLY
(a) Apply adhesive to 2 or 3 threads of the ventilation valve. Text in Illustration
Adhesive: Toyota genuine adhesive 1324, three bond 1324 or equivalent |
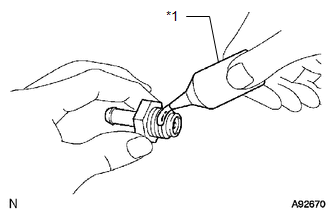 |
(b) Using a 19 mm deep socket wrench, install the ventilation valve. Text in Illustration
Torque: 27 N·m {275 kgf·cm, 20 ft·lbf} |
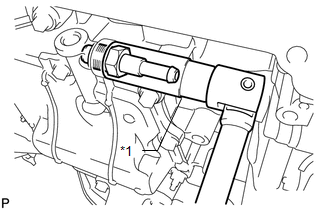 |
(c) Connect the No. 2 ventilation hose to the ventilation valve. |
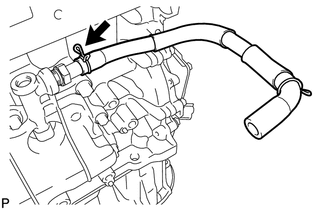 |
2. INSTALL INTAKE MANIFOLD
(a) Install the intake manifold (See page 
).
3. INSPECT FOR OIL LEAK
Test yourself
A quick Toyota Venza quiz: every answer comes with an explanation and a link to the manual page.