Driver Assistance Systems Front Camera -R242-
General Information
Note
- Before troubleshooting or servicing, the technicians must be familiar with the function and operation of the driver assistance systems front camera.
- Additional information: Refer to Owner's Manual.
The Driver Assistance Systems Front Camera -R242- includes optical information for several assist systems, based on the vehicle equipment.
Malfunction Recognition and Malfunction Indicator:The Driver Assistance Systems Front Camera -R242- is equipped with OBD.
Use the Vehicle Diagnostic Tester in "Guided Fault Finding".Overview - Driver Assistance Systems Front Camera -R242-
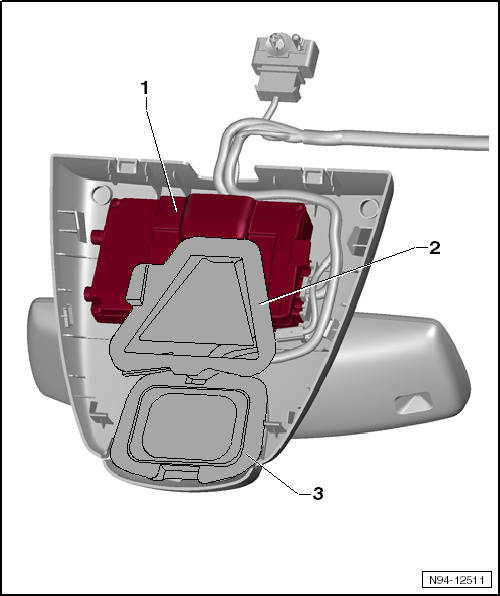
- Driver Assistance Systems Front Camera -R242-
- Component location: in the mount for the interior rearview mirror
- Removing and installing.
- Driver assistance systems front camera, replacing.
- Driver assistance systems front camera, coding.
- Driver assistance systems front camera, calibrating.
- Window Defogger for Front Sensor System -Z113-
- Component location: in the mount for the interior rearview mirror
- Removing and installing.
- Rain/Light Recognition Sensor -G397-
- Component location: in the mount for the interior rearview mirror
- Removing and installing.
Driver Assistance Systems Front Camera -R242-, Removing and Installing
Note
If the Driver Assistance Systems Front Camera -R242- must replaced, the "replacing driver assistance systems front camera" must be performed each time in order to rear the coding in the unit.
Removing
- Remove the interior rearview mirror.
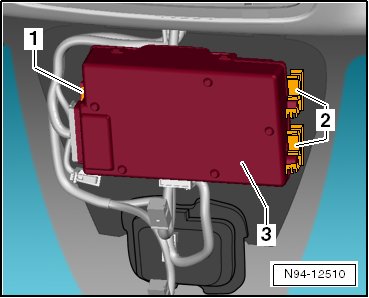
- Push the retainers -2- upward and carefully remove the Driver Assistance Systems Front Camera -R242--1- to the rear and out of the right mounting.
- Pull the Driver Assistance Systems Front Camera -R242- to the right out of the left mounting. Pay attention to the wires still connected.

- Disconnect the connector -1- and remove the Driver Assistance Systems Front Camera -R242--2-.

Installing
Install in reverse order of removal. Note the following:
- Connect the connector to the Driver Assistance Systems Front Camera -R242-.
- Insert the locating tab -1- on the left side of the Driver Assistance Systems Front Camera -R242- first into the mount on the carrier plate.
- Then lock the Driver Assistance Systems Front Camera -R242--3- into the spring clips -2- on the right side.
- Install the interior rearview mirror.
- Calibrate the driver assistance systems front camera.
Driver Assistance Systems Front Camera -R242-, Replacing
- Connect the Vehicle Diagnostic Tester.
- Replace the Driver Assistance Systems Front Camera -R242- using the Vehicle Diagnostic Tester in "Guided Fault Finding".
Driver Assistance Systems Front Camera -R242-, Coding
- Code the Driver Assistance Systems Front Camera -R242- using the Vehicle Diagnostic Tester in "Guided Fault Finding".
Driver Assistance Systems Front Camera -R242-, Calibrating
It is necessary to calibrate the front camera for the following reasons:
- The fault "no or incorrect basic setting/adaptation" is present in the DTC memory.
- Depending on the equipment level of the vehicle, both the Directional Stabilization Assistance Control Module -J759- and the camera were replaced.
- The windshield was removed or replaced.
- The rear axle toe was adjusted.
- Modifications were performed on the suspension which affect vehicle height.
- The level control system sensors on vehicles with damping regulation or air suspension were readapted.
Driver Assistance Systems Front Camera -R242-, calibrating.
Window Defogger for Front Sensor System -Z113-, Removing and InstallingThe Window Defogger For Front Sensor System -Z113- is integrated in the bonded carrier plate in the windshield. It cannot be replaced separately. The windshield must be replaced if it is damaged.
Special Tools
Special tools and workshop equipment required
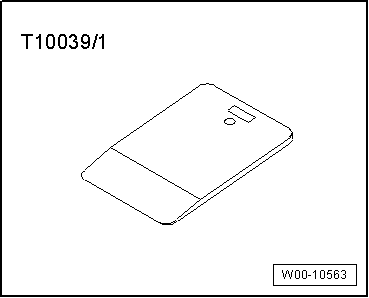
- Trim Release Lever - Wedge -T10039/1-
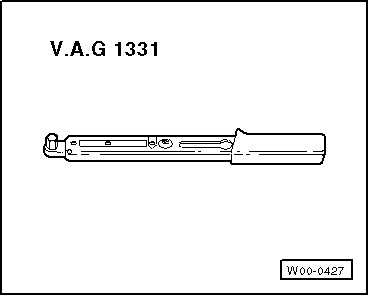
- Torque Wrench 1331 5-50Nm -VAG1331-
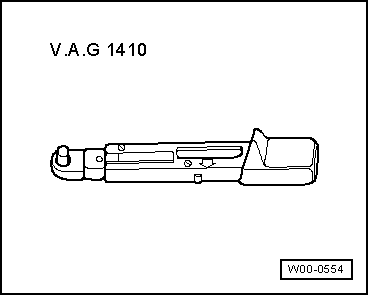
- Torque Wrench 1410 -VAG1410-
- Torque Wrench 1783 - 2-10Nm -VAG1783-

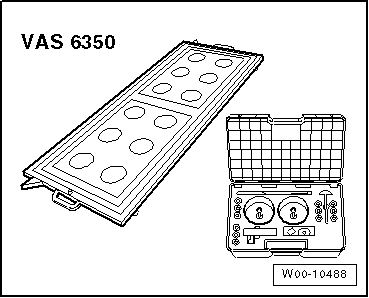
- Calibration Tool -VAS6350-
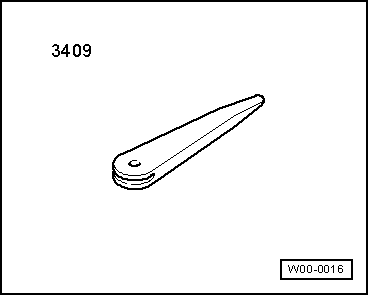
- Trim Removal Wedge -3409-
Test yourself
A quick Volkswagen Tiguan quiz: every answer comes with an explanation and a link to the manual page.