Rear seats
Assembly overview - rear bench seat / individual seats

- Seat bench / individual seats
- with wire frame
- Wire frame foamed into rear bench seat / individual seats
- Remove and install
- Receiving grommet
- 2 pieces
- Locking hook
- 2 pieces
Assembly overview - rear backrest
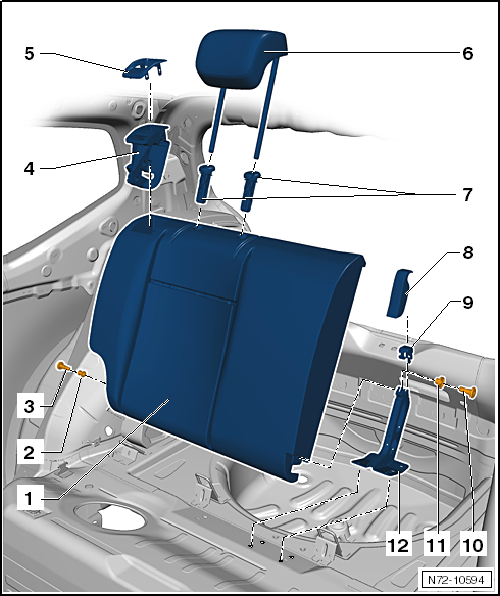
- Rear backrest
- one-piece or split (depending on equipment)
- with rear backrest frame
- Remove and install
- Bearing bushing outer
- Bolt
- 8 N·m
- Locking with lock cylinder
- Remove and install
- Trim panel
- for locking with lock cylinder
- Remove and install
- Head restraint
- must be locked in head restraint guides
- Remove and install
- Head restraint guide
- Remove and install
- Cover cap
- for center backrest bearing
- Clamp
- for center backrest bearing
- Remove and install
- Bolt
- 8 N·m
- Bearing bushing inner
- for rear backrest
- Center backrest bearing
Removing and installing rear bench seat / individual seats
Removing
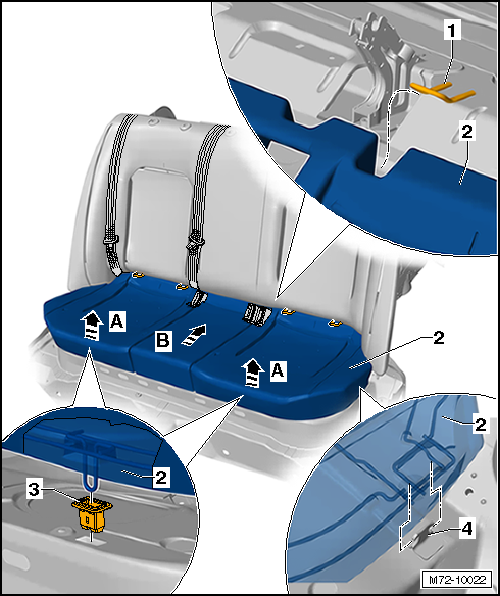
- Pull rear bench seat / individual seats -2- out of receiving grommets -3- at the front, upward in direction of arrow A.
- Push rear bench seat / individual seats -2- rearward in direction of arrow B and at the same time release them from locking hooks -4- on the right and left.
- Pull rear bench seat / individual seats -2- out at the rear from ISOFIX child seat anchorages -1-.
- Remove rear bench seat / individual seats -2-.
Installing

Note
Before installation, check all fasteners for damage and replace them if necessary.
- Installation is performed in the reverse order.
Removing and installing cover for locking

Note
- Removal and installation is shown for the left side. Removal and installation on the right side is performed accordingly, mirror-inverted.
- For better overview, the cover is shown in its installed position.
Required Special Tools, Test and Measuring Equipment and Auxiliary Items
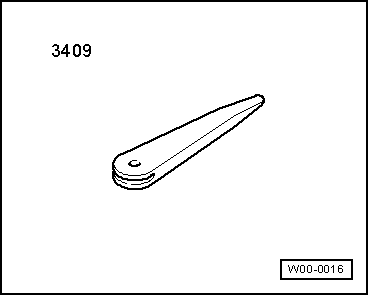
- Release Wedge -3409-
Removing
- Fully open cover and padding of rear backrest.
- Remove head restraint guide.
- Roll rear backrest cover back over the padding so that the padding is exposed.
- Press padding slightly downward until tabs -2- are visible.
- Release tabs -2- of cover for locking -1- using removal wedge -3409-.

Note
Alternatively, the tabs can be carefully released with a screwdriver.
- Remove cover for locking -1- upward.
Installing
- Installation is performed in the reverse order.

Removing and installing lock cylinder

Note
Removal and installation is shown for the left side. Removal and installation on the right side is performed accordingly, mirror-inverted.
Required Special Tools, Test and Measuring Equipment and Auxiliary Items
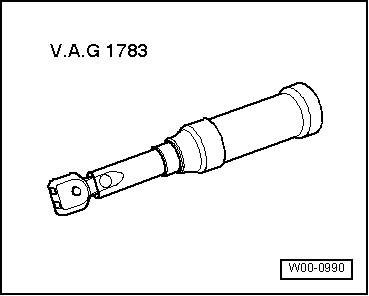
- Torque wrench -V.A.G 1783-
Removing
- Remove cover for locking.
- Pad cover and padding of rear backrest in the area of the locking.
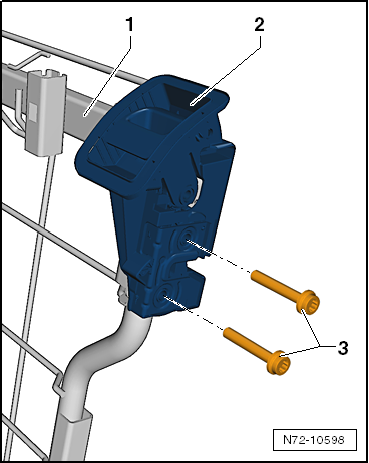
- Unscrew bolts -3- (4.5 N·m).
- Remove locking with lock cylinder -2- from rear backrest frame -1-.
Installing
- Installation is performed in the reverse order.
Removing and installing head restraint
Removing
- Unlock rear backrest and fold it forward.
- Press height adjustment release button -3- on head restraint guide -4- -arrow- and at the same time pull head restraint -1- upward out of rear backrest -2-.
Installing
- Push head restraint into rear backrest to the lowest position.
- Check that head restraint is correctly locked.
- Head restraint must no longer be pullable out of rear backrest.

Removing and installing head restraint guide
Removing
- Remove rear seat backrest.
- Remove head restraint.
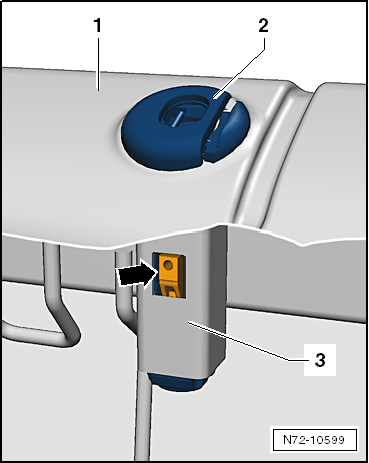
- Open cover and padding of rear backrest -1-.
- Fold backrest cover up until head restraint tube -3- welded into rear backrest frame and head restraint guide -2- are visible.
- Press locking lug of head restraint guide inward -arrow- and at the same time pull head restraint guide out of rear backrest frame.
Installing

Note
Before installation, check all fasteners for damage and replace them if necessary.
- Installation is performed in the reverse order.
Removing and installing rear backrest
Required Special Tools, Test and Measuring Equipment and Auxiliary Items
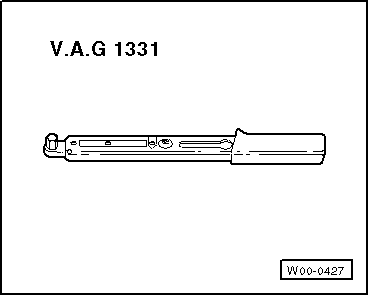
- Torque Wrench -V.A.G 1331-

Note
The procedure is shown using the split rear backrest as an example.
Removing
- Remove upper luggage compartment floor.
- Remove rear seat bench / individual seats.
- Fold rear backrests forward.
- Pull side leg of cover cap outward and remove cover cap from center backrest bearing.
- Unscrew bolt -1- (8 N·m) and remove clamp -3- from center backrest bearing -2-.

- Release locking hooks -1- on both sides with a screwdriver. Press locking hooks with the screwdriver against direction of travel -arrow-.
- Remove left rear backrest -3- from outer backrest bearing and center backrest bearing -2-.
- Remove right rear backrest -4- from outer backrest bearing -5- and center backrest bearing -2-.

Installing
Installation is carried out in the reverse order of removal, observing the following:

Note
Installation sequence: Install right rear backrest into outer and center backrest bearings. Then install left rear backrest.
- Close locking hooks in outer backrest bearings with a screwdriver.

WARNING!
Perform a function check after installation!
- Engage the backrest in the lock:
- Red marking of the backrest lock must not be visible!
- Check the lock by pulling on the backrest surface.
- Unlock the backrest and fold it forward:
- Red marking of the backrest lock must be visible!
- Engage the backrest in the lock again.