Rear bumper
Assembly overview - rear bumper
Assembly overview - rear bumper cover

Note
Depending on model variant, minor differences must be taken into account for the rear bumper cover.
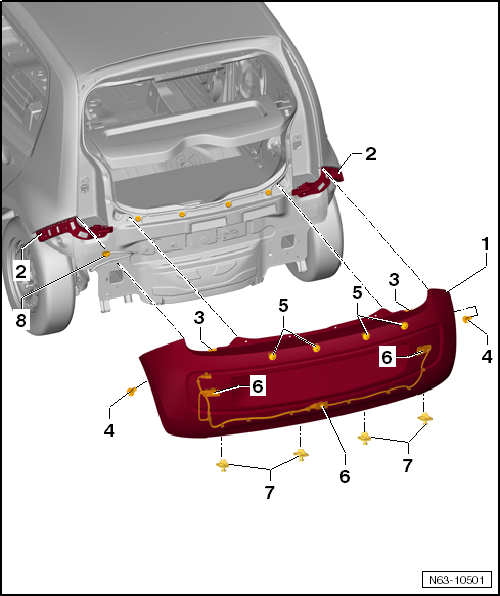
- Rear bumper cover
- Material PP/EPDM
- Remove and install
- side guide
- left and right
- Snap hook
- left and right
- Bolt
- 1 piece per side
- pointing upwards, bolted to the side panel
- Tightening torque: 2 N·m
- Bolt
- 4 pieces
- Tightening torque: 2 N·m
- PDC sensor
- 3 pcs.
- Expanding rivet
- 3 pcs.
- Electrical connector
Assembly overview - guides for rear bumper cover
Required Special Tools, Test and Measuring Equipment and Auxiliary Items
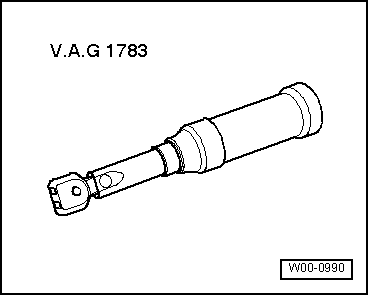
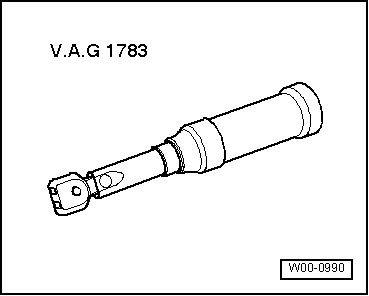
- Torque wrench -V.A.G 1783-

- Expansion nut
- 4 pieces
- Side guide profile
- left and right
- Expansion nut
- 4 pcs per side
- Bolt
- 3 pieces per side
- Tightening torque: 2 N·m
Assembly overview - rear bumper carrier
Required Special Tools, Test and Measuring Equipment and Auxiliary Items
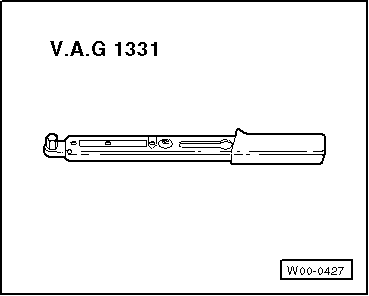
- Torque Wrench -V.A.G 1331-

- Rear bumper carrier
- not fitted in all markets
- Bolt
- 2 pieces per side
- Tightening torque: 20 N·m
Assembly overview - bumper carrier foam part
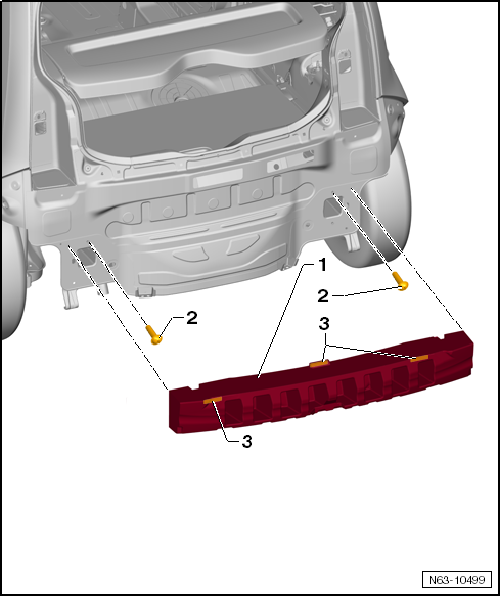
- Rear foam part
- not fitted in all markets
- bonded to the closing panel
- Bolt
- Blind screws, gas-tight
- 2 pieces
- Tightening torque: 20 N·m

DANGER!
The bolts are blind screws and seal the interior against exhaust gases. They must always be installed.
- Adhesive tape
- with protective film
Removing and installing rear bumper

Note
Depending on model variant, minor differences must be taken into account when removing and installing the rear bumper cover.
Required Special Tools, Test and Measuring Equipment and Auxiliary Items
- Torque wrench -V.A.G 1783-
Removing

Carry out the following work:
- Remove tail lights in the side panel → Electrical System.
- Unscrew bolts -4-.
- Unscrew bolts -3- in the wheel housing (pointing upwards) on the left and right.
- Remove expansion rivets -5- from below.
Further removal is only possible with a second mechanic.
- Pull rear bumper cover -1- out of the retainers of the side guide profiles -2- on the left and right at the side panel -arrows b-.
- Release rear bumper cover -1- from the retainers -arrows a-.
- With a second mechanic, pull the rear bumper cover -1- off the vehicle parallel -arrows b-.
- Disconnect electrical connectors -6- of components (if fitted).
Installing

Carry out the following work:
- Connect electrical connectors of components (if fitted).
- Guide rear bumper cover -1- parallel to the vehicle -arrows a-.
- Press rear bumper cover -1- into the retainers -arrows b-.
- Press rear bumper cover -1- onto the side guide profiles on the left and right -5- at the side panel until they engage with each other -arrow c-.
- Check parallel alignment and gaps.
- Fit bolts -2- and -3- and tighten them to the specified tightening torques.
- Clip expansion rivets -3- in from below.
- Install tail lights in the side panel → Electrical System.
Repairing bumper cover

Note
If the rear bumper cover is damaged, clarify whether plastic repair is possible before replacing it.
For description see → General Notes; Body Repair, Body Assembly Work.