Body and Paint
Front Seatback. Removal and Installation
In this manual: Body and Paint
18steps
~108min
5/5difficulty
Done 0 of 18
Special Service Tools / General Equipment
| Feeler gauge | |
| Flat-blade screwdriver | |
| Locking Pliers |
Removal
- Remove the front seat.
Refer to: Front Seat (501-10 Seating, Removal and Installation). - If equipped.
Disconnect the heated seat electrical connectors and move the wiring harness aside.
- Disconnect the electrical connector and move the wiring harness aside.

- If equipped.
- Disconnect the seatback trim cover straps and set the seatback trim cover aside.

- Remove the bolt cover.
- Remove the bolt.
- Remove the recline knob.

- If equipped.
Release the tab and remove the height adjustment knob.
Use the common service equipment: Flat-blade screwdriver
- Remove the screw.
- Slide the side shield forward and remove it.
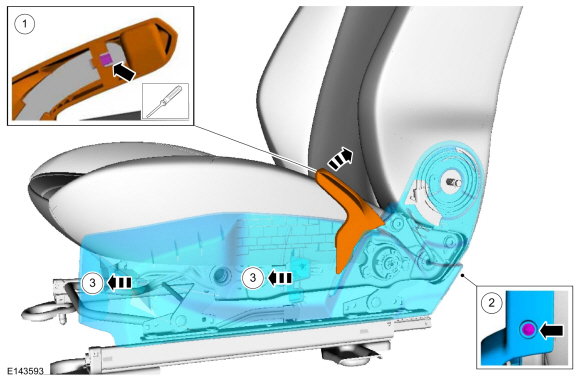
- If equipped.
- Remove the screw.
- Pull the seat cover up, then outward.
- Release the clip and remove the seat cover.
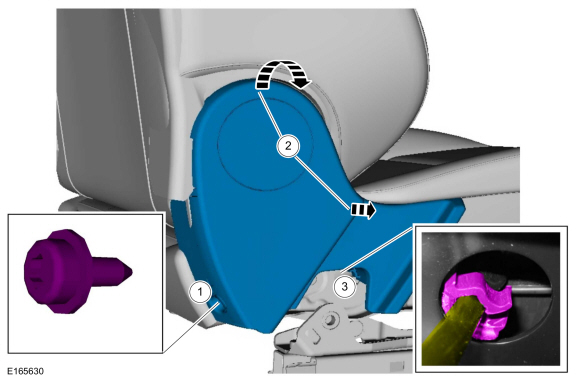
- Remove the bolts and remove the front seatback.

Installation
- Install the front seatback and tighten the bolts.
Torque: 35 lb-ft (48 N·m)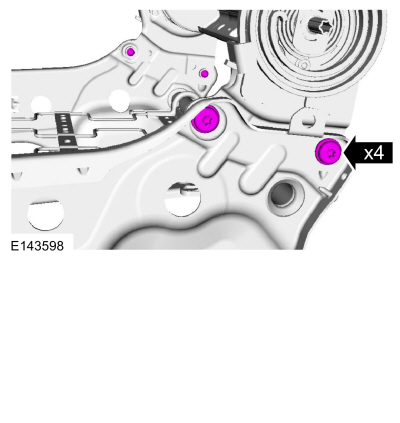
- Install the recline handle.
- Tighten the bolt.
- Fully slide the recline handle toward the inboard side of the seat, then release the pressure on the recline handle.
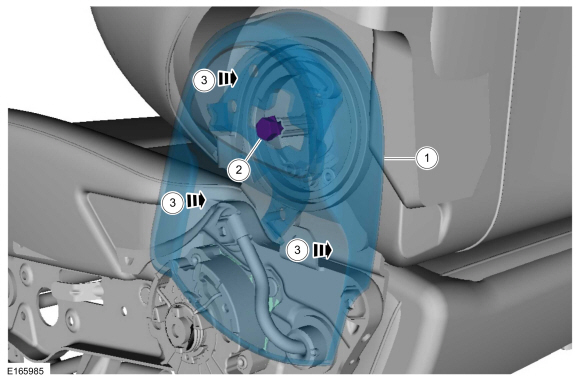
- On both sides, secure the recline shaft with the retaining pliers clamped on the shaft and flush with the seat side.
Use the common service equipment: Retaining ring pliers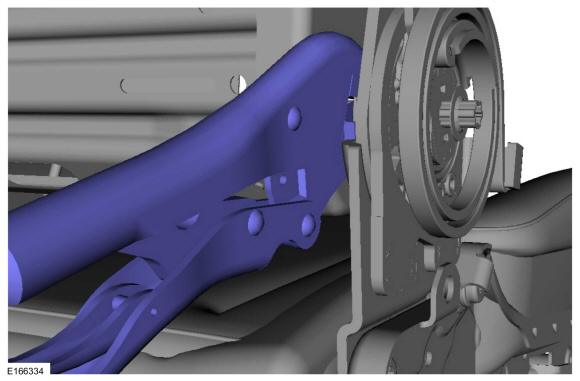
- If the clearance between the inner pressure nut and the bushing exceeds 0.5 mm (0.019 in), install a 0.5 mm (0.019 in) feeler gauge or shim between the inner pressure nut and the bushing, and slide the inner pressure nut until it fits snugly against the feeler gauge or adjusting washer.
Use the common service equipment: Feeler gauge
- Remove the bolt.
- Remove the recline knob.
- Press the outer pivot pressure nut (located behind the recline handle) flush with the outer bushing.
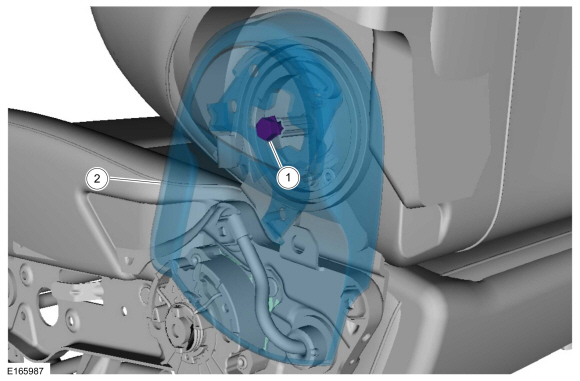
- Both sides. Remove the retaining clips.

- Check that the clearance between the outer pressure nut and the bushing is 0.3 mm to 1.0 mm (0.011 to 0.039 in).
Use the common service equipment: Feeler gauge
- Install the side shield.
- Install the screw.
Torque: 27 lb-in (3 N·m)
- If equipped.
Install the height adjustment knob.

- Install the recline handle.
- Tighten the bolt.
Torque: 35 lb-in (4 N·m)
- Install the bolt cover.
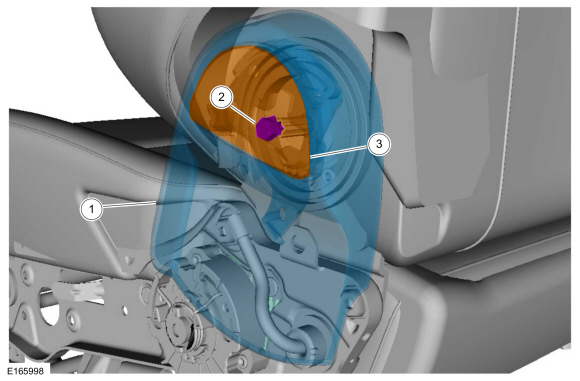
- Attach the wiring harness to the seat cover clip.
- Install the seat cover.
- Tighten the screw.
Torque: 27 lb-in (3 N·m)

- Install the front seat.
Refer to: Front Seat (501-10 Seat Installation, Removal and Installation).
Test yourself
A quick Ford Fiesta quiz: every answer comes with an explanation and a link to the manual page.
Was this page helpful?