Body (Interior and Exterior)
Console Armrest Repair Procedures
In this manual: Body (Interior and Exterior)
10steps
~60min
3/5difficulty
Done 0 of 10
Replacement
|
|
- Remove the shift lever knob and boots (A) by pulling them vertically.

- Be careful when removing the shift lever knob because, unlike some models, turning it to remove may damage the shift lever knob.

- Insert the shift lever knob onto the shift lever, then press it with a rubber mallet (pressure: 55±10 kgf).
- Continue pressing until the installation line on the rod is no longer visible.
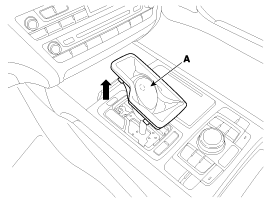
- Using a screwdriver or remover, completely remove the front console upper cover (A).

- Disconnect the connectors (A).

- Using a screwdriver or remover, remove the console side cover (A). [LH]

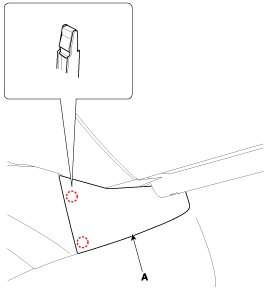
- Remove the console armrest (A).
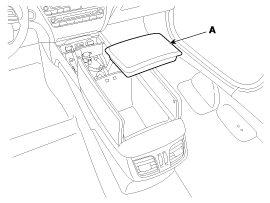
- Remove the console armrest service cover (A).

- Remove the mounting bolts, then remove the console armrest (A).
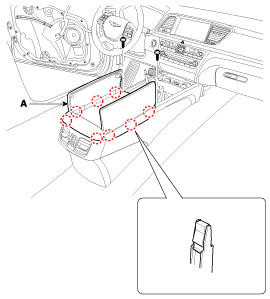
- Disconnect the connectors (A).
- Remove the front console armrest (B).

- Install in the reverse order of removal.

- Make sure the connector is properly connected.
- Replace any damaged clips.
Test yourself
A quick Hyundai Genesis DH quiz: every answer comes with an explanation and a link to the manual page.
Was this page helpful?