Body Electrical System
Head-Up Display Repair Procedures
In this manual: Body Electrical System
12steps
~72min
3/5difficulty
Done 0 of 12
Removal
- Disconnect the negative (-) battery terminal.
- Remove the head-up display front panel (A).
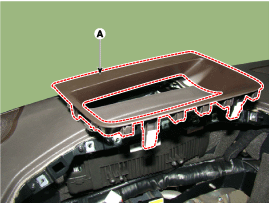
- Remove the instrument cluster. (Refer to Gauges and Meters - "Instrument Panel")
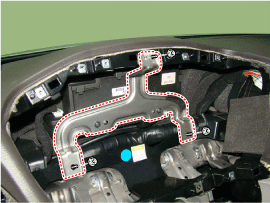
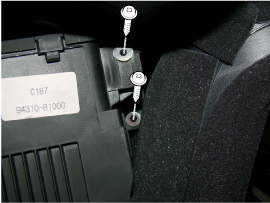
- Remove the head-up display bracket (A) after loosening the mounting nuts.
- Remove the head-up display (A).
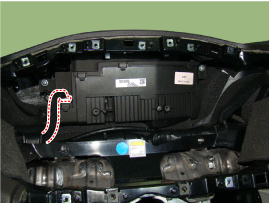
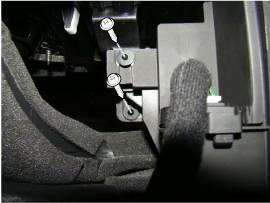
Installation
- Install the head-up display.
- Install the head-up display bracket and instrument cluster.
- Install the head-up display bezel.
- Connect the negative (-) battery terminal.
Inspection
If part of the head-up display image is distorted or not at the driver's eye level, the Global Diagnostic System (GDS) can be used to perform calibration.- When Calibration is Necessary
A. When replacing the head-up display. B. If the image is distorted after replacing the windshield (double image eliminated after installing the film inside the windshield glass). C. When removing/installing or replacing the main cluster panel mounted on the HUD. D. When the head-up display video unit installation position is not at the driver's eye level and focus is inconsistent. - Calibration Items
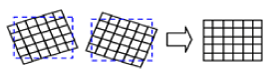
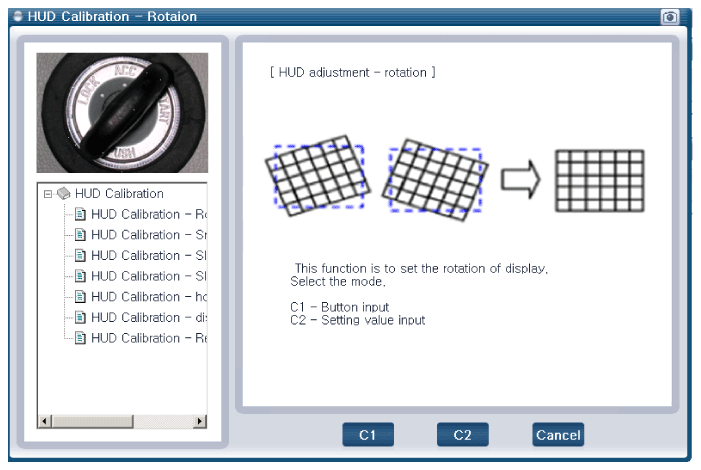
No Video Calibration Functions Calibration Cases 1 Rotation: Calibrates in a semicircle/clockwise around the center.
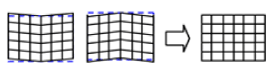
2 Smile: Calibrates vertically at the center.
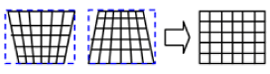
3 Tilt (up/down): Calibrates according to the up/down tilt.
4 Tilt (left/right): Calibrates according to the left/right tilt.
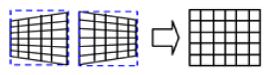
5 Parallel Compensation

6 Marker Up/Down Movement: Compensates for eye height.

7 Initialization: Returns to the state before video compensation. - Calibration Procedure
- Park the vehicle on a level surface for accurate adjustment.
- Make sure there are no foreign objects on the windshield.
- The service technician connects the Global Diagnostic System (GDS) to the vehicle and selects the vehicle type and the HUD additional system function.
- In the additional functions, select "HUD Calibration."
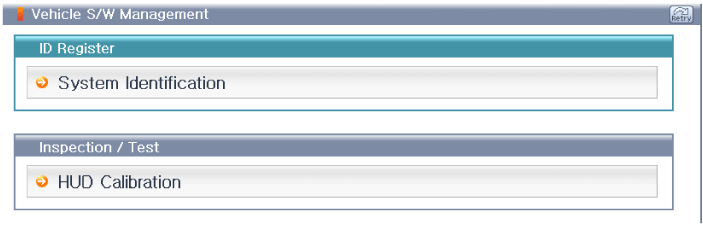
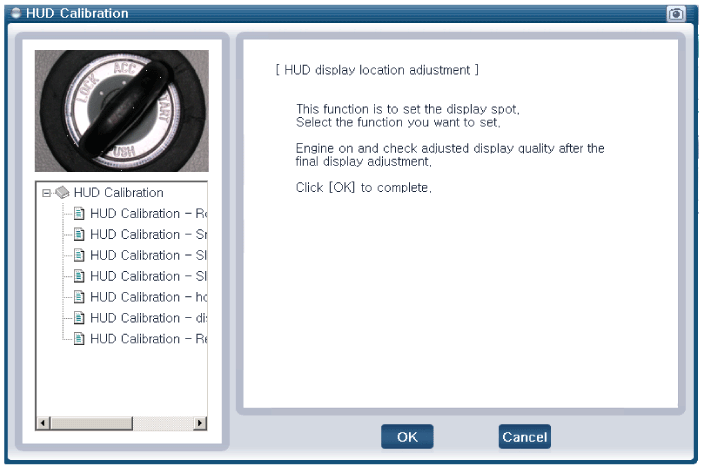
- Before "Calibration," perform "HUD Calibration - Initialization."
"HUD Calibration - Initialization" must be performed first, before proceeding to "Calibration."
- Select the required calibration items and perform "HUD Calibration."
- After calibration is complete, start the engine, then turn the engine off and confirm that video calibration is complete.
Test yourself
A quick Hyundai Genesis DH quiz: every answer comes with an explanation and a link to the manual page.
Was this page helpful?