Engine Mechanical System
Fan
In this manual: Engine Mechanical System
17steps
~102min
4/5difficulty
Done 0 of 17
Components and Component Location
COMPONENTS
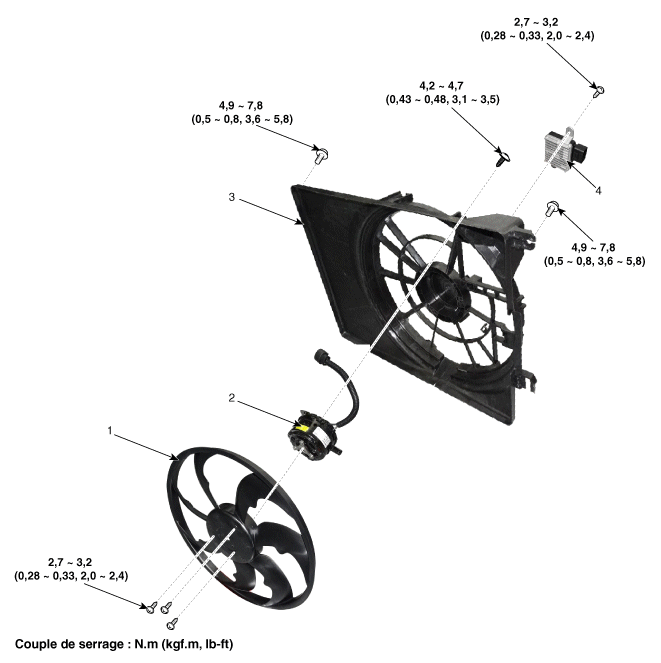
| 1. Cooling Fan 2. Fan Motor |
3. Cooling fan shroud 4. Cooling fan controller (PWM) |
Specifications
Specifications
| Item | Specification |
| Motor output (W) | 170 |
| Fan Type | EXTRACTOR |
| Blower Speed Control | PWM |
| Current Consumption | 14.2 +10% MAX. |
Circuit Diagrams
Wiring Diagram
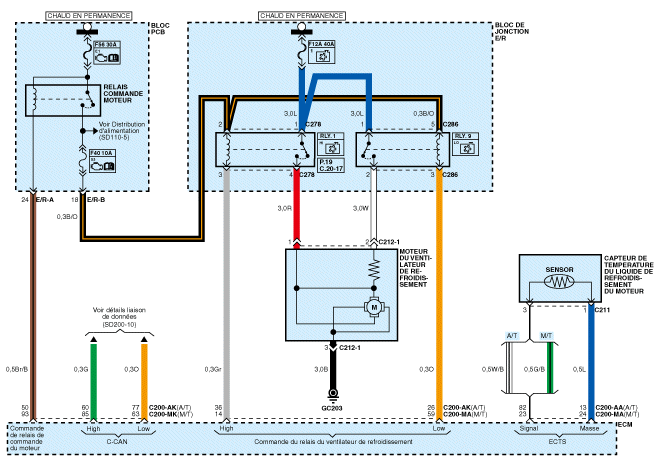
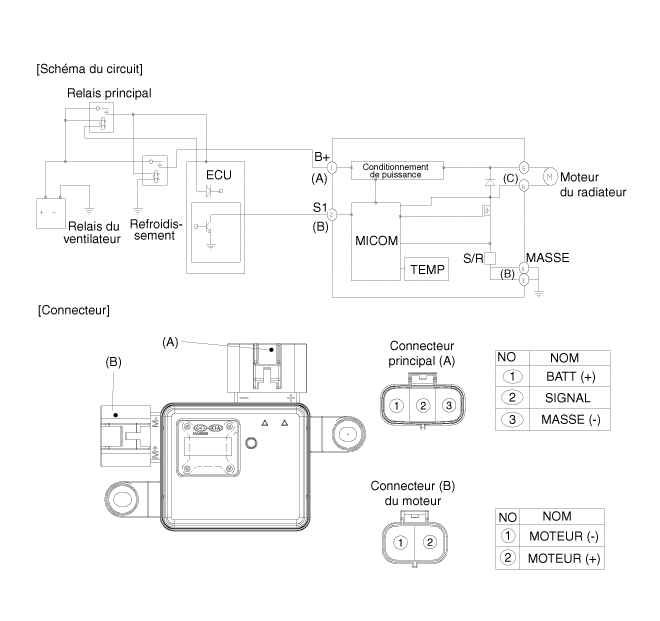
Repair Procedures
Removal and Installation
COOLING FAN ASSEMBLY- Disconnect the negative battery cable.
- Remove the air duct and air cleaner assembly. (Refer to Intake and Exhaust System - "Air Cleaner")
- Disconnect the battery and battery tray. (Refer to Engine Electrical System - "Battery".)
- Disconnect the wire harness connector (A).
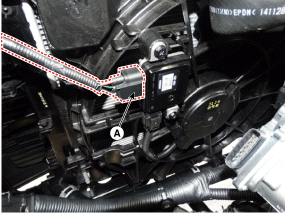
- Loosen the upper radiator hose bracket mounting bolt (B).
Tightening torque: 3.9~5.9 N·m
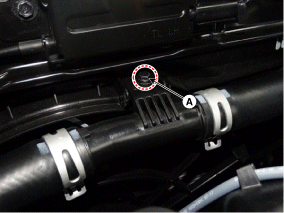
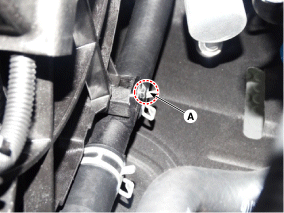
- Loosen the lower radiator hose bracket mounting bolt (B).
Tightening torque: 3.9~5.9 N·m
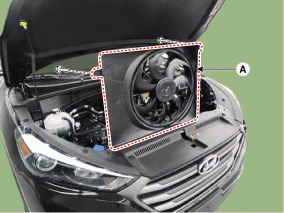
- Remove the cooling fan (A).
Tightening torque: 4.9 - 7.8 N·m
- Disconnect the wiring harness connector (A) and the fan motor connector (B).
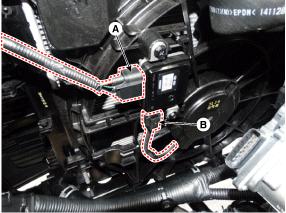
- Disconnect the PWM (A) from the cooling fan.
Tightening torque: 2.8 ~ 3.2 N·m
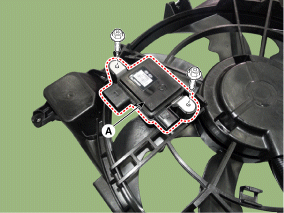
- To install, perform the removal procedure in reverse order.
DISASSEMBLY
- Remove the cooling fan (A) from the fan shroud.
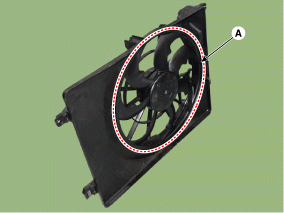
- Disconnect the fan motor connector (A) from the PWM.
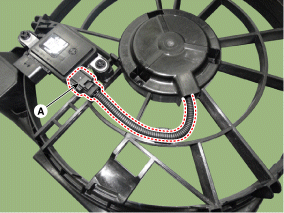
- Loosen the screws, then remove the cooling fan motor (A) from the cooling fan shroud.
Tightening torque: 4.2 ~ 4.7 N·m
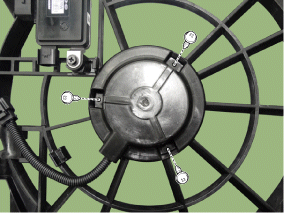
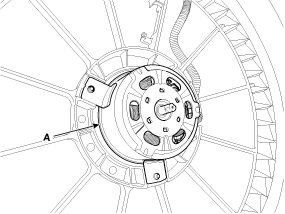
- Installation is in the reverse order of removal.
Inspection
Fan motor
- Disconnect the fan motor connector from the PWM.
- Connect battery voltage to the "+" terminal and ground to the "-" terminal.
- Check that the cooling fan motor operates correctly.
Test yourself
A quick Hyundai Tucson quiz: every answer comes with an explanation and a link to the manual page.
Was this page helpful?