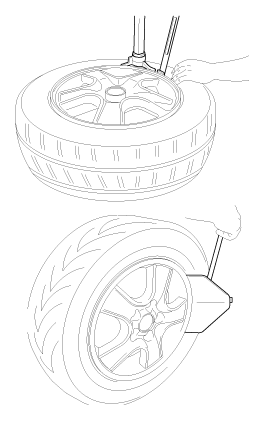
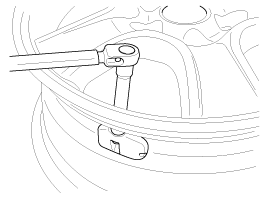
The sensor can be unscrewed before the tire bead is removed.
The tire bead should be broken approximately 90° from the valve side of the wheel. The bead breaker should not be set too deep.
Avoid contact between the tire/tool and the valve when dismounting.
Dismounting should end near the valve.
Sensor Removal
Handle the sensor carefully.
Remove the valve nut.
Do not reuse the valve nut.
Discard the valve assembly.
Installation
Sensor Installation
Handle the sensor carefully.
Avoid contact with grease.
Make sure the wheel being installed is designed for sensor installation. There is normally a mark indicating this.
Make sure the valve hole and the mating surface of the wheel are clean.
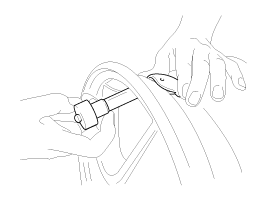
Insert the sensor-valve assembly through the valve hole in the rim. Press the sensor against the rim and the rubber grommet against the sealing surface.
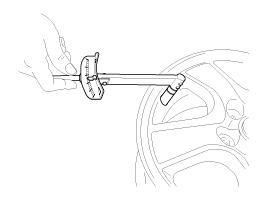
Install the nut onto the valve stem, then tighten the nut.
Continue tightening the nut until it contacts the rim, then tighten to a torque of 3.5 ~ 4.5 N·m.
Tighten slowly in quarter-turn increments until the final torque is reached.
Do not exceed the specified torque.
Do not use electric or pneumatic tools.
Make sure the sensor is securely attached to the rim.
Risk of damage during tire mounting/demounting if the sensor is not securely attached to the rim.
Adjustment
Diagnostic Procedure Using Scan Tool
The main content of the diagnostic procedures using the scan tool is as follows:
Connect the diagnostic link connector (16-pin), located in the lower cover on the driver's side, to the scan tool, then turn the scan tool on after switching the ignition on.
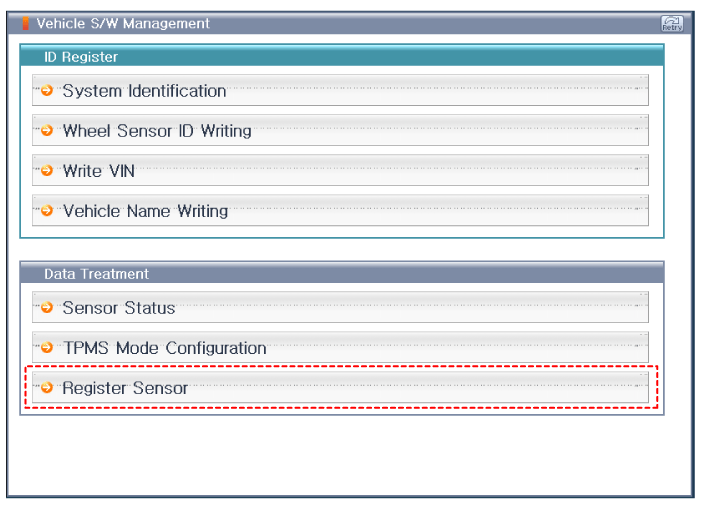
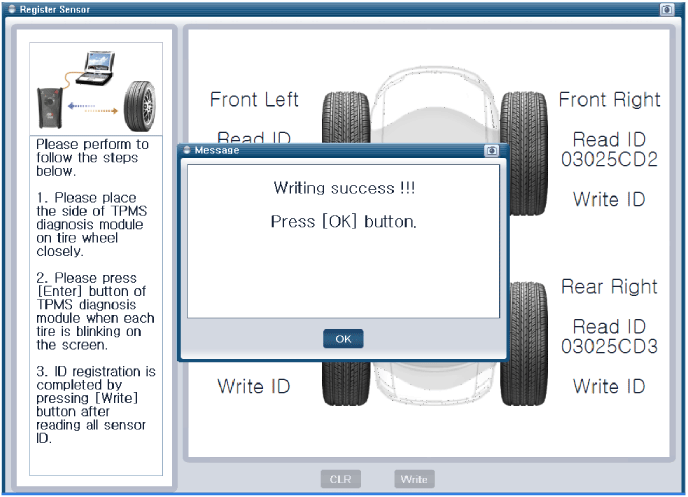
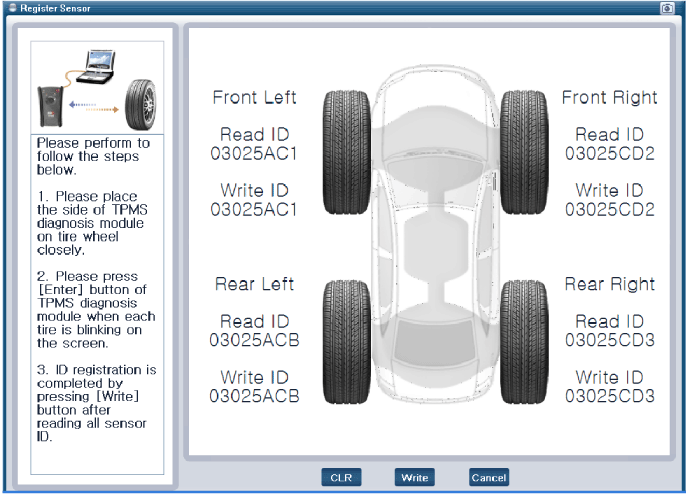
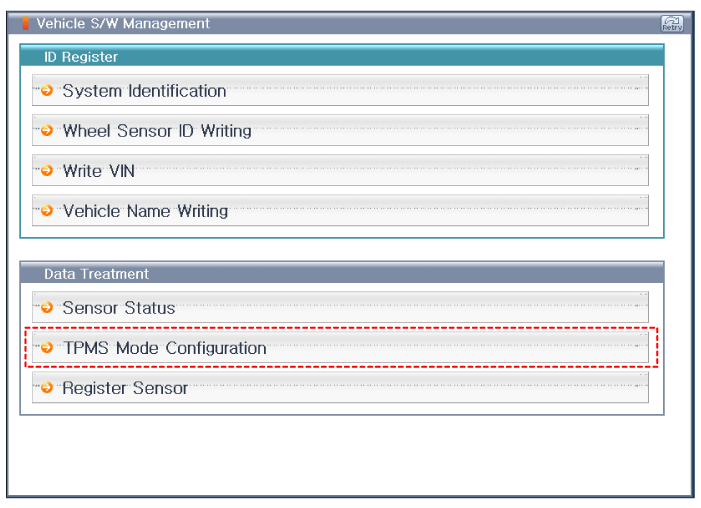
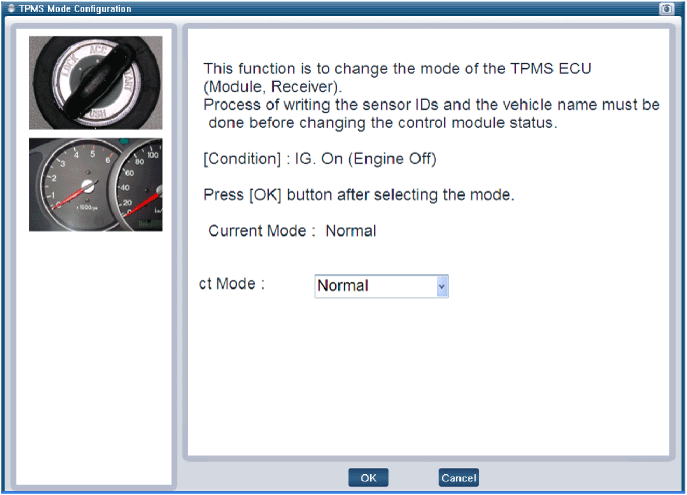
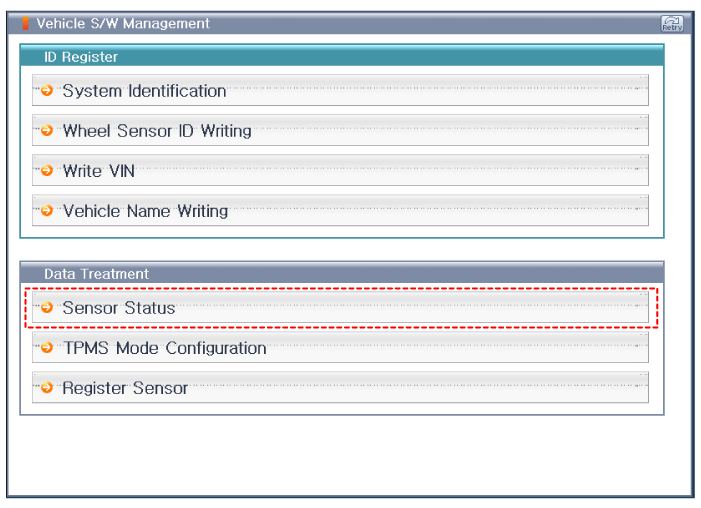
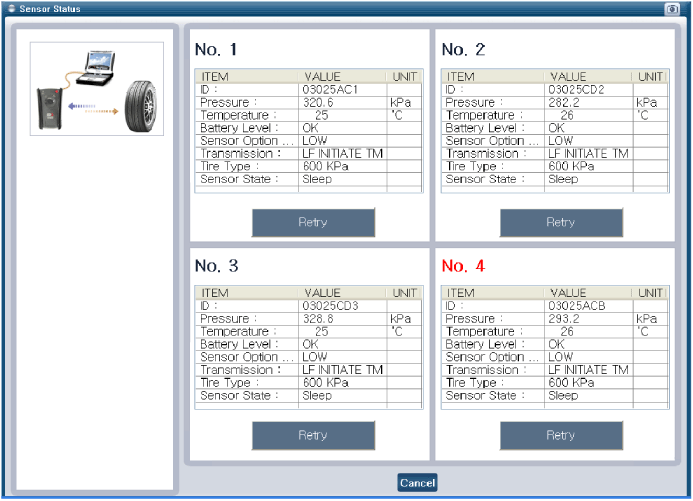
On the GDS vehicle selection screen, select "Vehicle Model" and "TPMS", then click "OK". [Sensor Registration Initialization][TPMS Mode Configuration][Sensor Status Initialization]
?
Test yourself
A quick Hyundai Tucson LM quiz: every answer comes with an explanation and a link to the manual page.