When the receiver is first shipped as a replacement part:
It will be in the Virginia state.
It will not be configured for any specific platform.
It will not have any sensor IDs stored in memory.
It is important to make sure the correct receiver is selected for replacing the faulty part, i.e., it must be Low Line, not High Line, to set the correct inflation warning thresholds.
Disconnect the vehicle battery.
Remove the glove box. (Refer to Body - Emergency Pad)
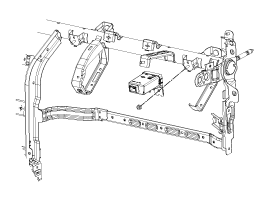
Remove the faulty part and install the bracket assembly onto the new part.
Secure the new part to the vehicle and connect the connector.
Reconnect the battery and turn the ignition on.
Make sure the blinking frequency of the TREAD lamp matches the initial state indication.
Adjustment
Diagnostic Procedure Using Scan Tool
The main content of the diagnostic procedures using the scan tool is as follows:
Connect the diagnostic link connector (16-pin), located in the lower cover on the driver's side, to the scan tool, then turn the scan tool on after switching the ignition on.
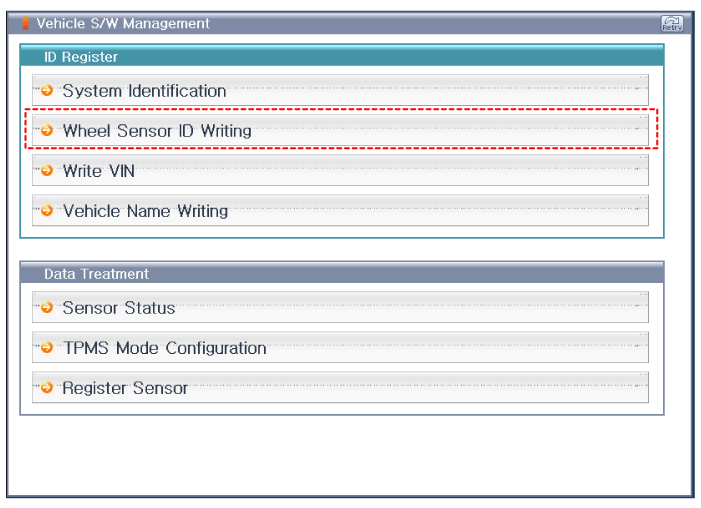
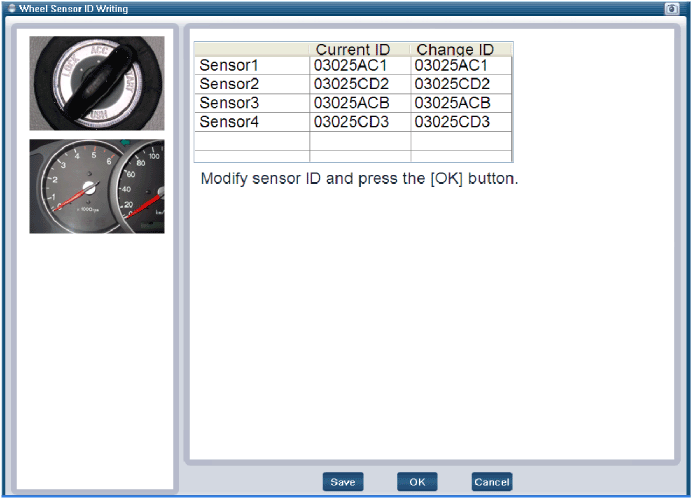
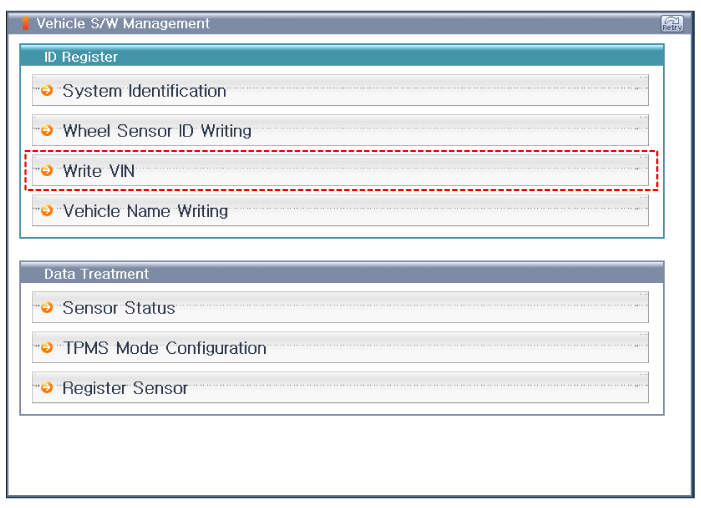
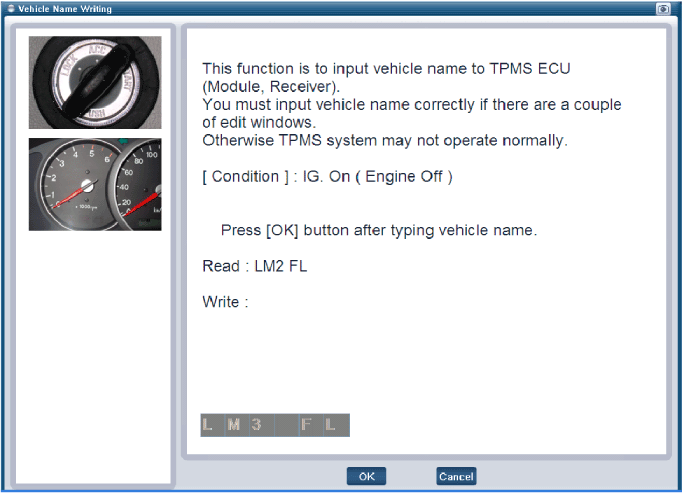
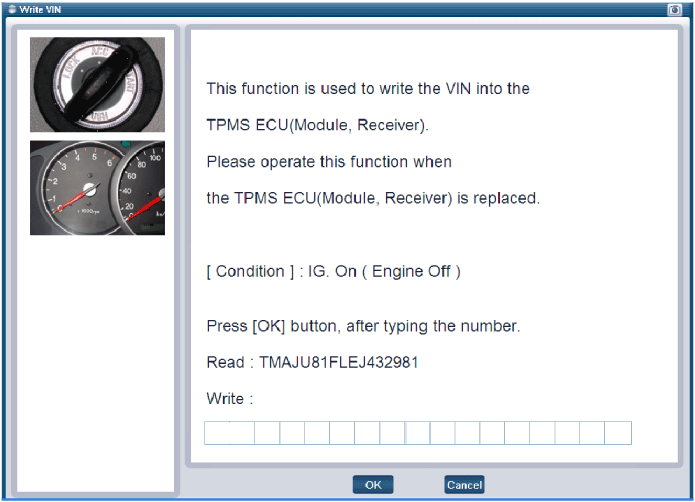
Select "Vehicle Model" and "TPMS" on the GDS vehicle selection screen, then press "OK". [Recording Sensor ID][Vehicle Name Input Initialization][VIN Input Initialization]
?
Test yourself
A quick Hyundai Tucson LM quiz: every answer comes with an explanation and a link to the manual page.