Clutch Cover And Disc Repair procedures
Removal
Remove the hybrid motor assembly.
(Refer to Hybrid Motor System - "Hybrid Motor Assembly")
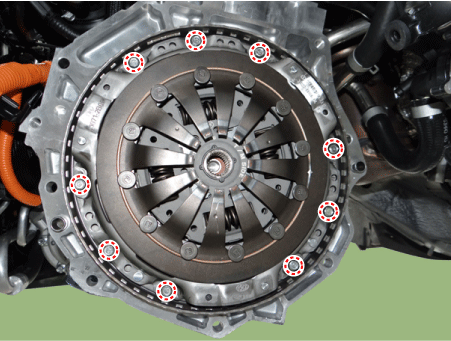
Remove the clutch cover assembly and clutch disc after loosening the bolts.
Inspection
Inspect diaphragm spring wear which is in contact with a concentric slave cylinder bearing.
Check the clutch cover and disc surface for wear or cracks.
Check the clutch disc lining for slipping or oil marks.
Measure the depth from a clutch lining surface to a rivet. If the measured value is less than the specification below, replace it.
Clutch disc depth (A): 6.4 ± 0.2 mm (0.2519 ± 0.0078 in.)
Clutch disc rivet depth (B): 0.3 mm (0.0118 in.)

Installation
Apply grease on a disc spline part and hybrid motor input shaft spline part as required.

The 'T/M SIDE' marked surface should face the transaxle.
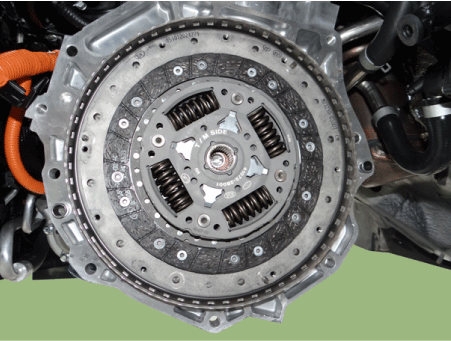
Install the clutch disc and the cover with SST (09411-1P000, 09411-G2100).
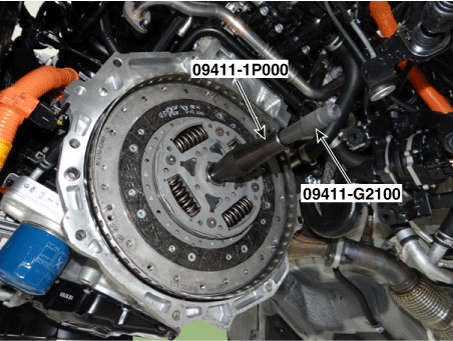
Install the clutch cover bolts.
Install the hybrid motor assembly.
(Refer to Hybrid Motor System - "Hybrid Motor Assembly")
After replacing the concentric slave cylinder assembly, operate the followings in order using GDS / KDS equipment.
Engine clutch inspection line learning and diagnostic information.
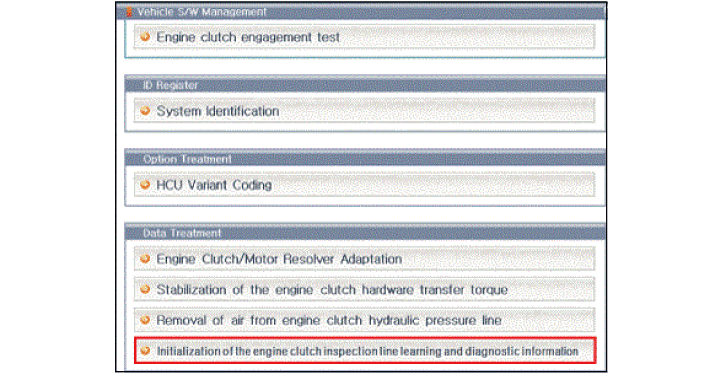
Removal of air from engine clutch hydraulic pressure line
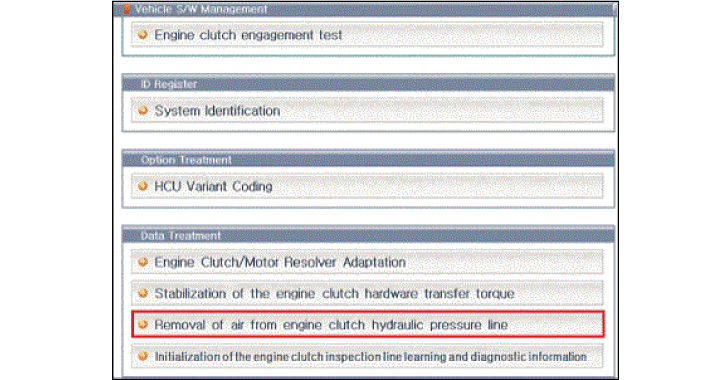
Engine clutch/motor resolver adaptation.
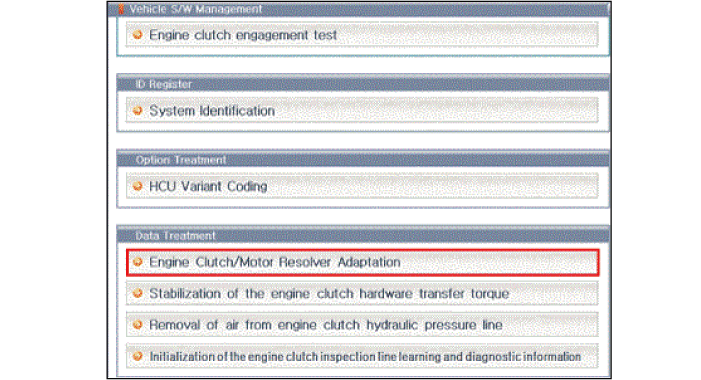
Stabilization of the engine clutch hardware transfer torque.
