Rear Hub — Carrier
Components and Component Location
Components
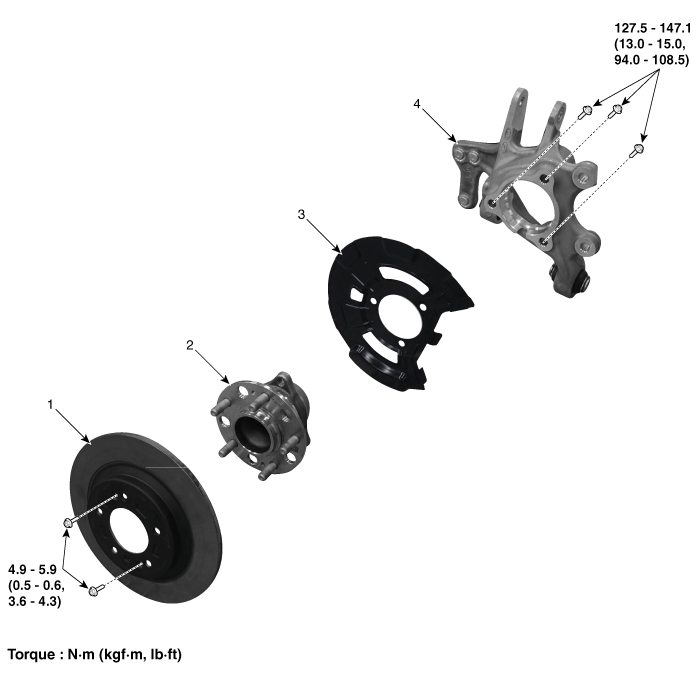
| 1. Rear Brake Disc 2. Hub Bearing Assembly |
3. Dust Cover 4. Rear Carrier |
Repair Procedures
Removal
Disconnect the negative (-) battery cable.
Remove the rear wheel and tire.
(See Suspension System — Wheel)
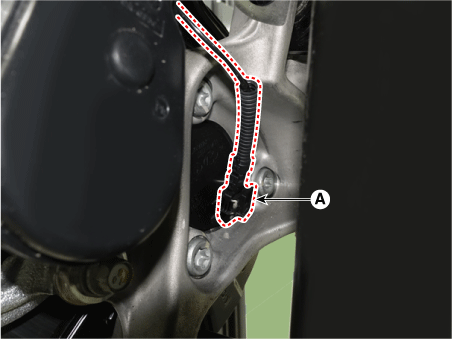
Disconnect the rear wheel speed sensor connector (A).
Remove the rear brake caliper assembly.
(Refer to Brake System - "Rear Brake Caliper")
Loosen the trailing arm mounting nut at the rear axle.
Tightening torque: 98.1 - 118 N·m
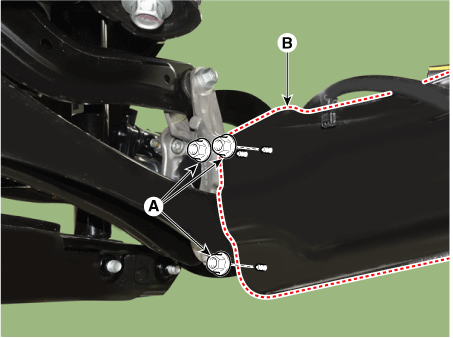
Loosen the rear lower arm mounting bolt and nut at the rear axle.
Tightening torque: 137.3–157 N·m
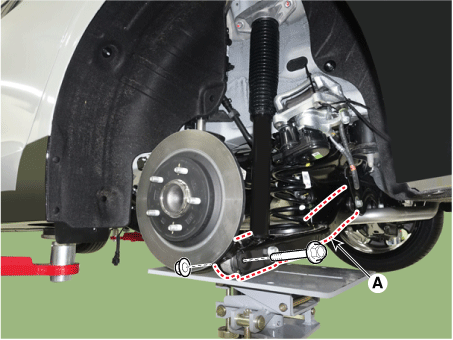
Loosen the rear toe control arm mounting bolt and nut at the rear axle.
Tightening torque: 137.3–157 N·m
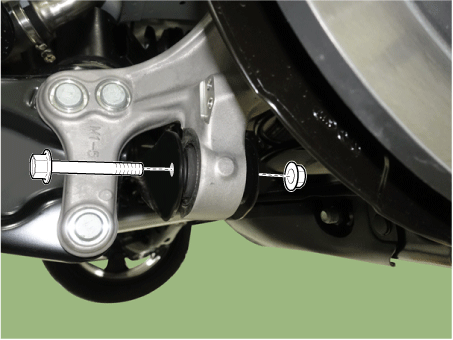
Loosen the rear upper arm mounting bolt and nut at the rear axle.
Tightening torque: 137.3–157 N·m
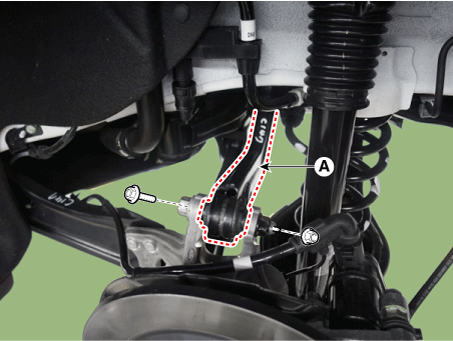
Installation
Install in the reverse order of removal.
Check the rear alignment.
(See Suspension System - Alignment)
Disassembly
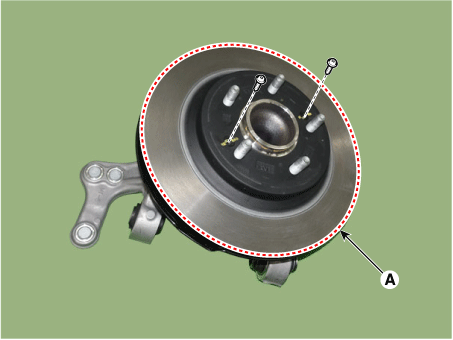
Loosen the screws and remove the rear brake disc (A).
Tightening torque:
4.9–5.9 N·m (0.5–0.6 kgf·m, 3.6–4.3 ft·lbf, 43.4–52.1 in·lbf)
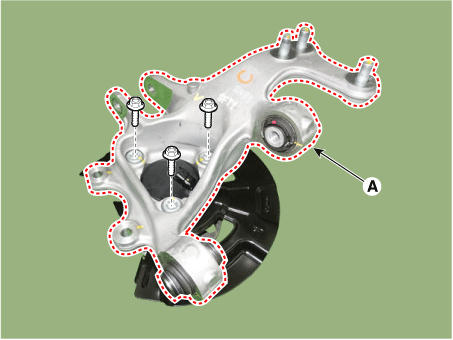
Loosen the hub bearing mounting bolts at the rear steering knuckle (A).
Tightening torque: 127.5–147 N·m
Installation
Installation is in the reverse order of removal.
Inspection
Check the hub for cracks and worn splines.
Check the brake disc for scratches and damage.
Check the rear axle beam for cracks.
Check the bearing for cracks or damage.
Test yourself
A quick Kia Optima DL3 quiz: every answer comes with an explanation and a link to the manual page.