Using the Tire Mobility Kit
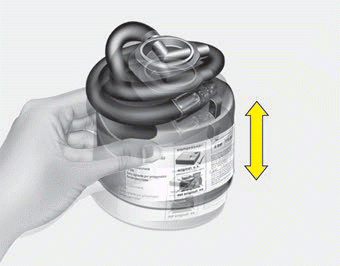
Carefully follow the steps below.
1. Shake the sealant container.

2. Connect the filler hose (3) to the sealant bottle connector (A).
3. Insert the sealant bottle into the compressor housing (B) so that the bottle is in an upright position.
4. Make sure the button (9) on the compressor is not pressed.

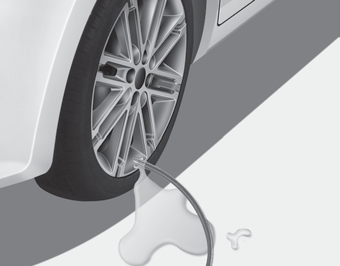
5. Remove the valve cap from the valve of the defective tire and connect the filler hose (3) of the sealant bottle to the valve.
✽ NOTICE
If sealant is injected while the air supply valve to the tire and the sealant supply hoses are not fully closed, the sealant may overflow and clog the valve.
✽ NOTICE
If a visible foreign object has punctured the tire, do not remove it before using the Tire Mobility Kit.
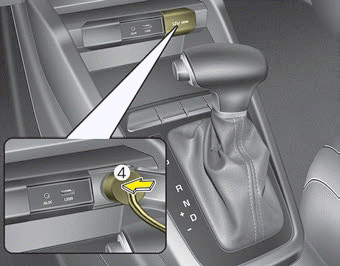
6. Make sure the compressor is off, position 0.
7. Connect the compressor and the power outlet (4) with the cable and connectors.
8. With the engine start/stop button in the ON position or the ignition switch in the ON position, turn on the compressor and let it run for approximately 5-7 minutes to inflate the tire with sealant to the required pressure (see Chapter 9, "Tires and Wheels"). The tire pressure after inflation does not matter and will be checked/adjusted later. Be careful not to overinflate the tire, and stay away from the tire during inflation.
CAUTION - Tire pressure
Do not attempt to drive the vehicle if tire pressure is below 200 kPa (29 psi). This may cause an accident due to sudden tire failure.
9. Turn off the compressor.
10. Disconnect the hoses from the sealant bottle connector and from the tire valve.
Return the tire mobility kit to its storage location in the vehicle.
WARNING – Carbon Monoxide
Carbon monoxide poisoning and suffocation may occur if the engine is left running in a poorly ventilated or enclosed area (such as inside a building).
Test yourself
A quick Kia Rio YB quiz: every answer comes with an explanation and a link to the manual page.