Camshaft Valve Clearance
CHECKING
Remove the air duct with air cleaner case, collectors, hoses, wires, harnesses, and connectors. Refer to Removal and Installation.
Remove the intake manifold collector. Refer to Removal and Installation.
Remove the ignition coils and spark plugs. Refer to Exploded View.
Remove the rocker covers. Refer to Exploded View.
Set No.1 cylinder at TDC on its compression stroke.
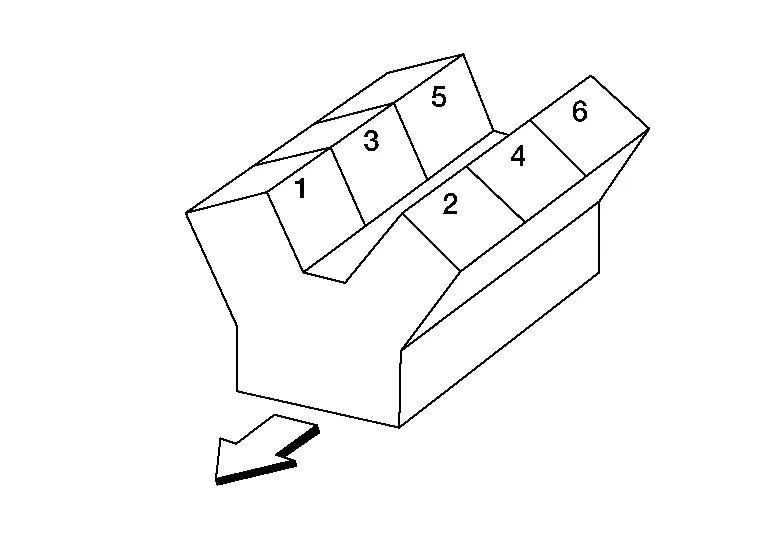

: Engine front Align pointer with TDC mark (A) on crankshaft pulley.

Check that the valve lifters on No.1 cylinder, bank 1 (A) are loose and valve lifters on No.4 are tight. If not, turn the crankshaft one full revolution (360°) and align as shown.
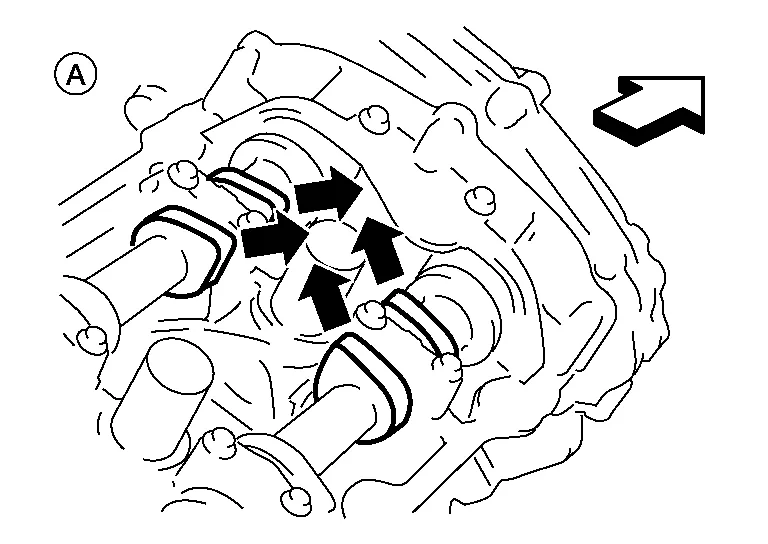
|
: Engine front |
Check only the valves as shown.
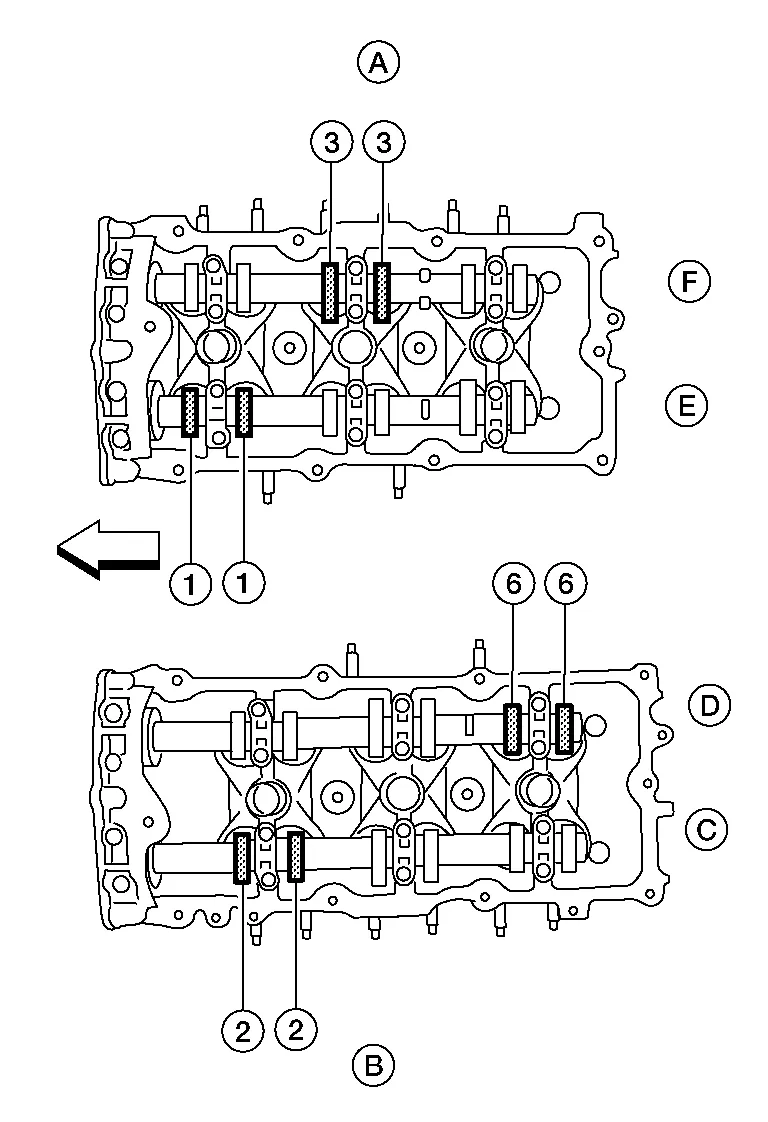
Crank Position Valve No. 1 Valve No. 2 Valve No. 3 Valve No. 6 No. 1 TDC Intake Exhaust Exhaust Intake (A) : Bank 1 cylinder head (B) : Bank 2 cylinder head (C) : Bank 2 exhaust camshaft (D) : Bank 2 intake camshaft (E) : Bank 1 intake camshaft (F) : Bank 1 exhaust camshaft : Engine front Using a feeler gauge, measure the clearance between the valve lifter and camshaft.
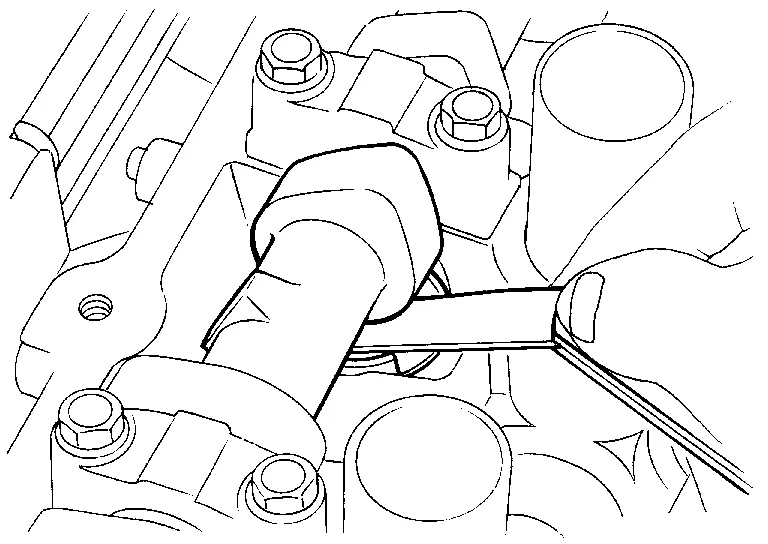
Valve clearance : Refer to General Specification. Record any valve clearance measurements which are out of specification. They will be used later to determine the required replacement lifter size.
(A) : Camshaft (B) : Valve lifter (C) : Suitable tool 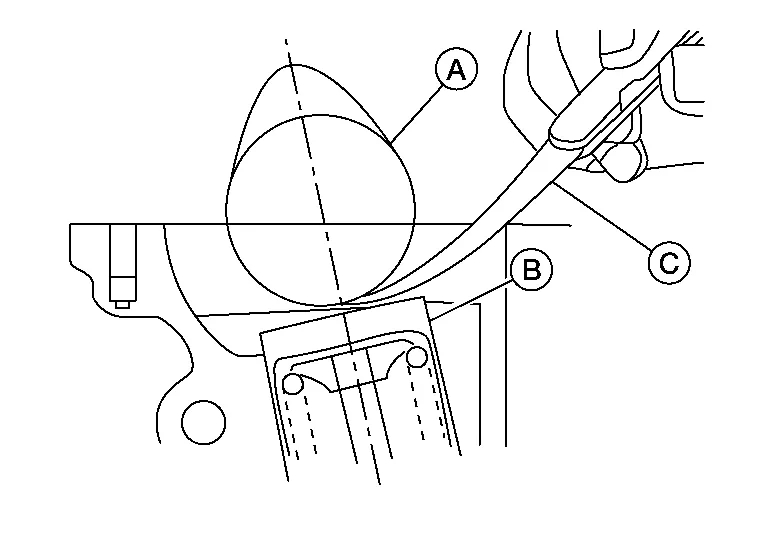
Turn crankshaft 240°.
Set No.3 cylinder at TDC on its compression stroke.
Check only those valves as shown.
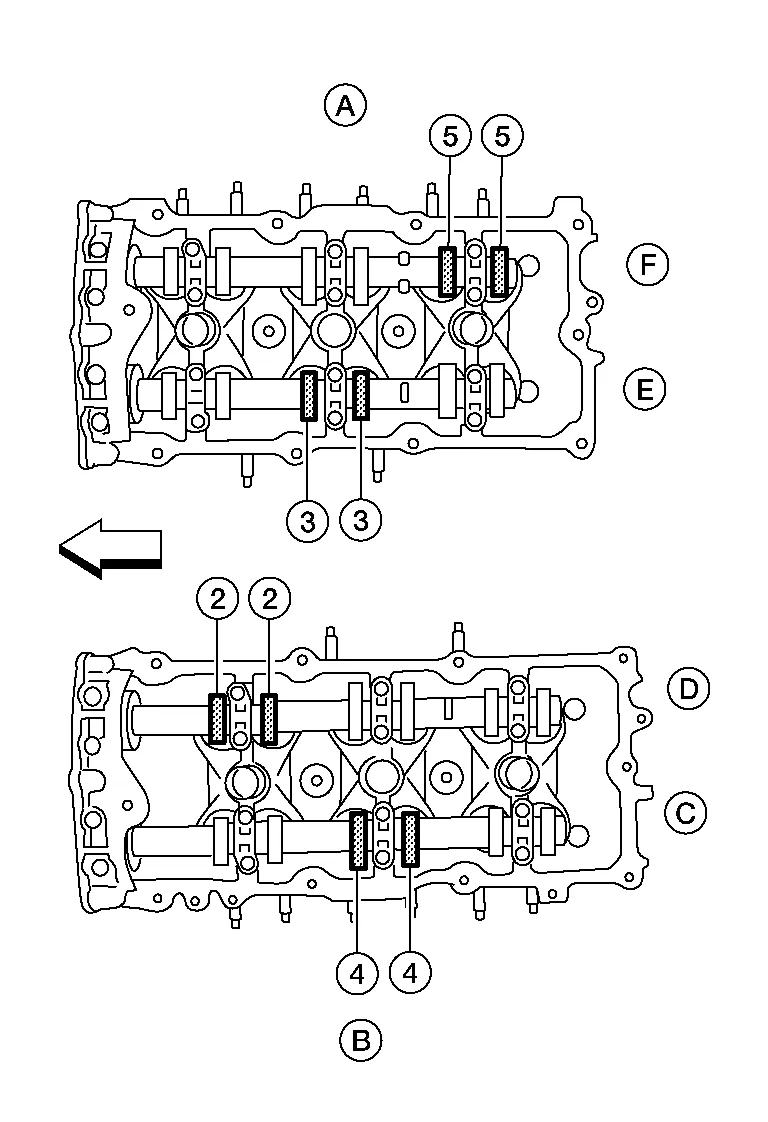
Crank Position Valve No. 2 Valve No. 3 Valve No. 4 Valve No. 5 No. 3 TDC Intake Intake Exhaust Exhaust (A) : Bank 1 cylinder head (B) : Bank 2 cylinder head (C) : Bank 2 exhaust camshaft (D) : Bank 2 intake camshaft (E) : Bank 1 intake camshaft (F) : Bank 1 exhaust camshaft : Engine front Turn the crankshaft 240° and align as above.
Set No.5 cylinder at TDC on its compression stroke.
Check only those valves as shown.

Crank Position Valve No. 1 Valve No. 4 Valve No. 5 Valve No. 6 No. 5 TDC Exhaust Intake Intake Exhaust (A) : Bank 1 cylinder head (B) : Bank 2 cylinder head (C) : Bank 2 exhaust camshaft (D) : Bank 2 intake camshaft (E) : Bank 1 intake camshaft (F) : Bank 1 exhaust camshaft : Engine front Perform adjustment if the measured values are out of the specification range.
Installation of components is in the reverse order of removal.
VALVE ADJUSTING
Remove the camshaft.
Remove the valve lifter that was measured as being outside the standard specifications.
Measure the center thickness of the removed lifter with suitable tool (A) as shown.
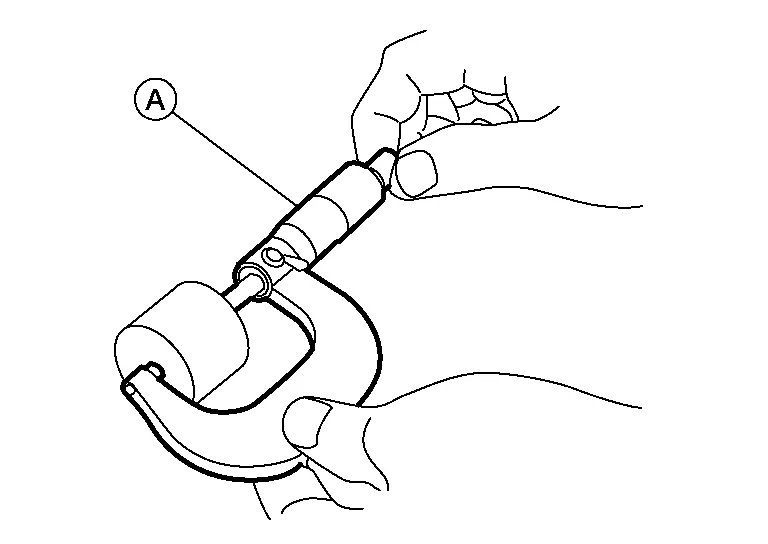
Use the equation below to calculate the replacement valve lifter thickness.
Valve lifter thickness calculation: (C1 – C2) + t1=t C1 = measured valve clearance C2 = standard valve clearance t1 = thickness of the removed lifter t = thickness of the replacement lifter The thickness of the new valve lifter can be identified by the stamp mark (A) on the reverse side (inside the lifter).
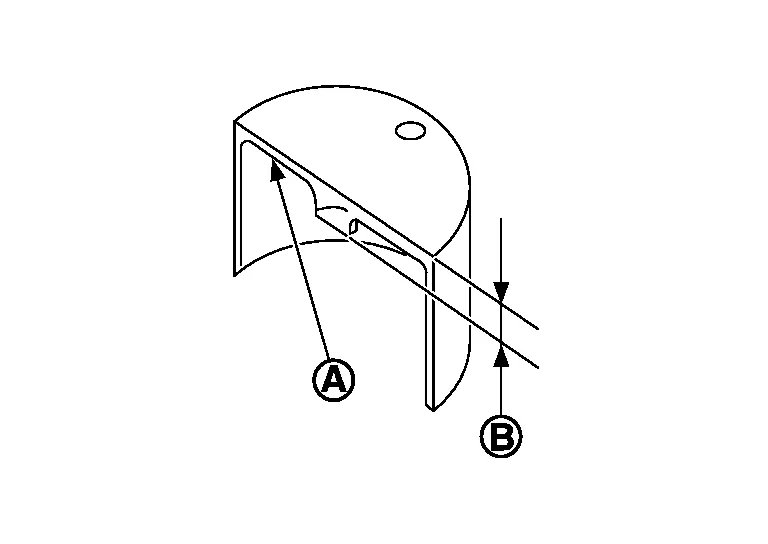
Install the selected replacement valve lifter.
Install the camshaft.
Rotate the crankshaft a few turns by hand.
Confirm that the valve clearances are within specification.
After the engine has been run to full operating temperature, confirm that the valve clearances are within specification.
Standard Valve Clearance Cold1 (reference data) Hot2 (reference data) Intake 0.26 - 0.34 mm (0.010 - 0.013 in) 0.304 - 0.416 mm (0.012 - 0.016 in) Exhaust 0.29 - 0.37 mm (0.011 - 0.015 in) 0.308 - 0.432 mm (0.012 - 0.017 in) 1 : Approximately 20 °C
2 : Approximately 80 °C