In this manual: Body Exterior, Doors, Roof & Vehicle Security
5steps
~30min
2/5difficulty
Done 0 of 5
Precautions for Body RepairDescription
Technicians are encouraged to read the Body Repair Manual (Fundamentals) in order to ensure that the original functions and quality of the Nissan Murano vehicle are maintained. The Body Repair Manual (Fundamentals) contains additional information, including cautions and warnings, that are not included in this manual. Technicians should refer to both manuals to ensure proper repair.
Please note that this information is prepared for worldwide usage, and as such, certain procedures might not apply in some regions or countries.
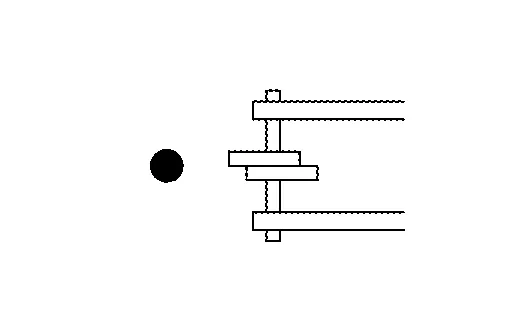
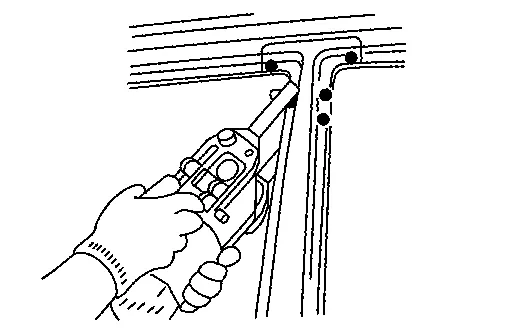
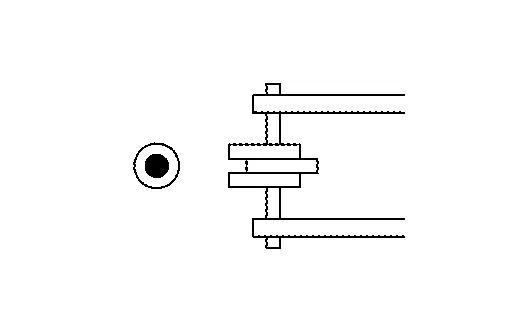
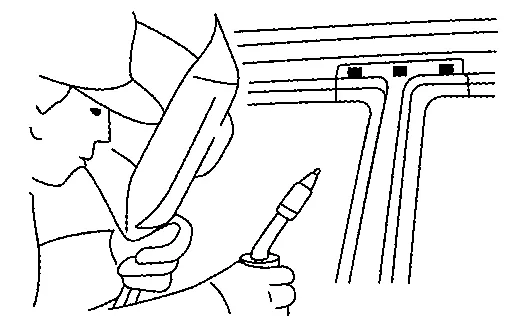
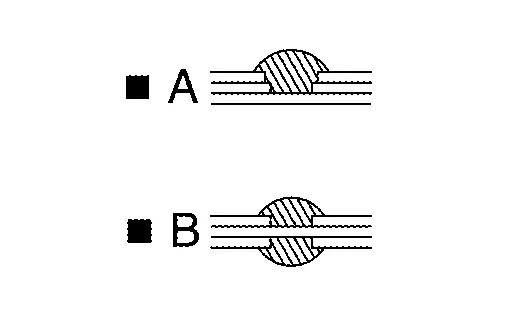
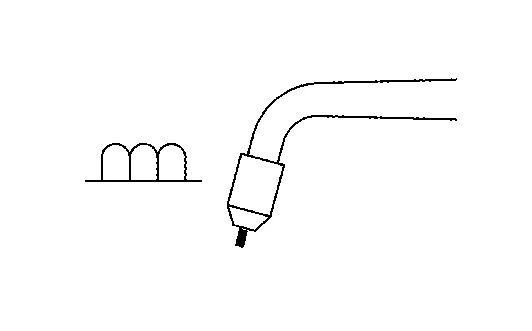
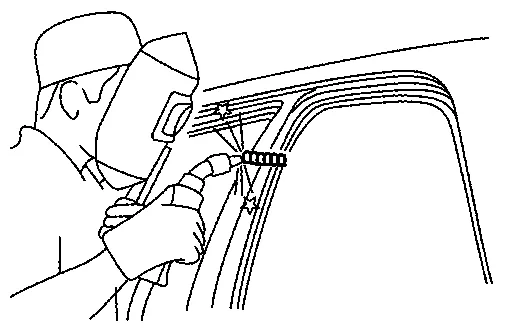
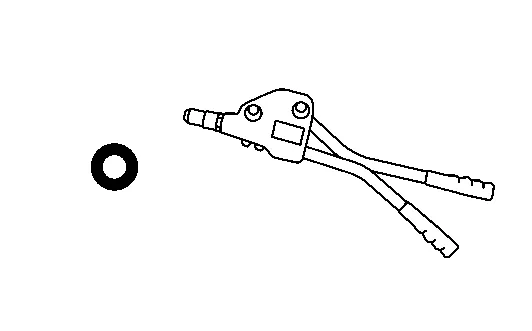
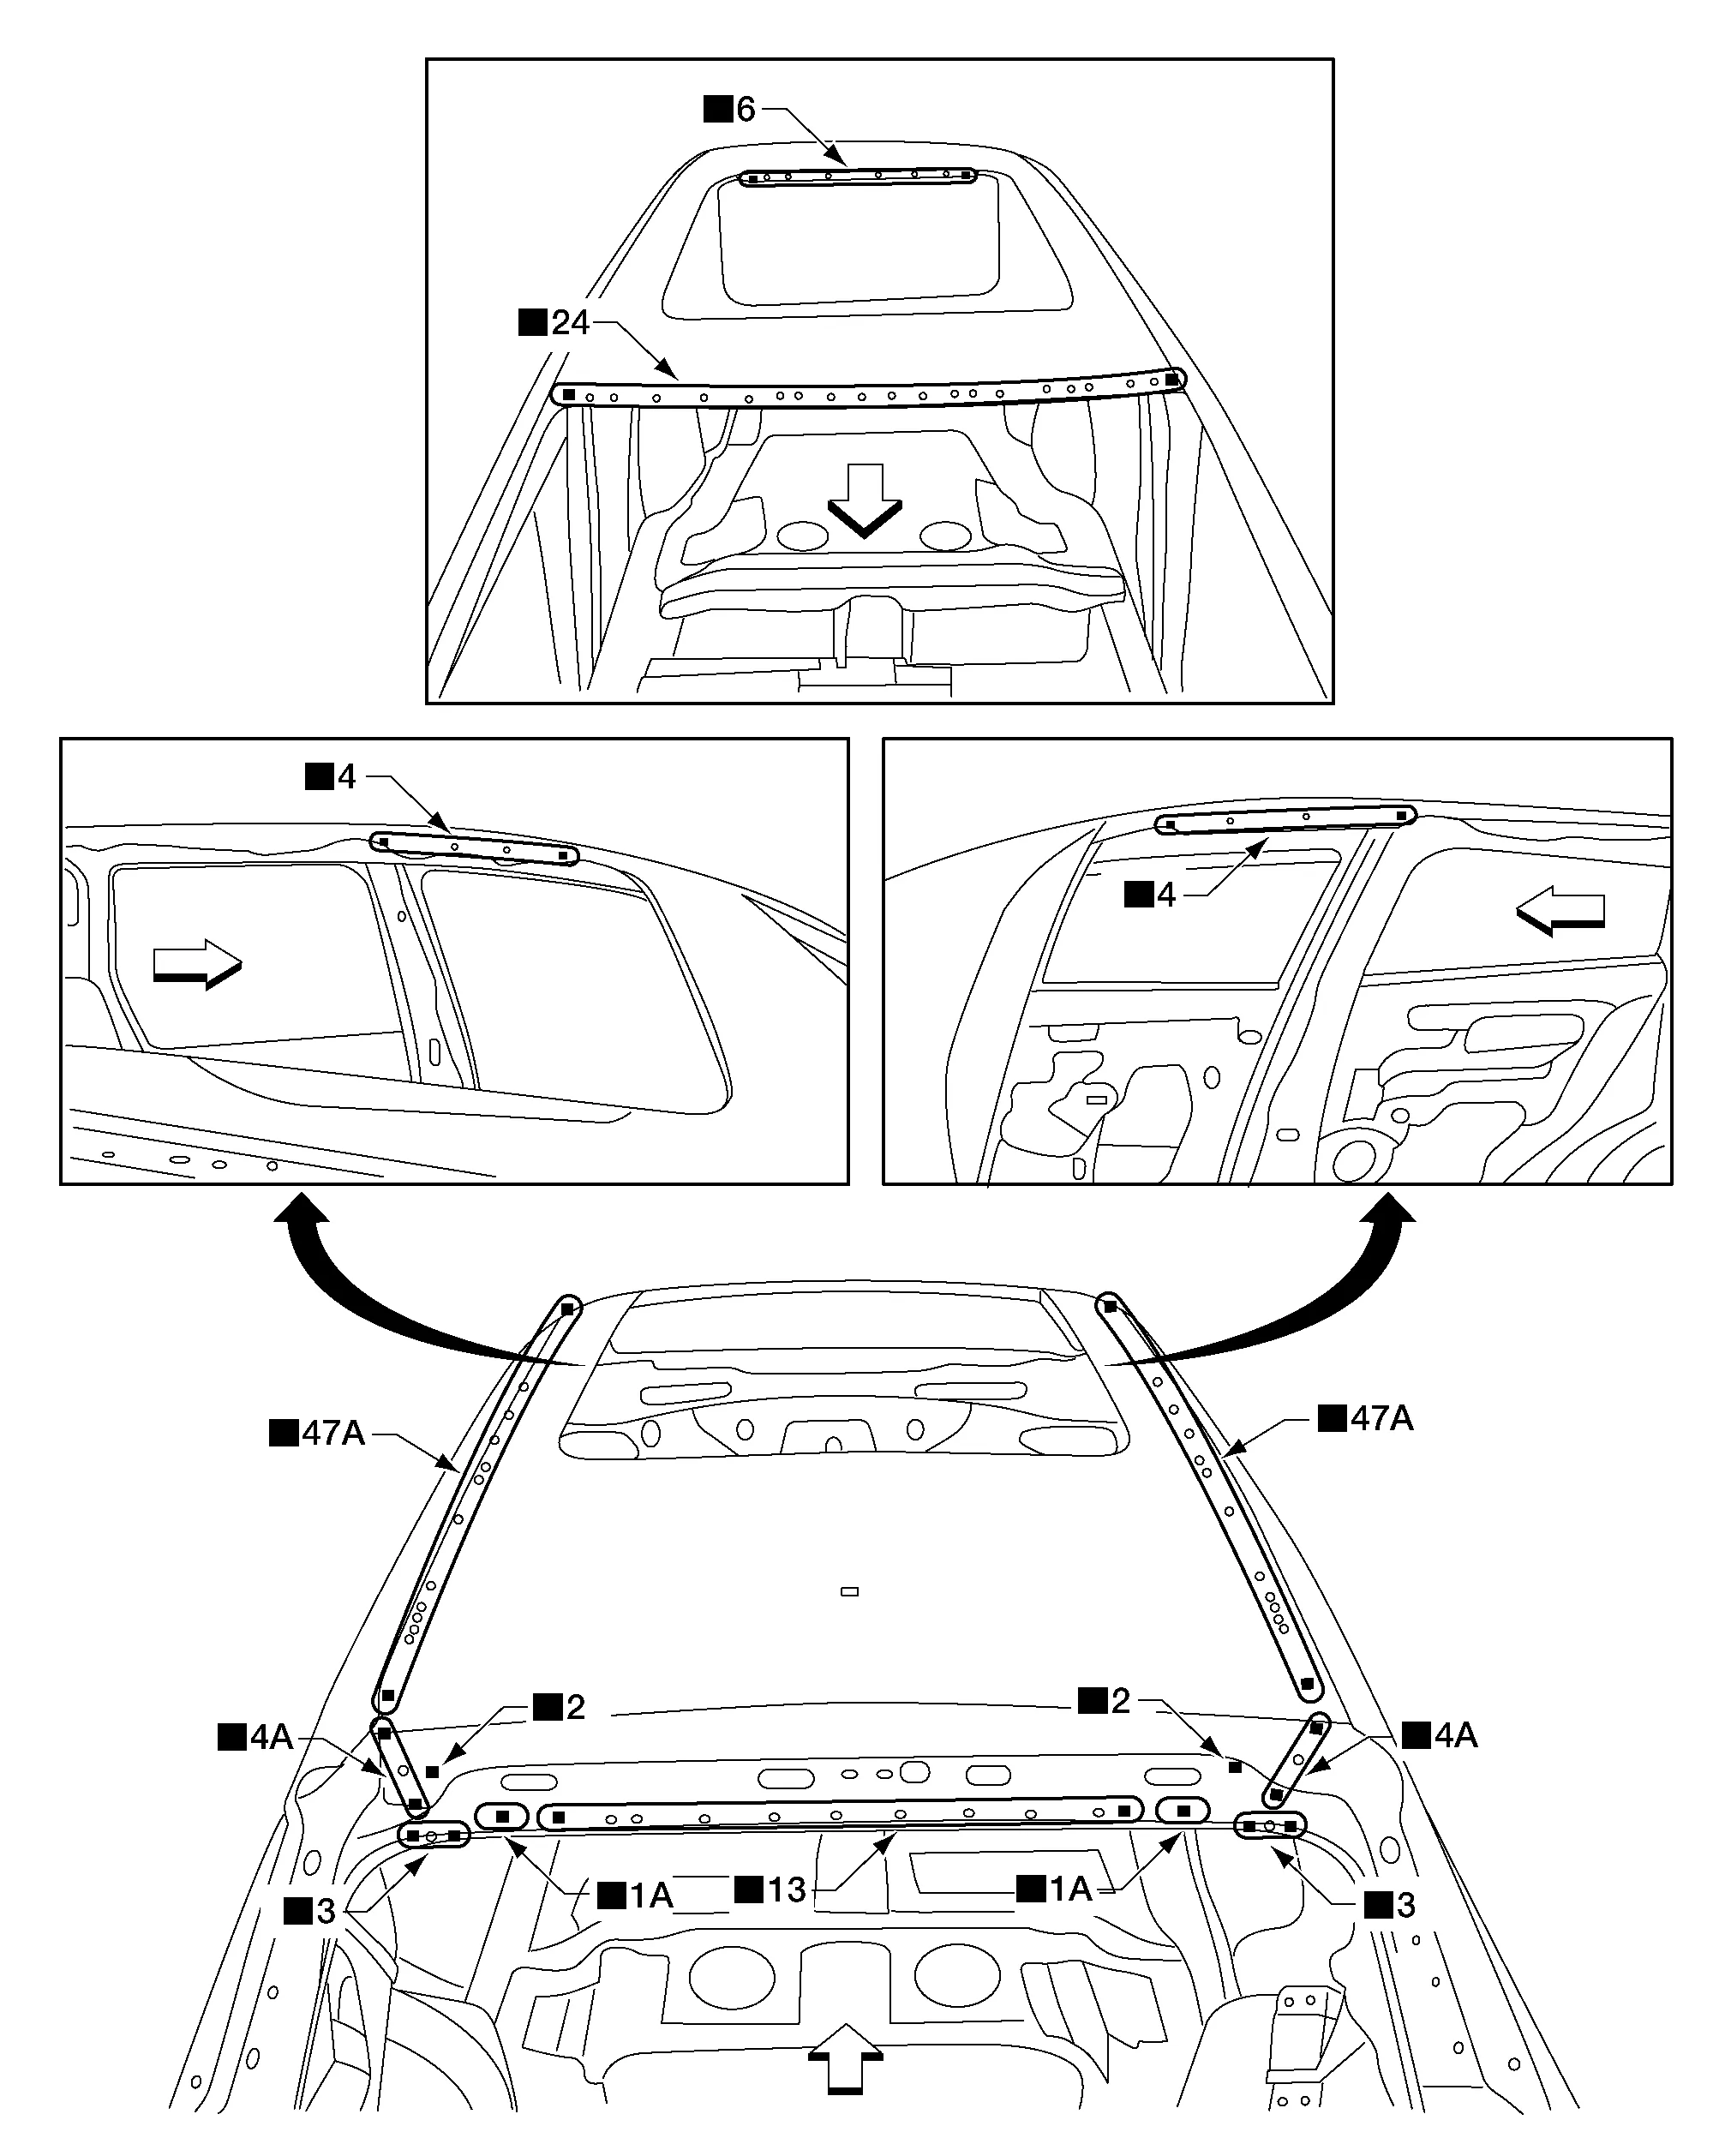
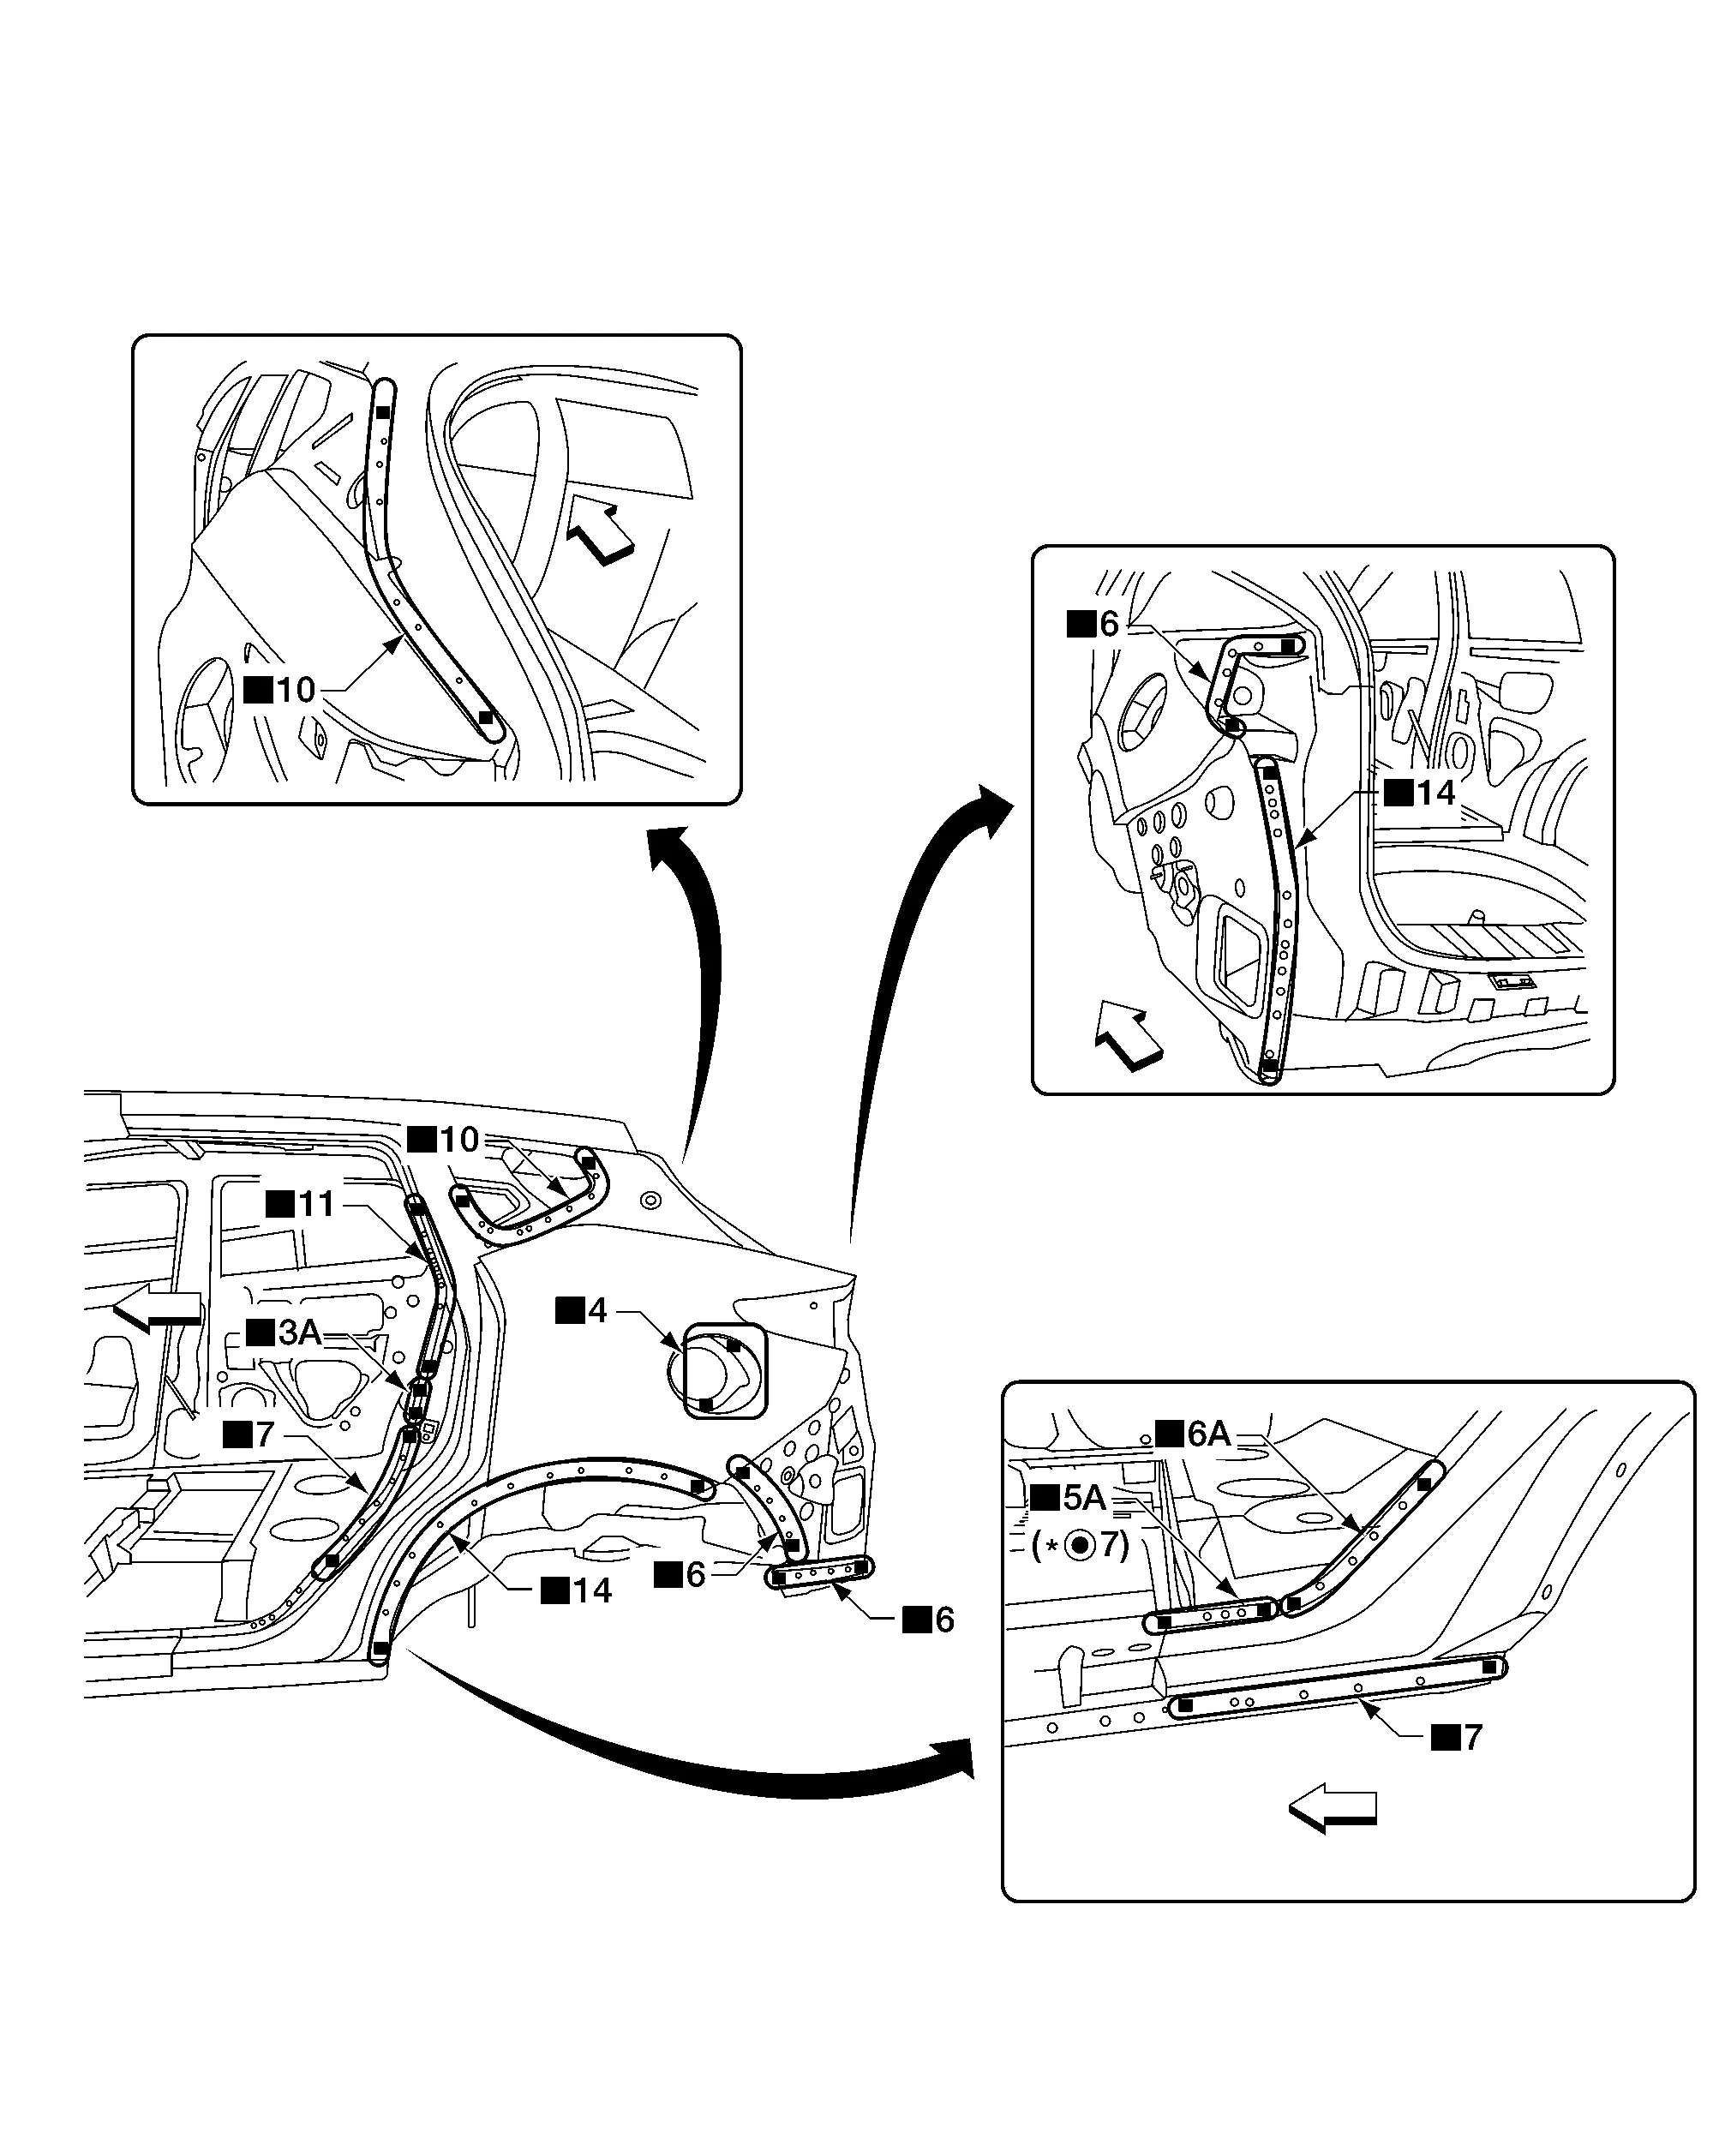
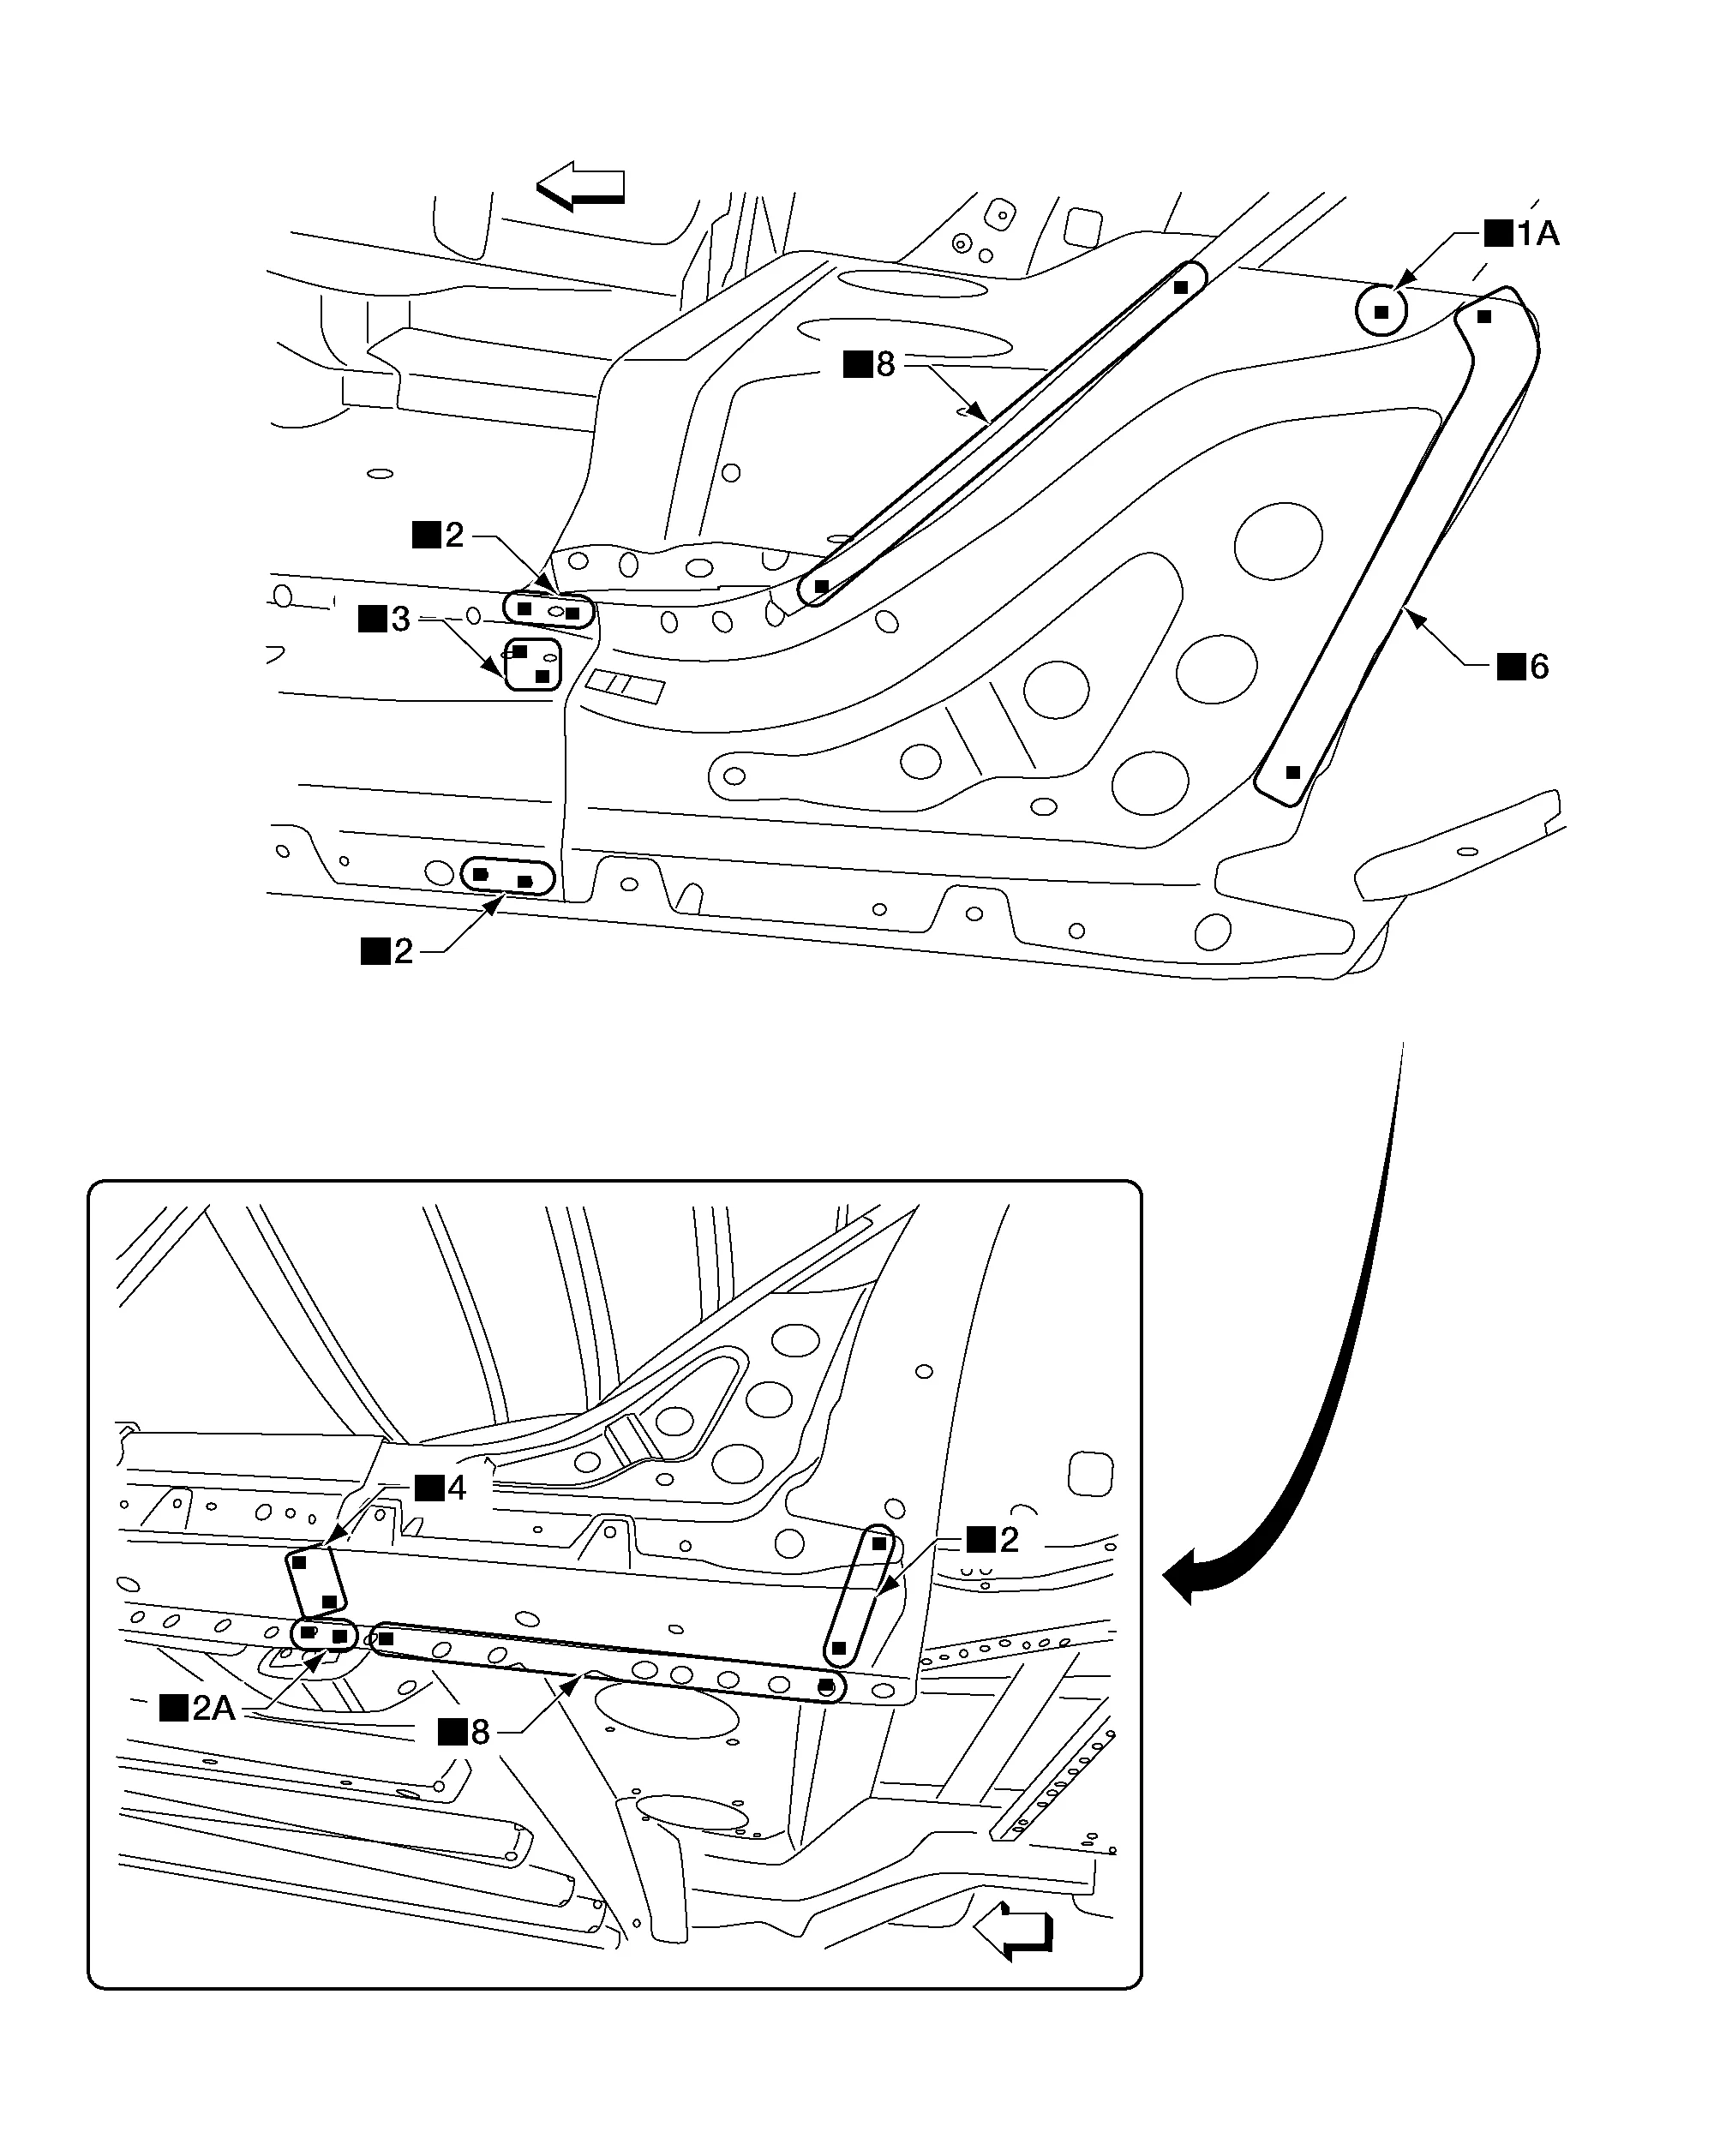
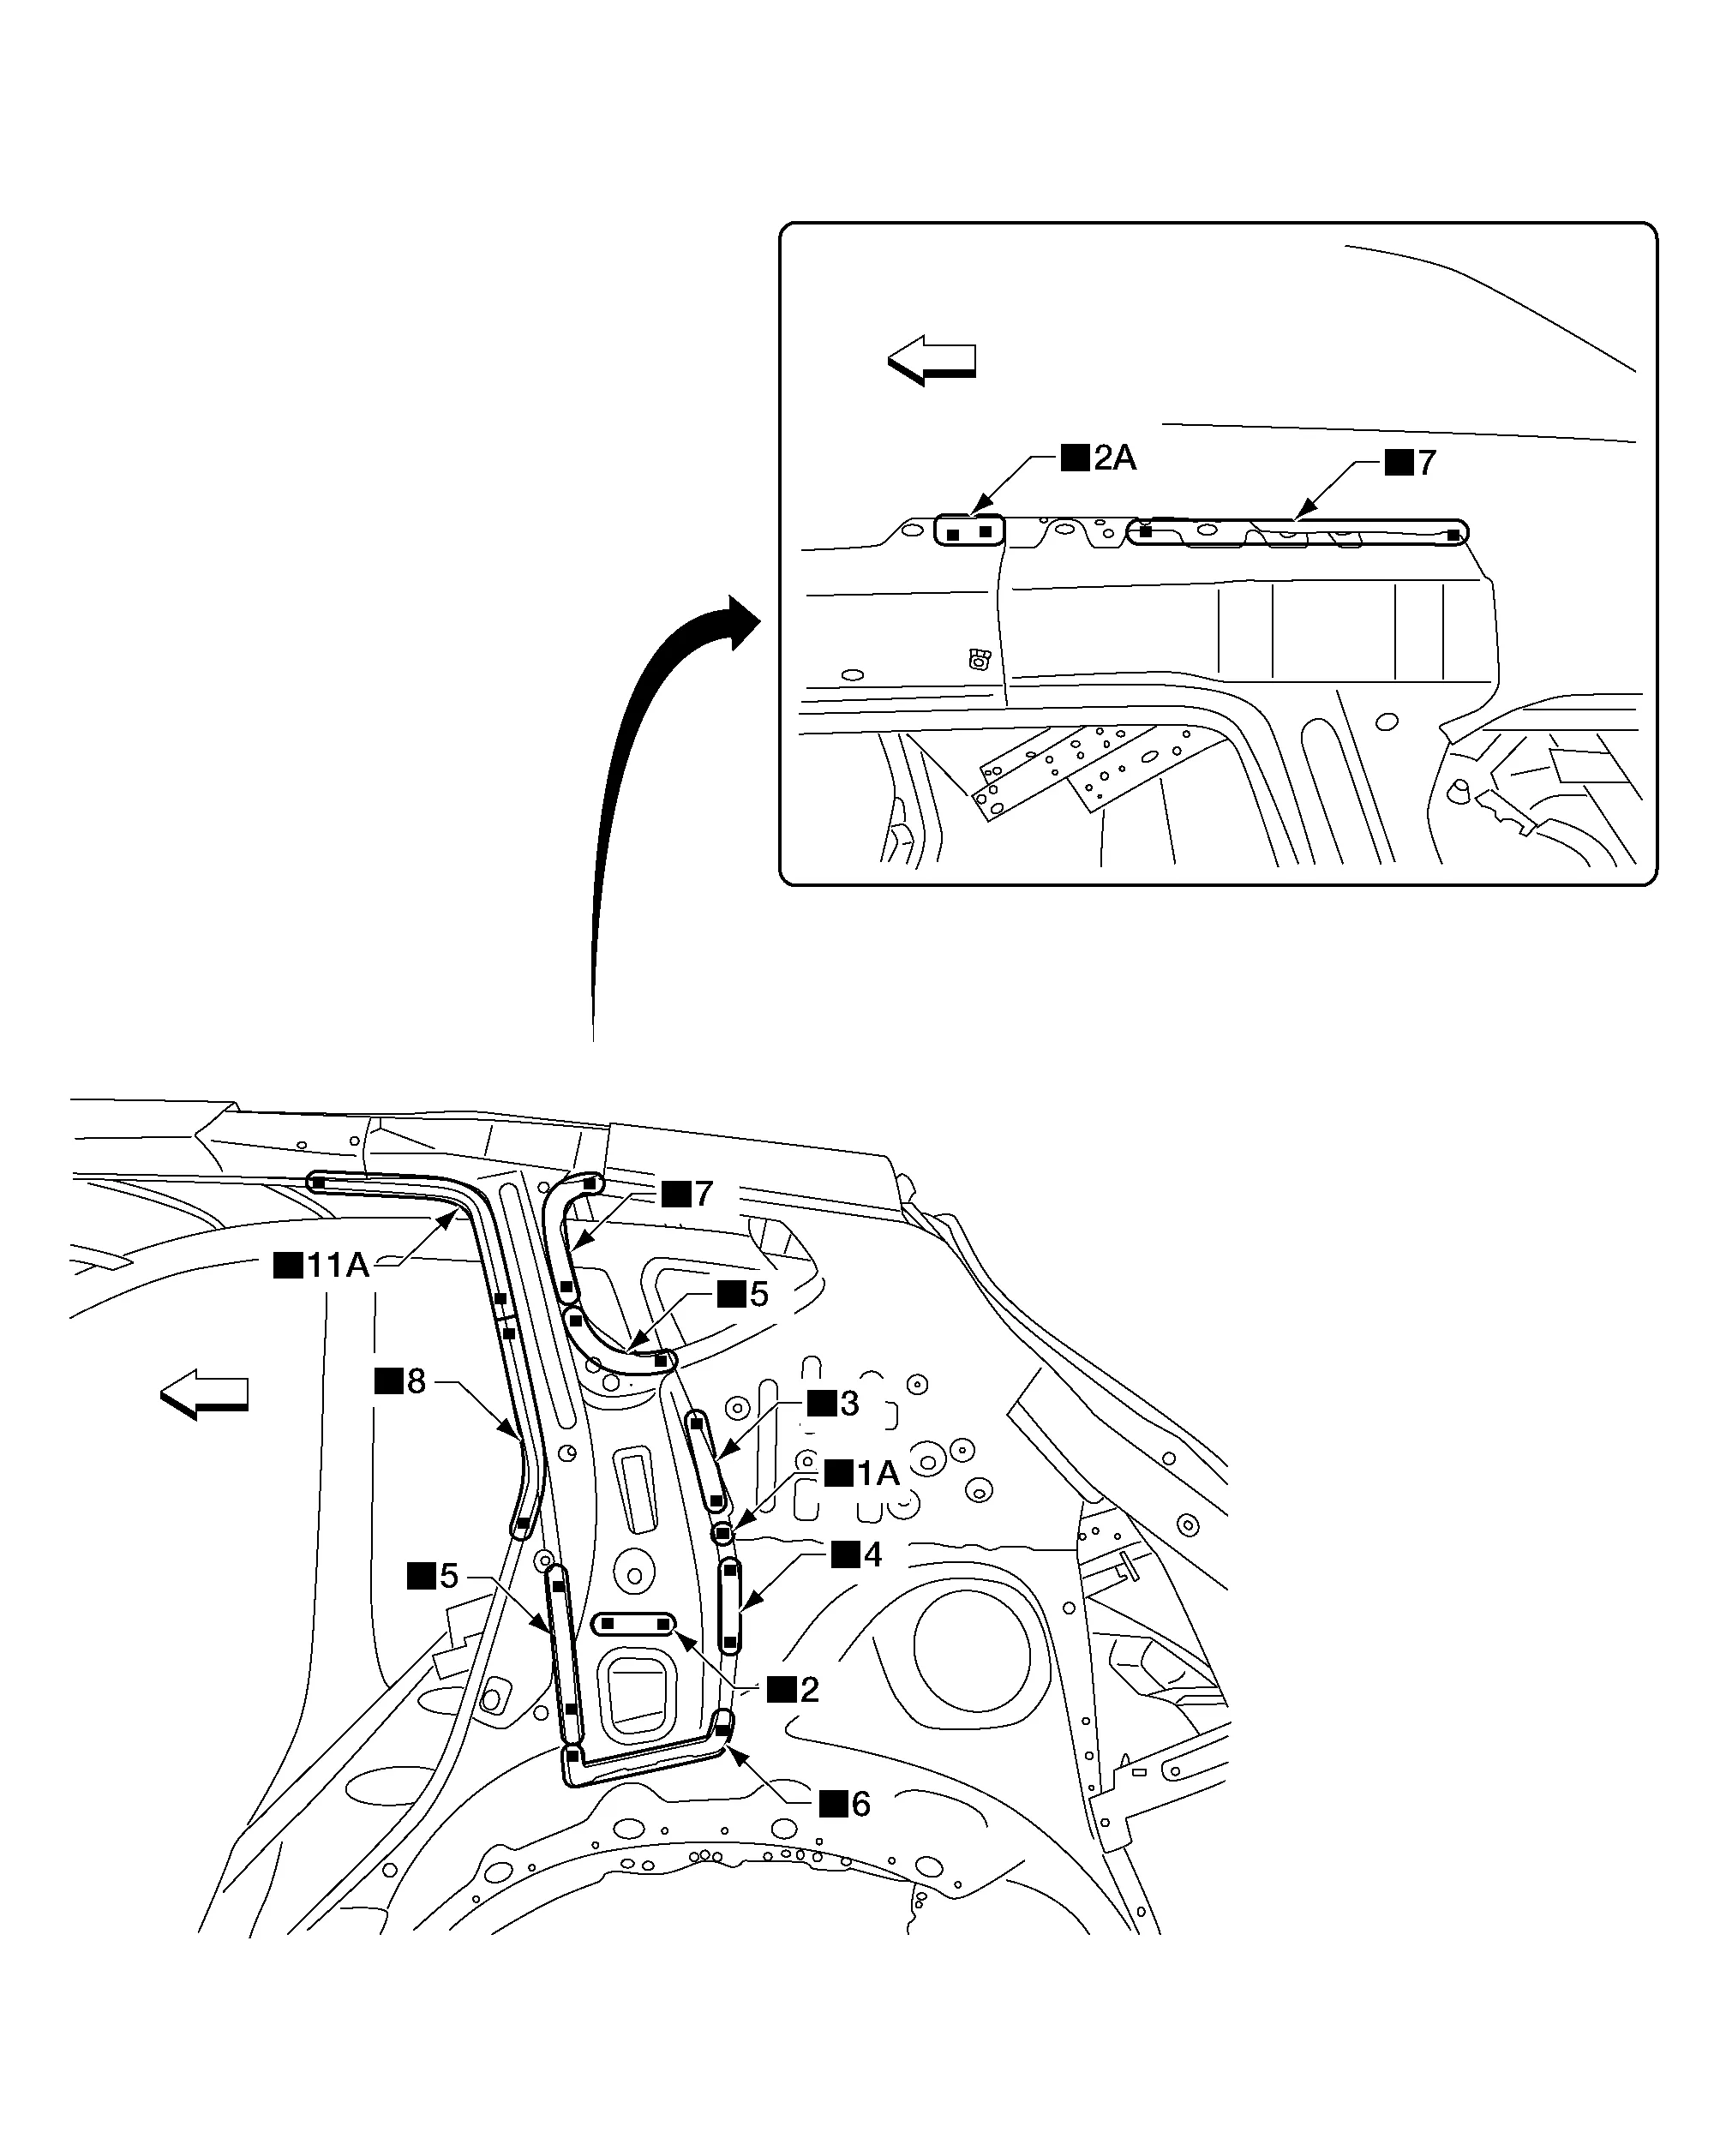
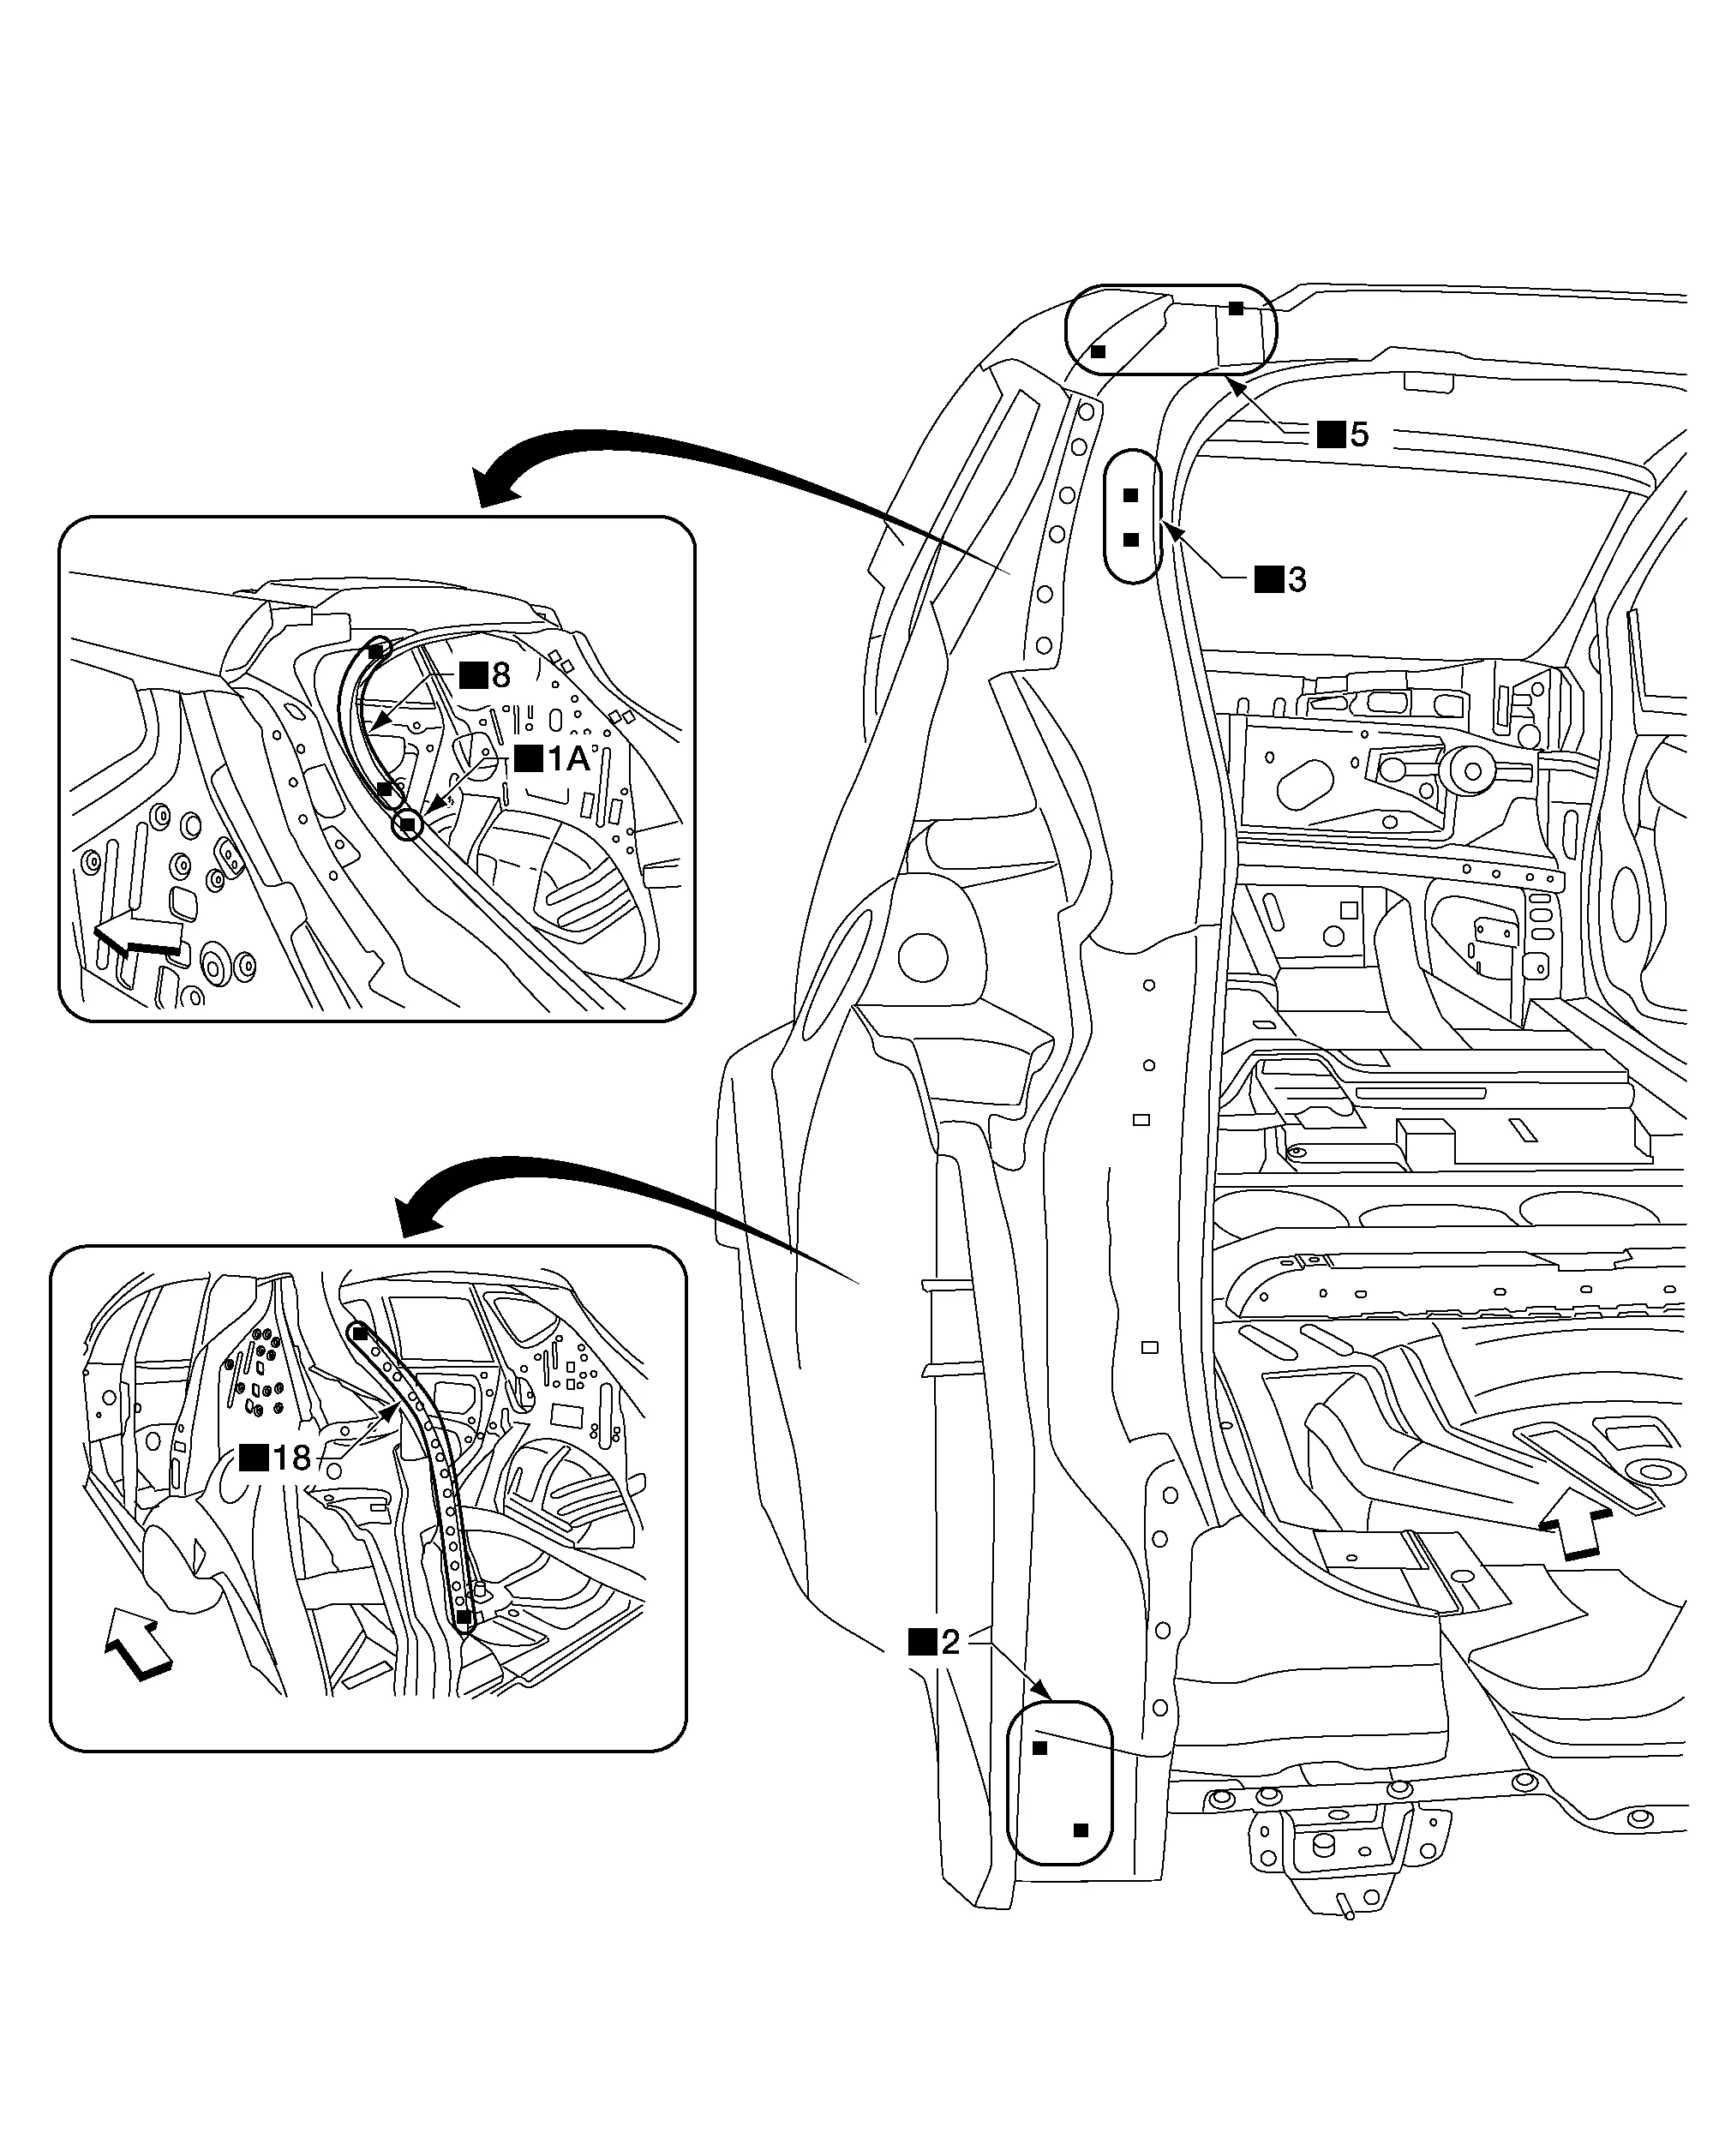
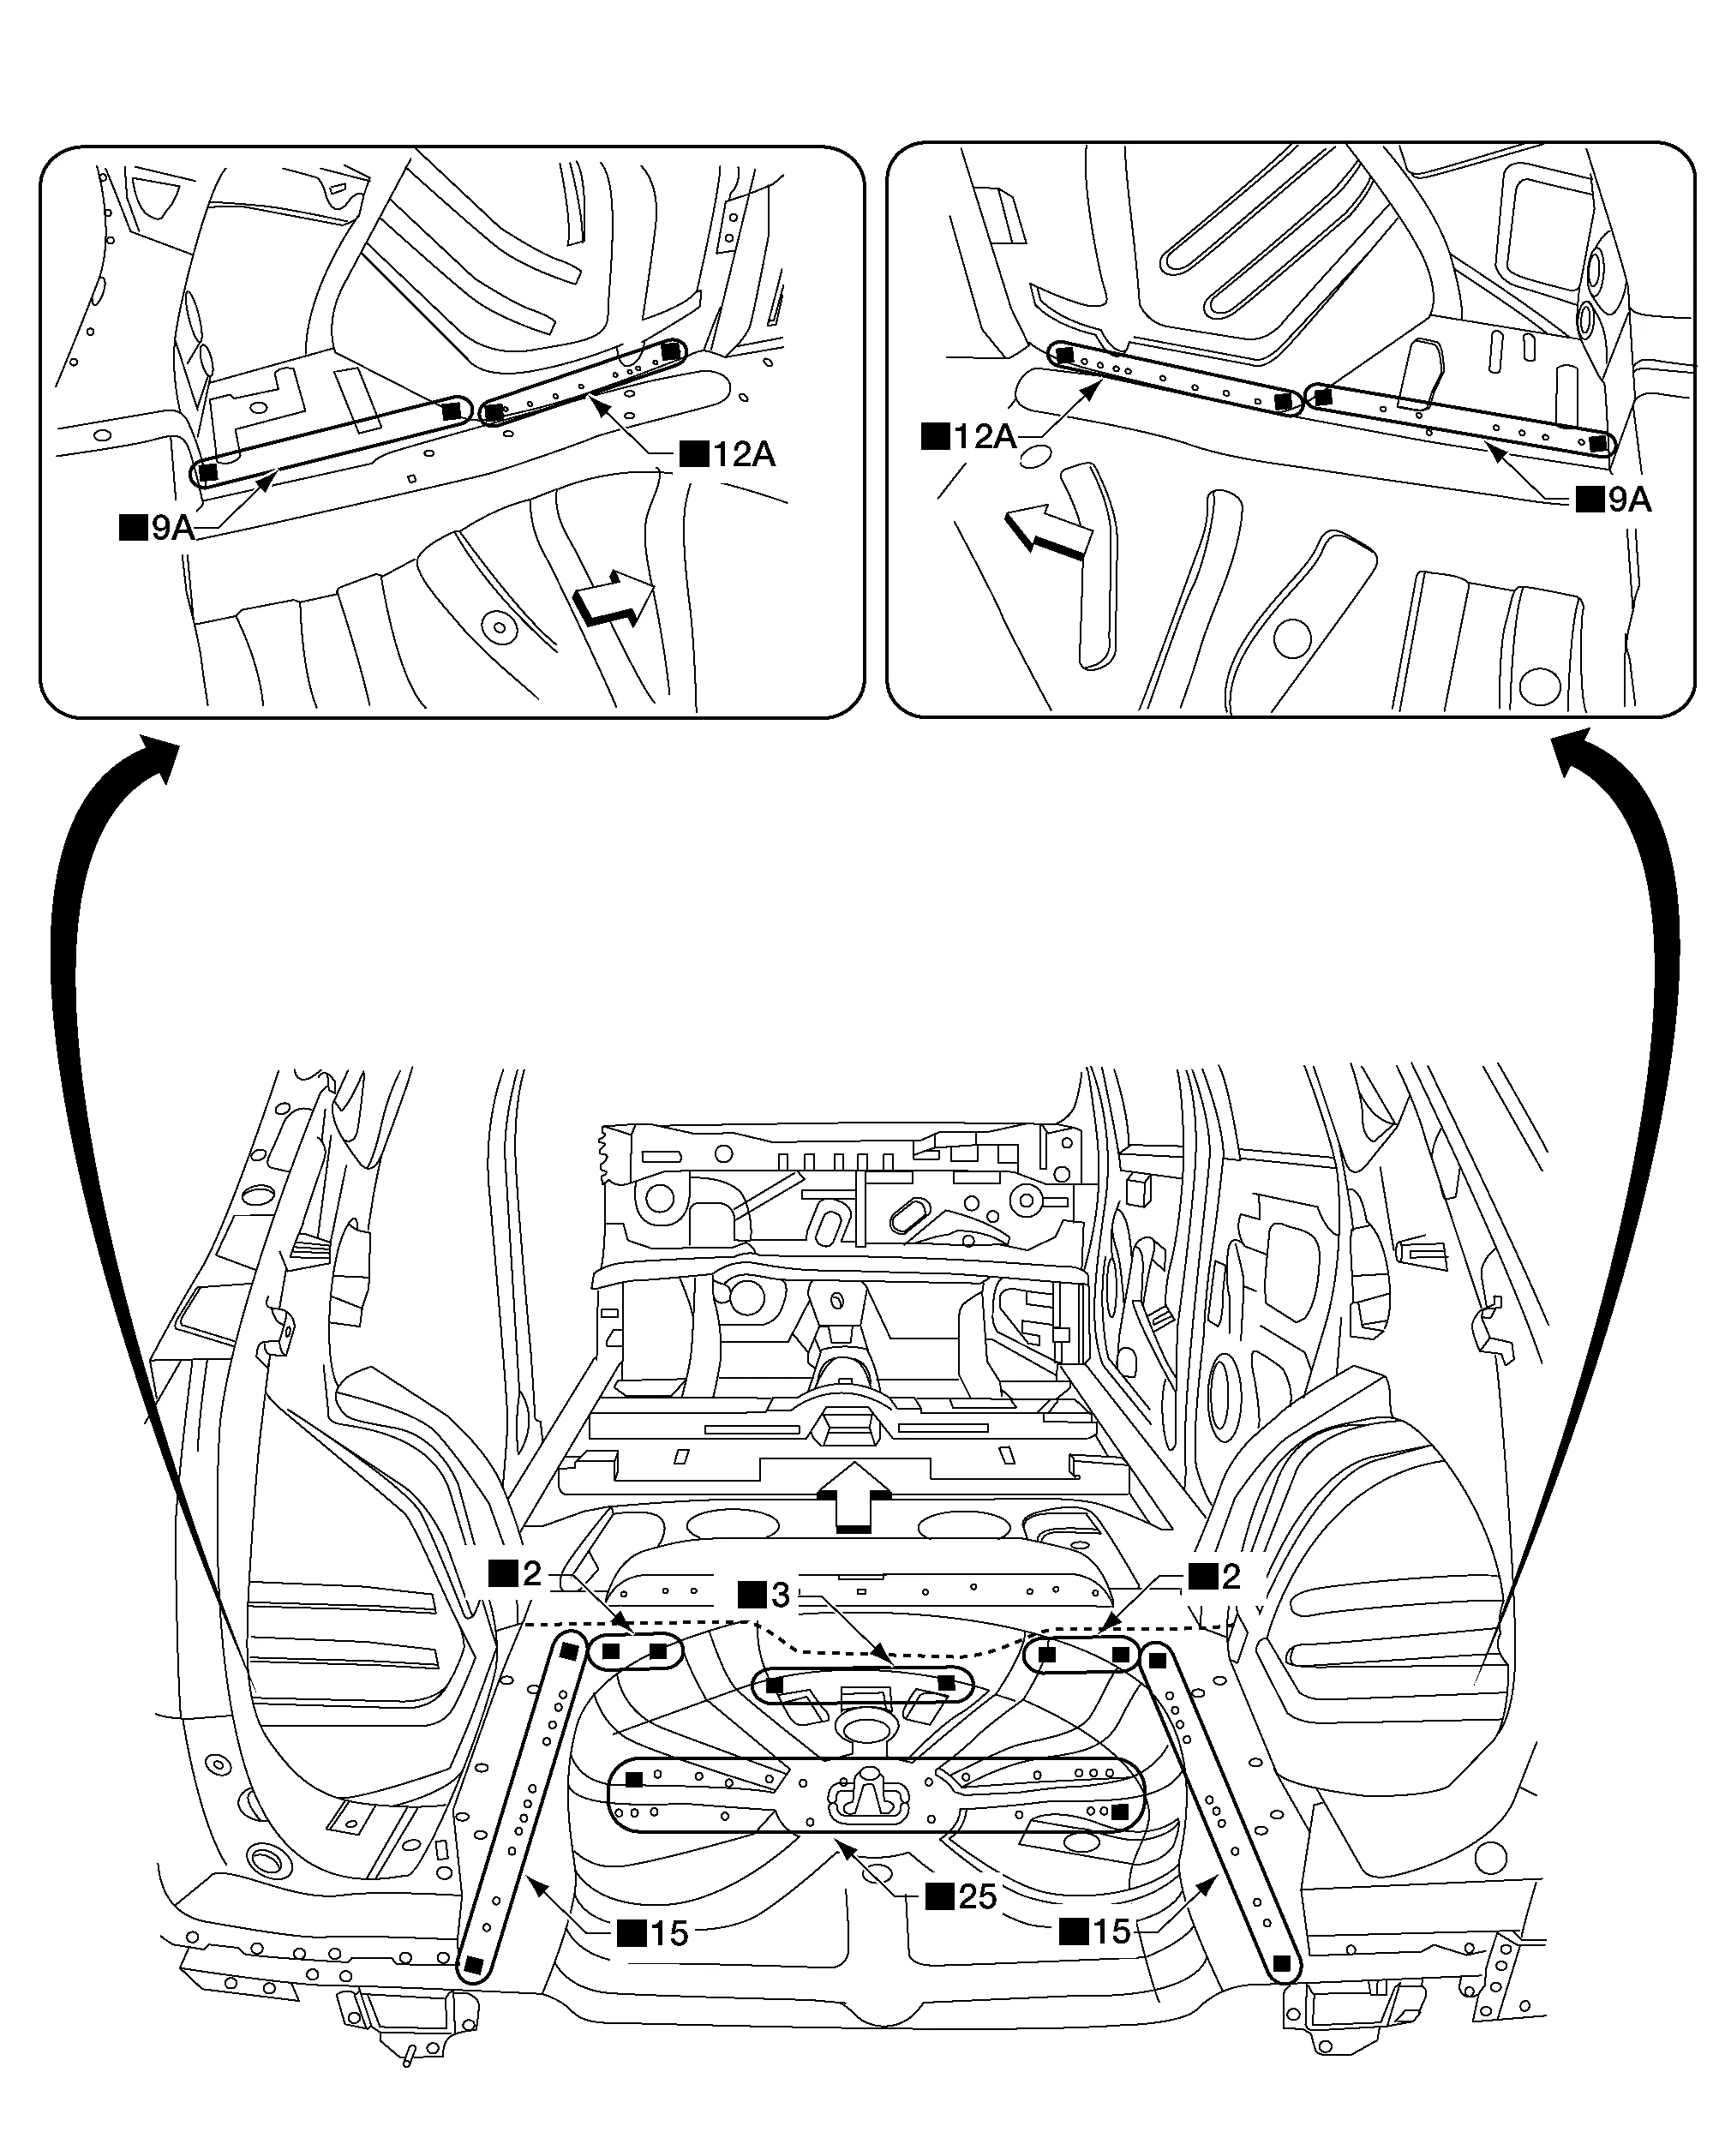
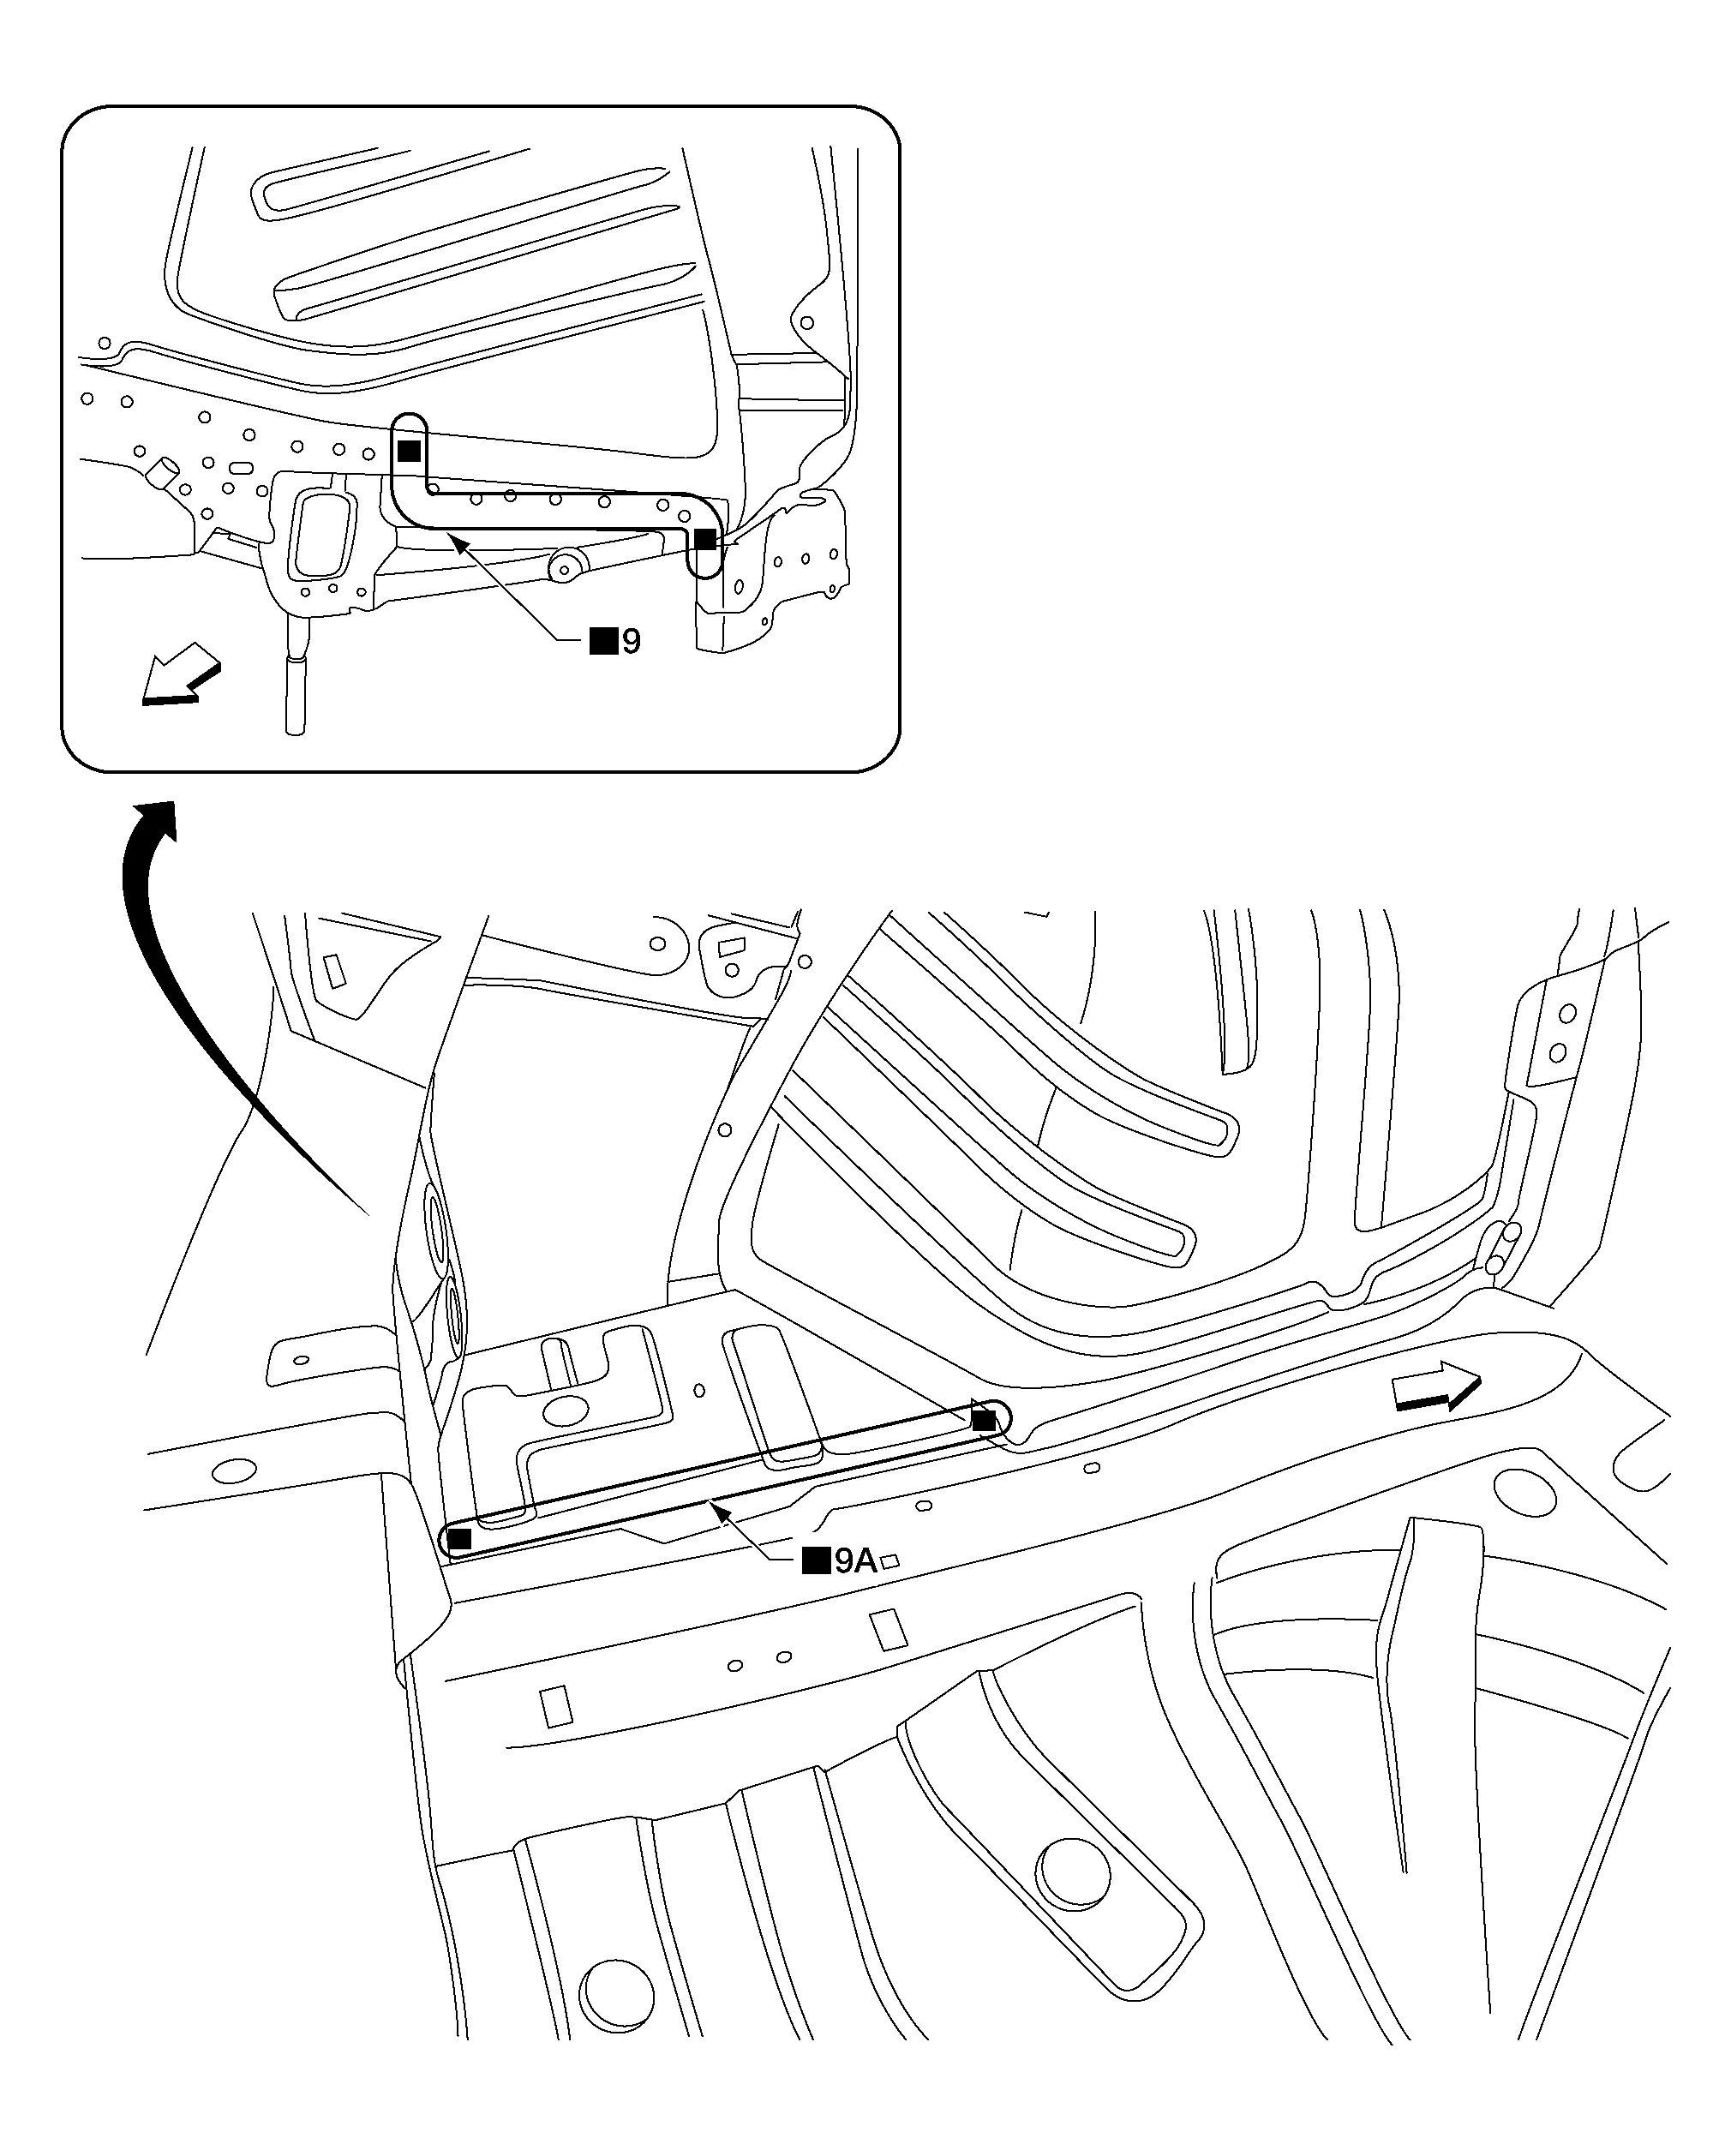
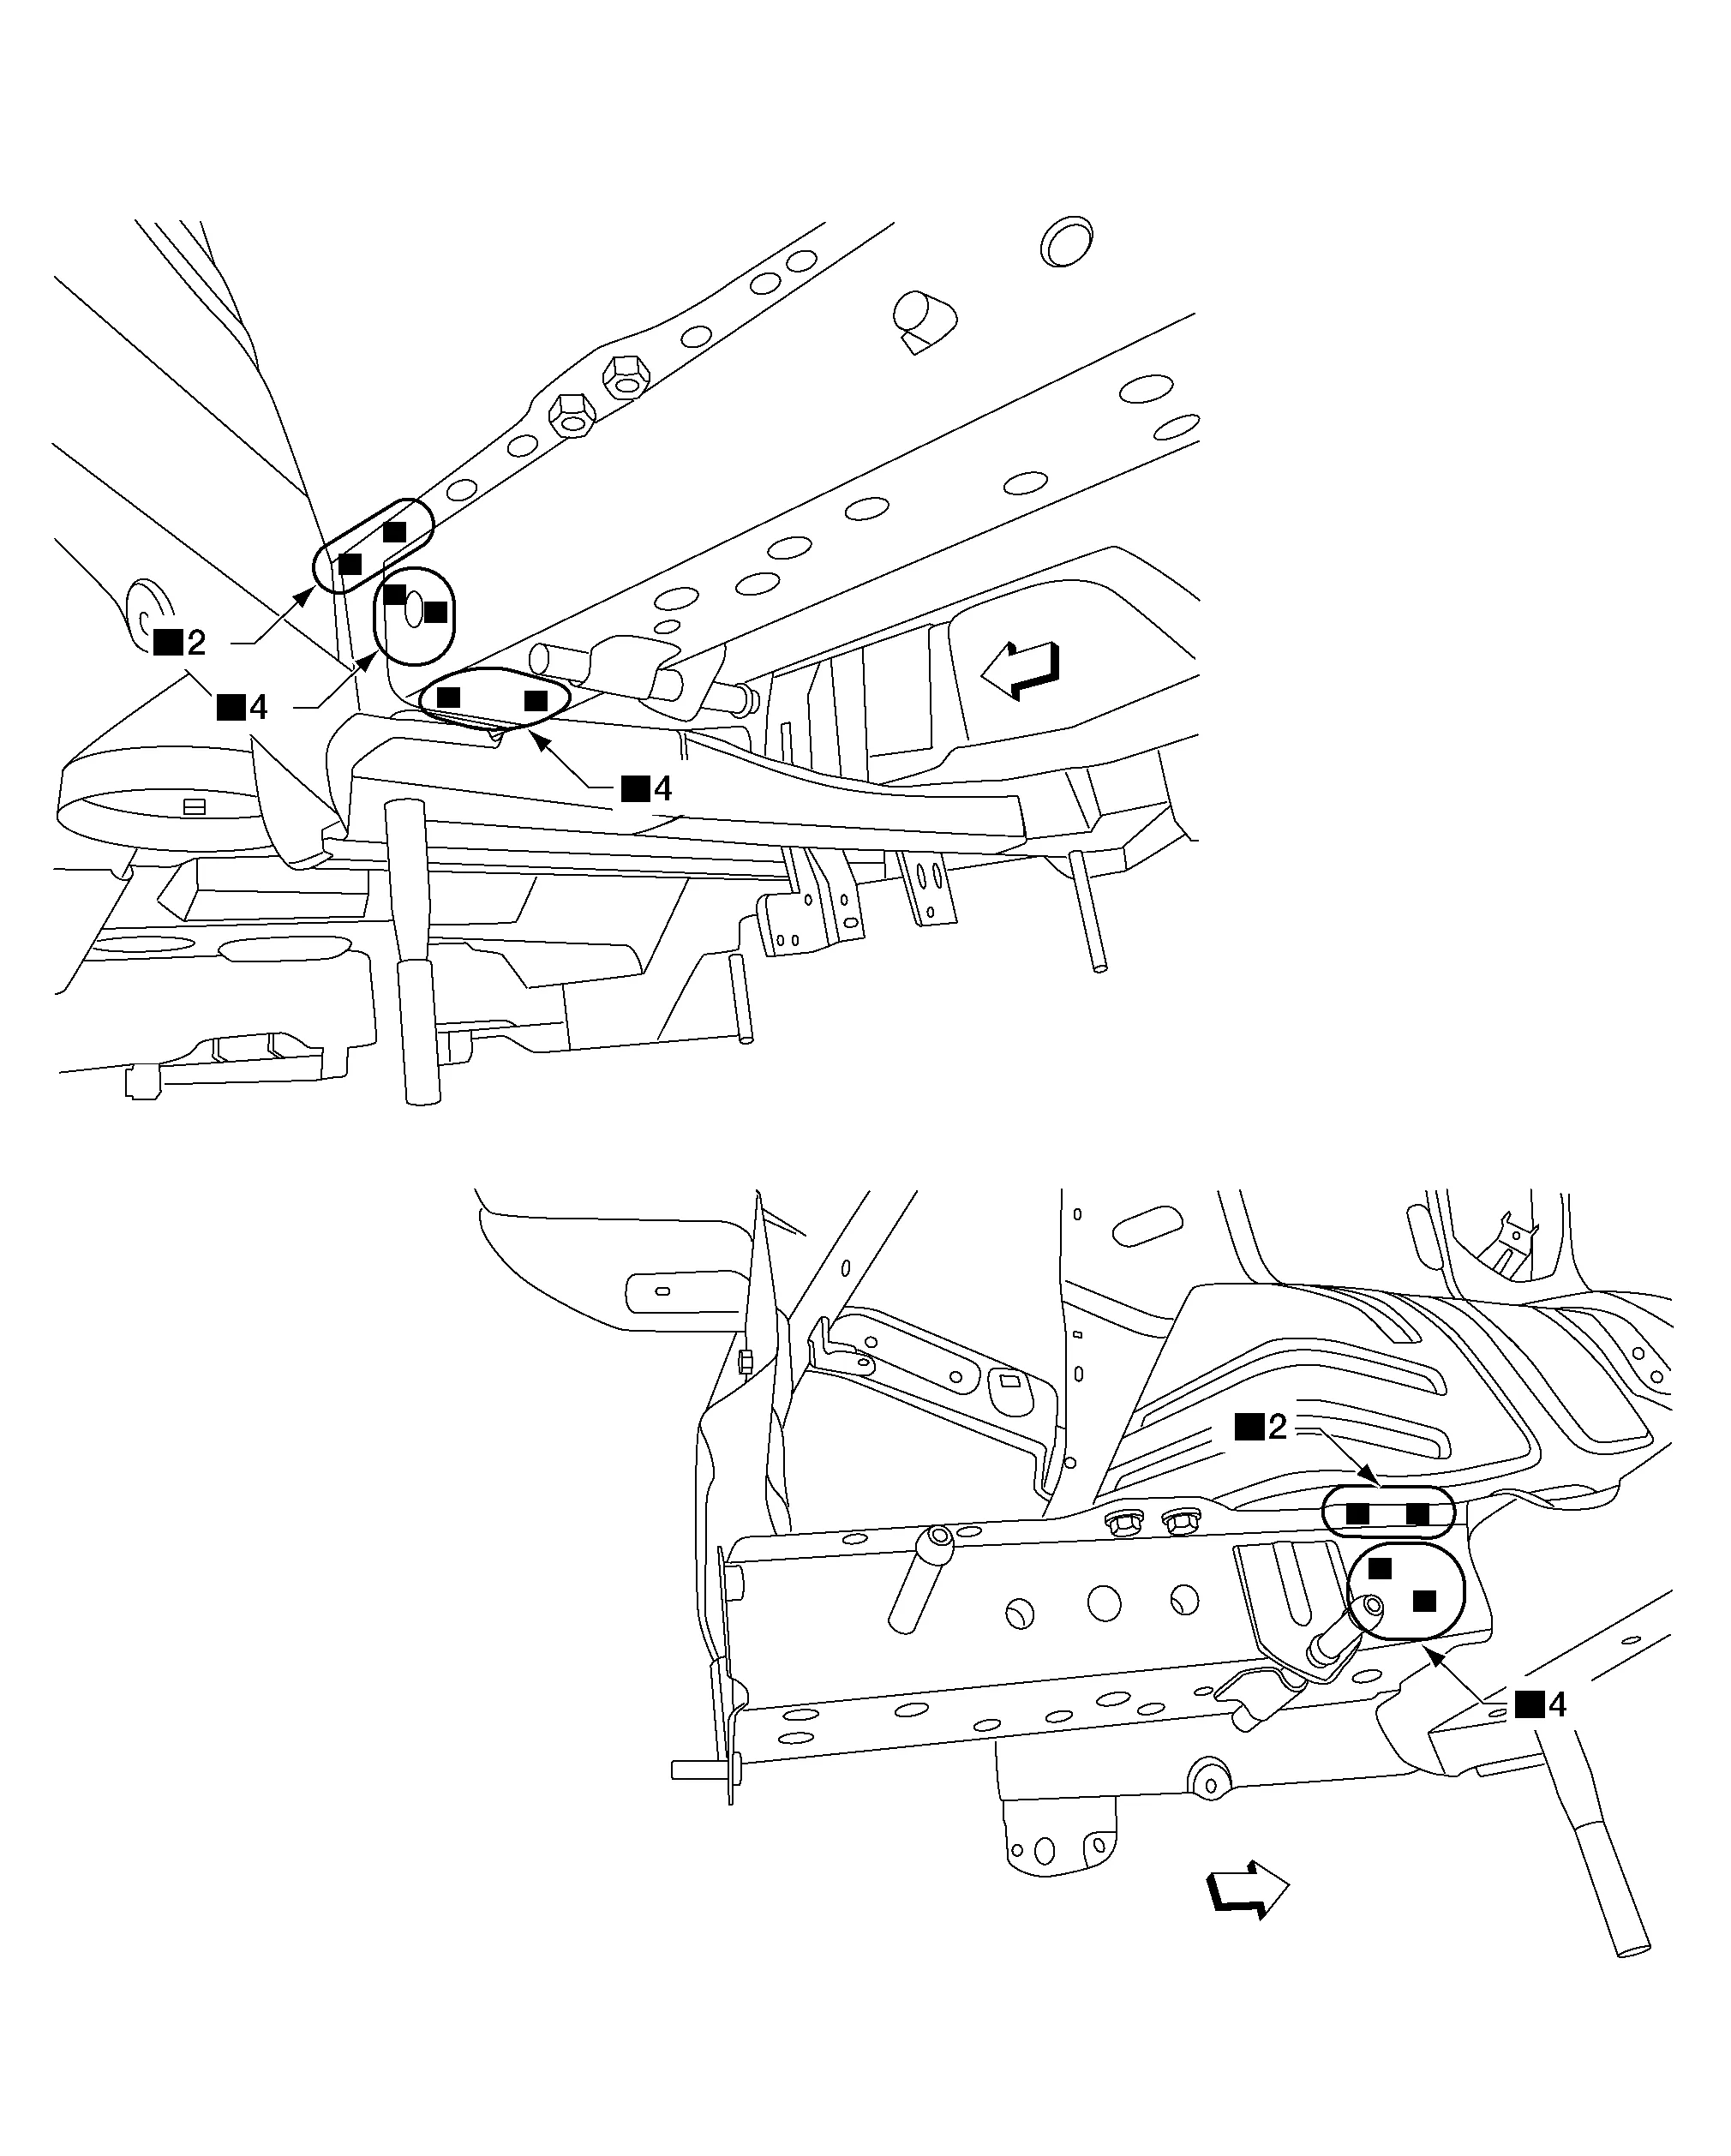
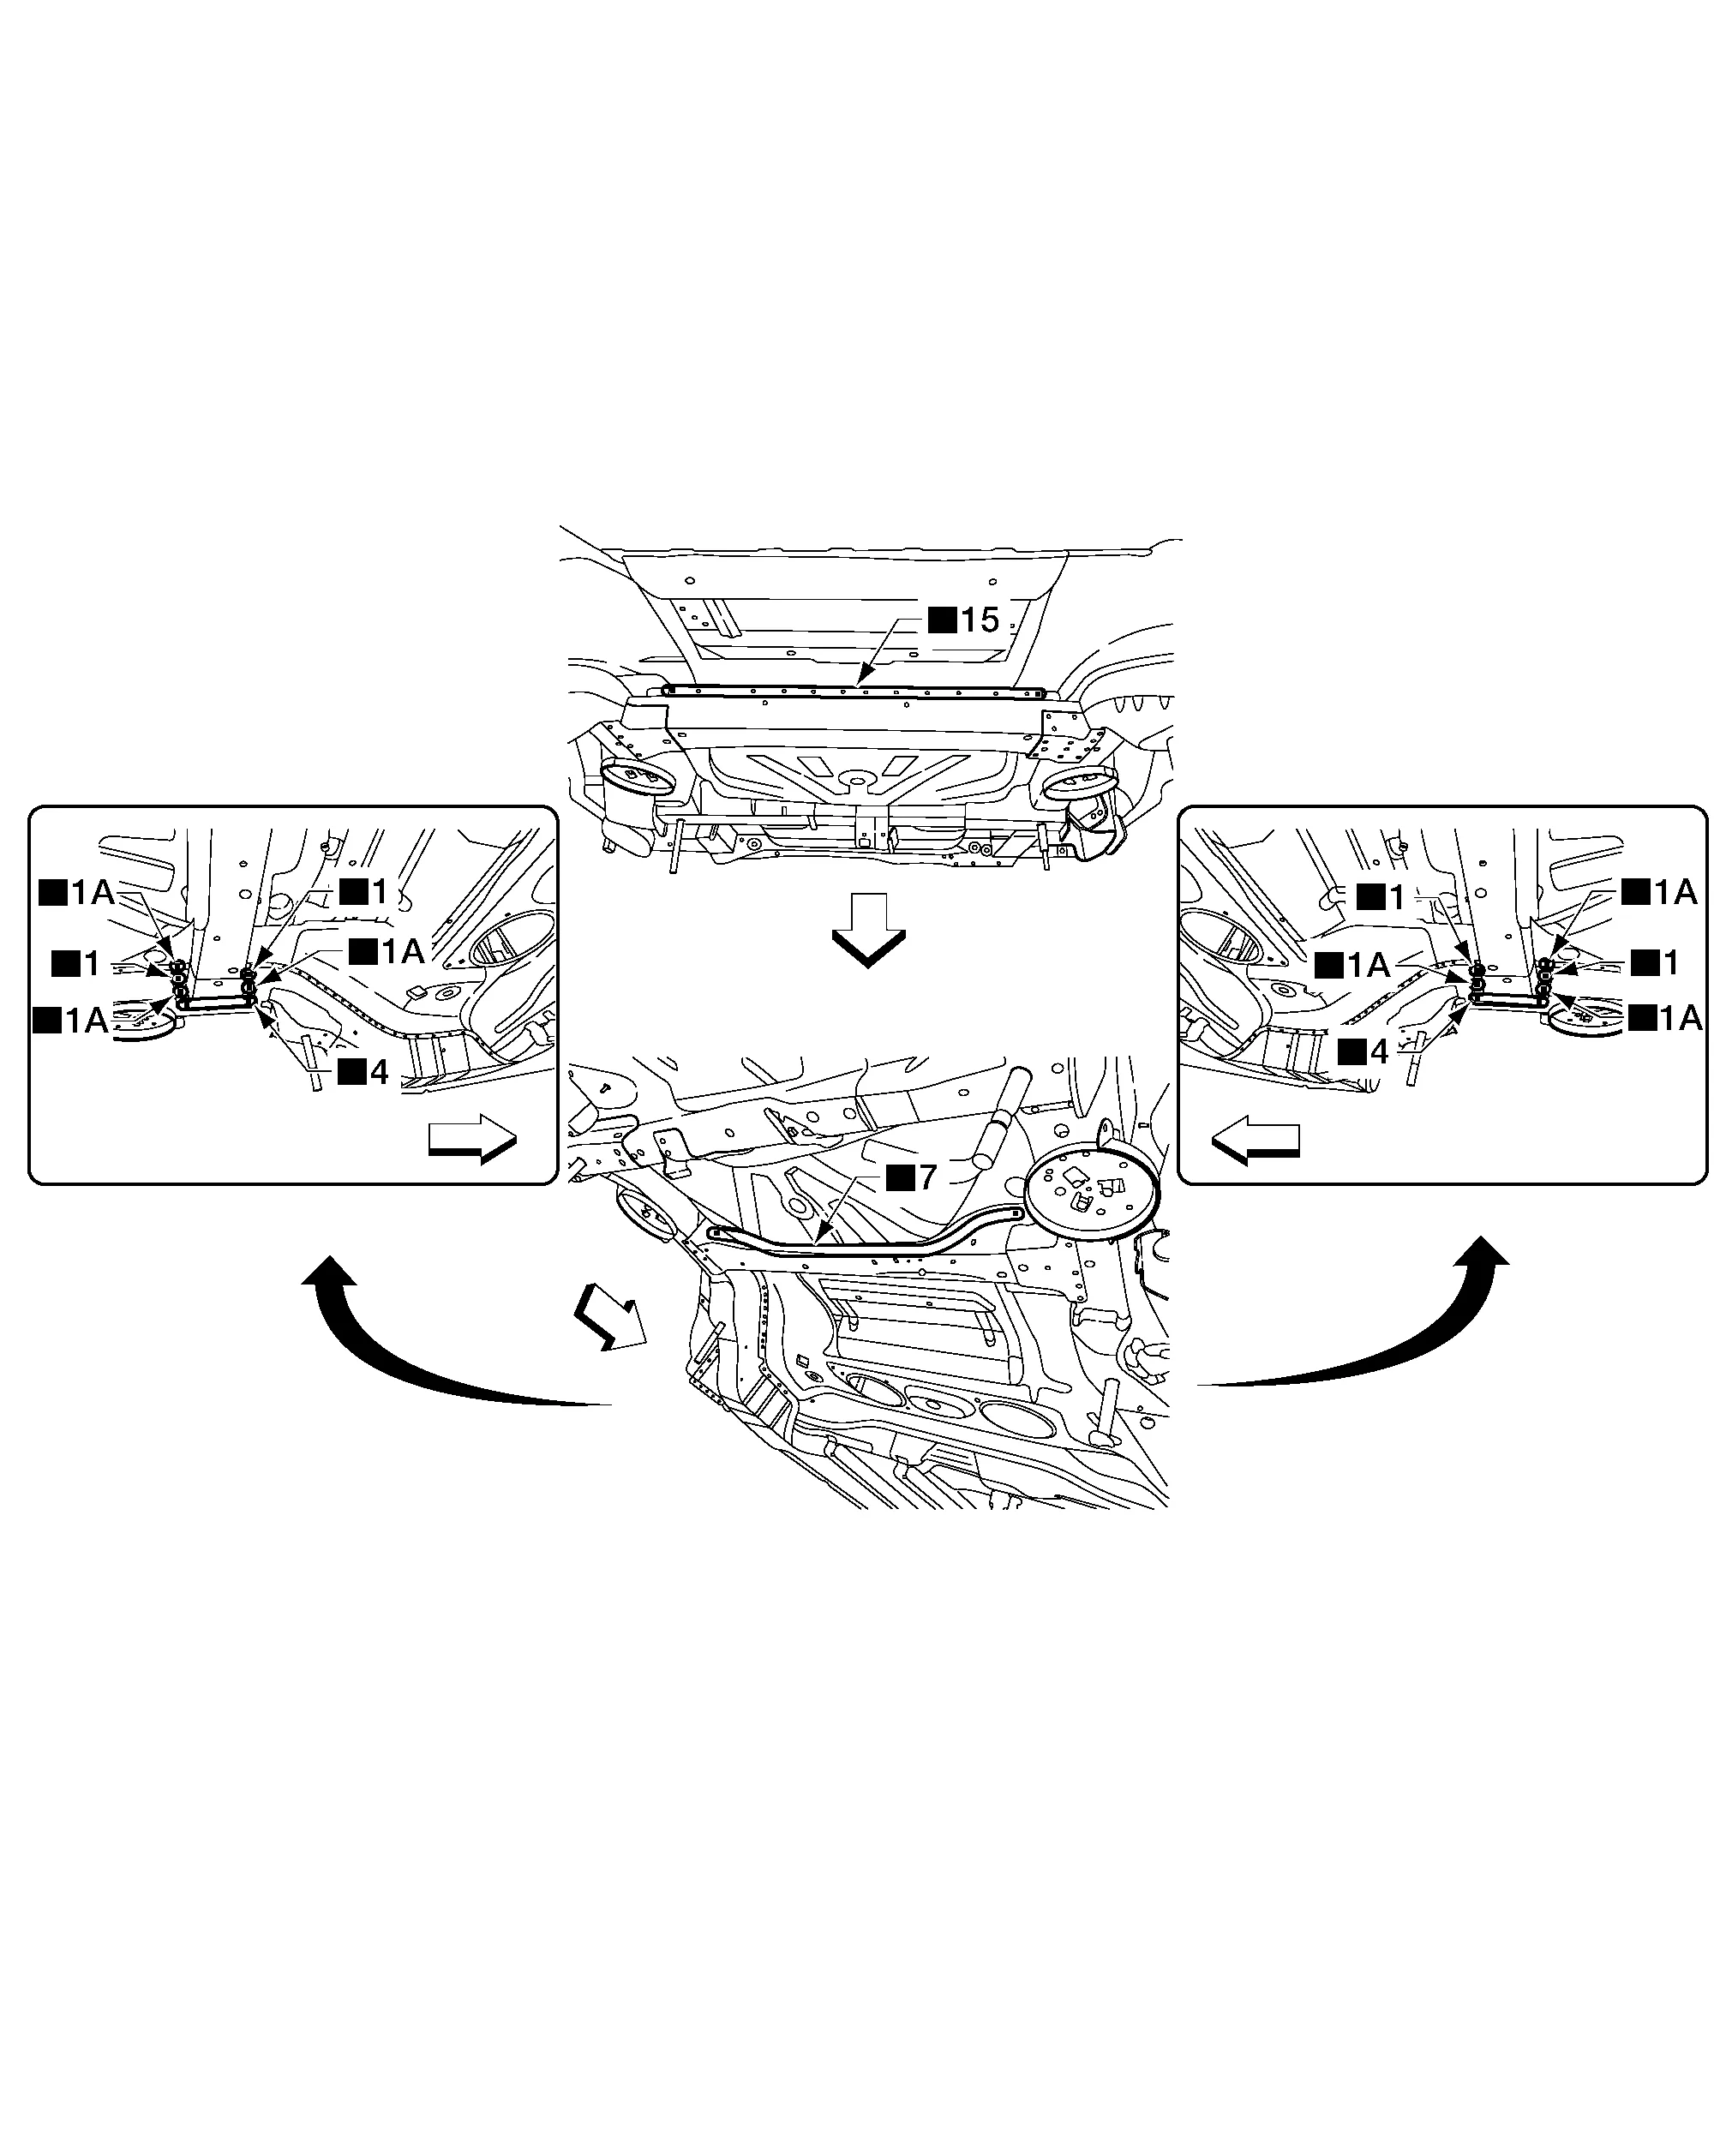
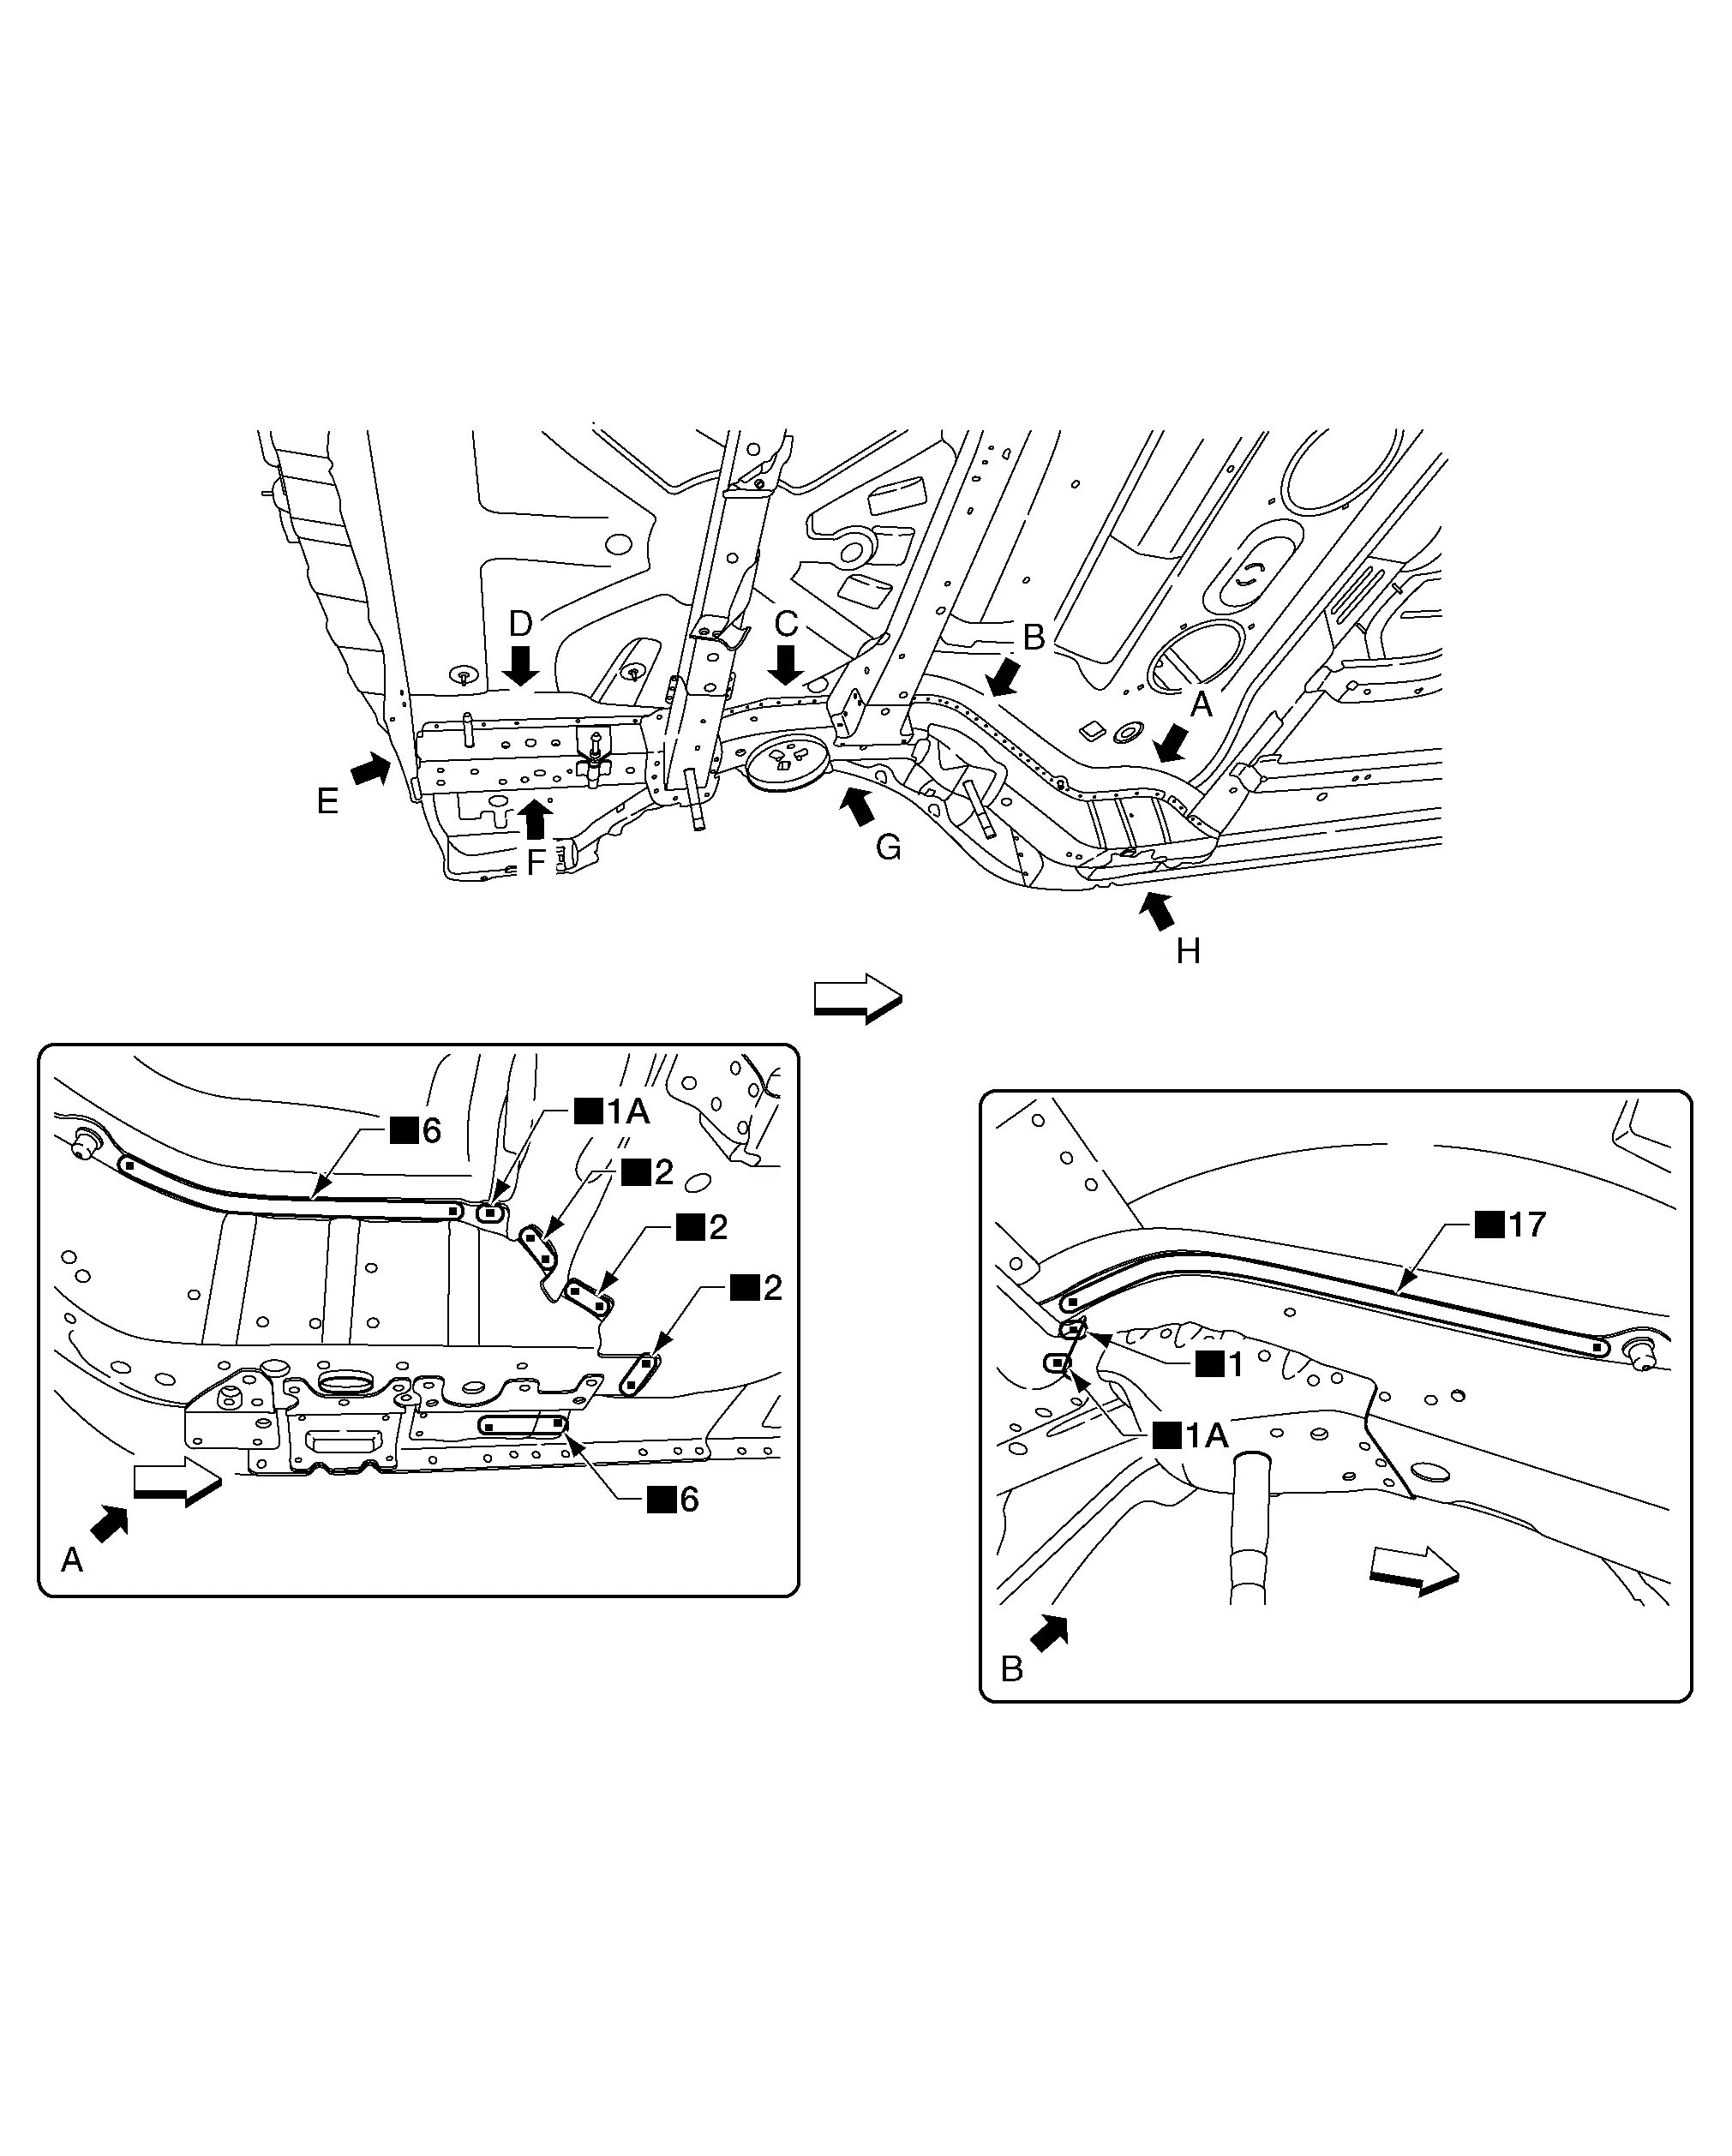
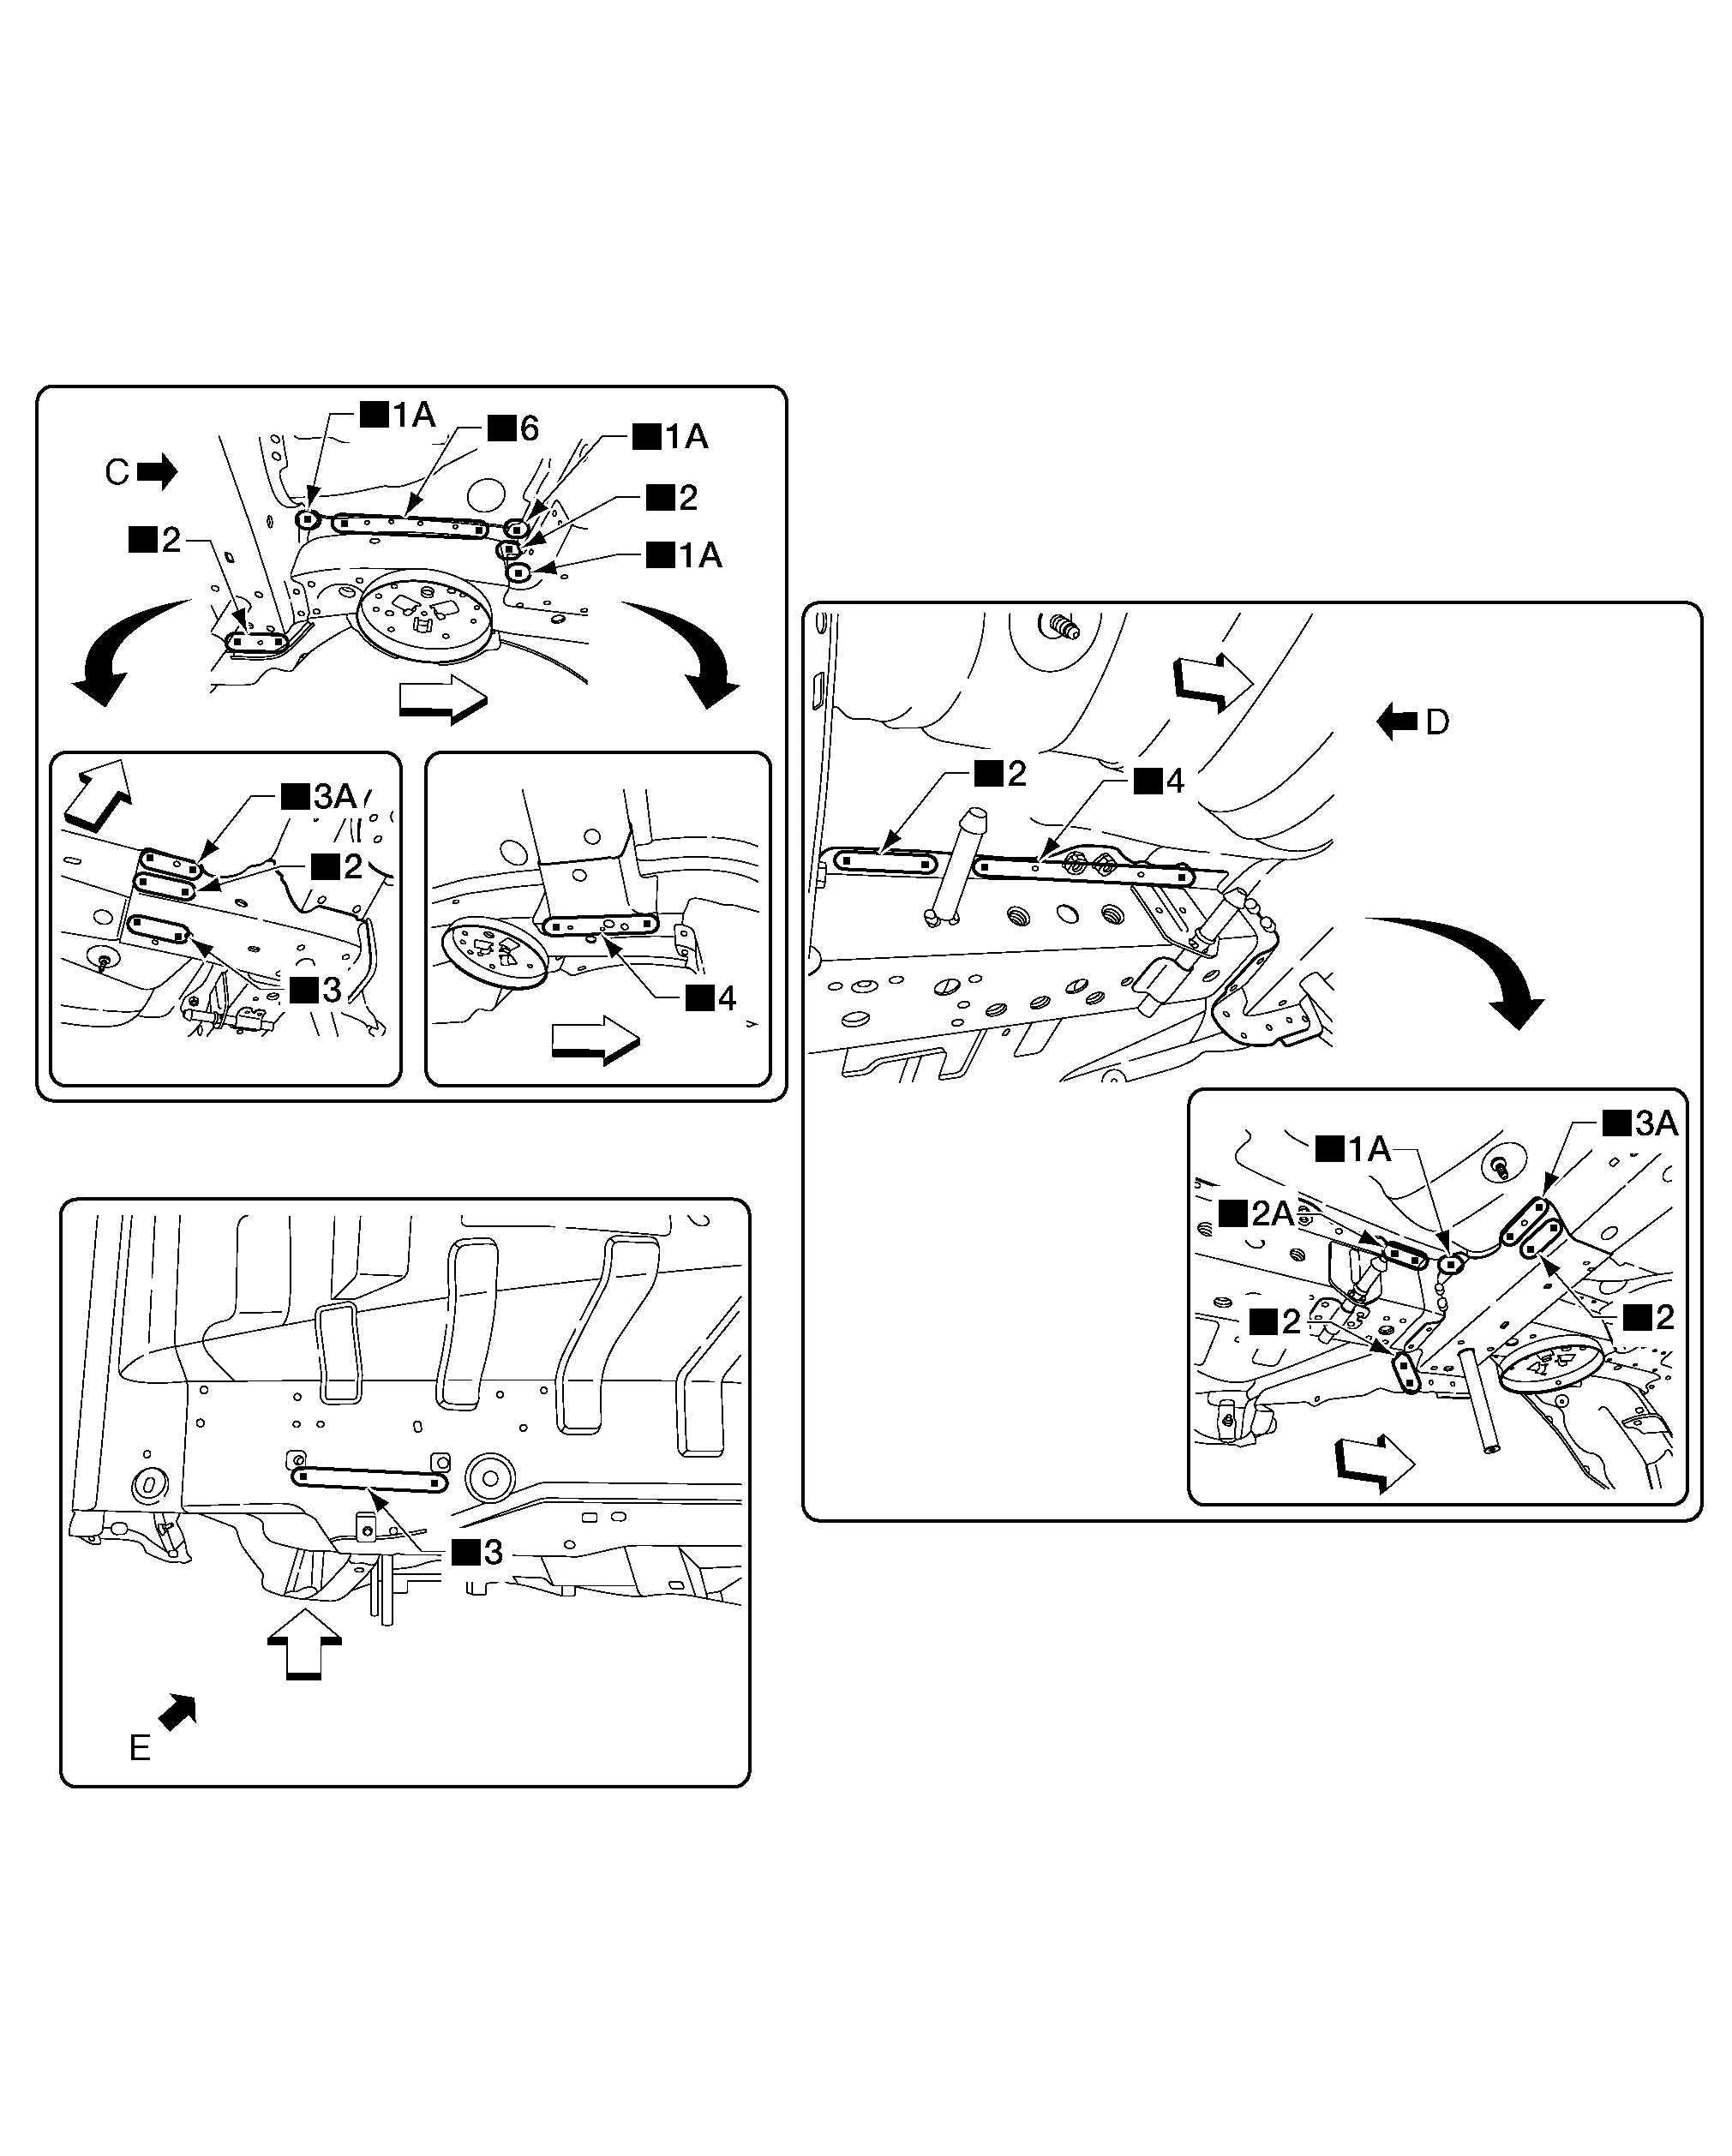
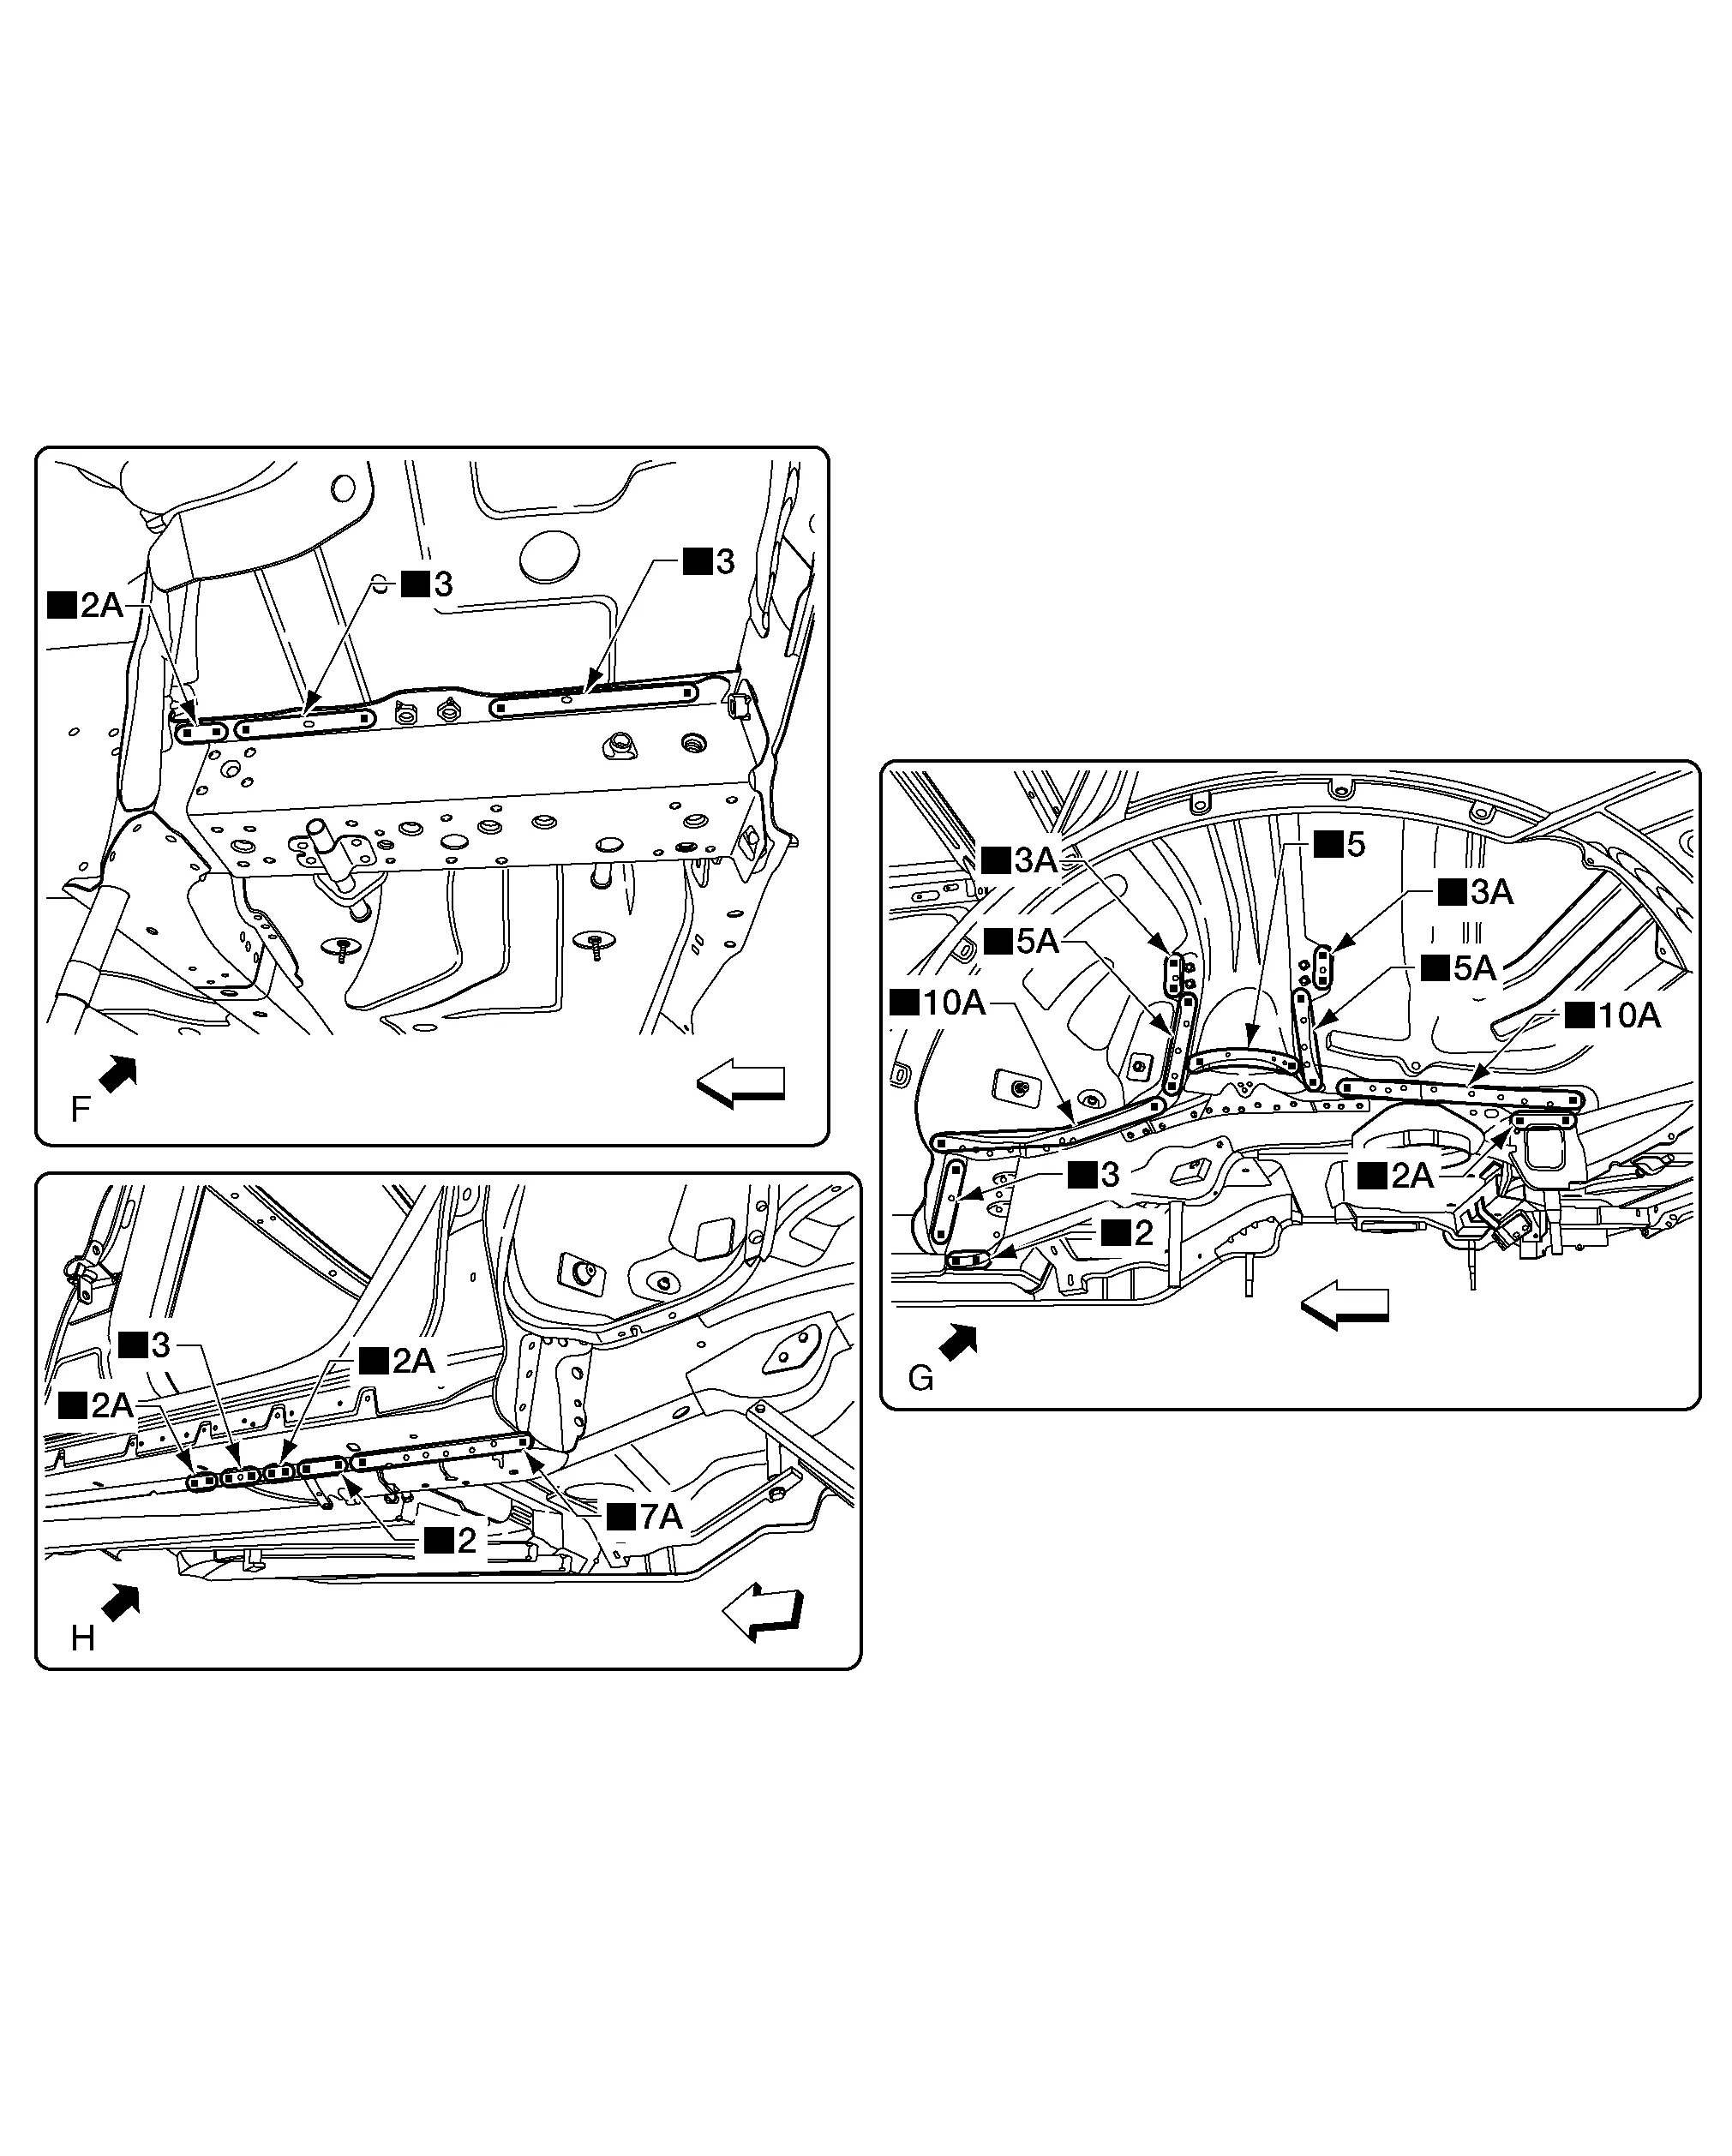
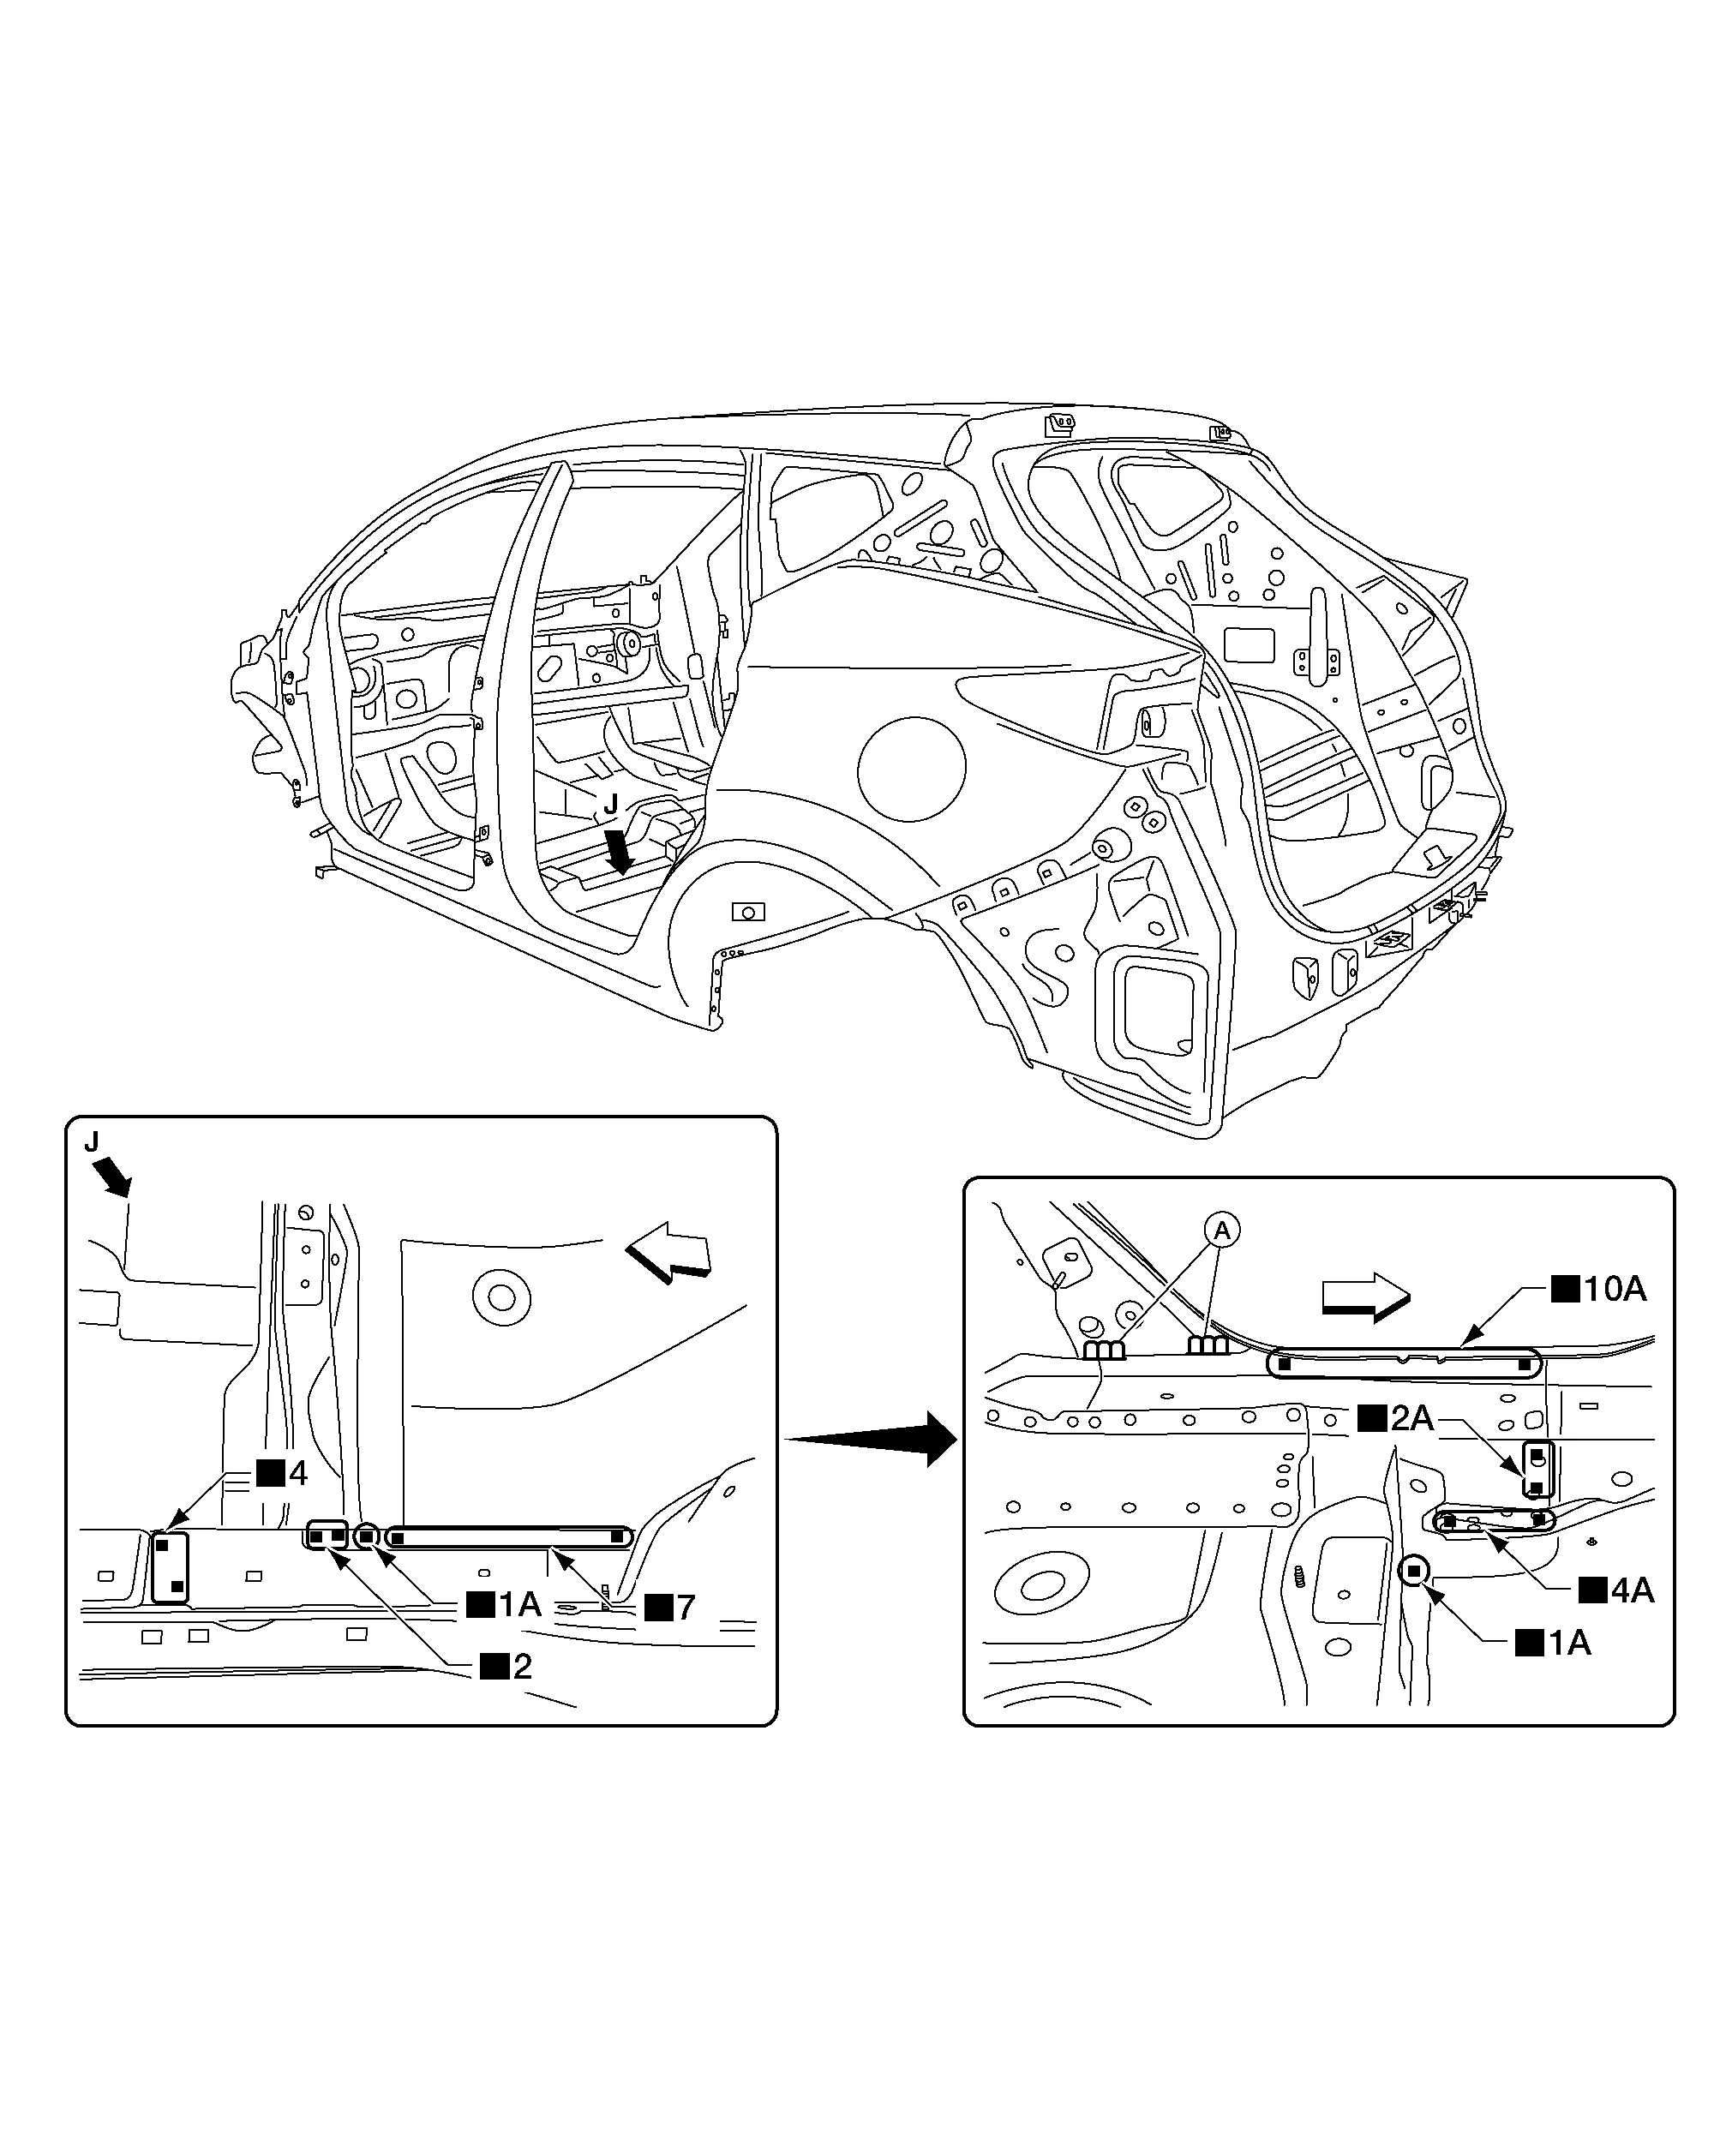
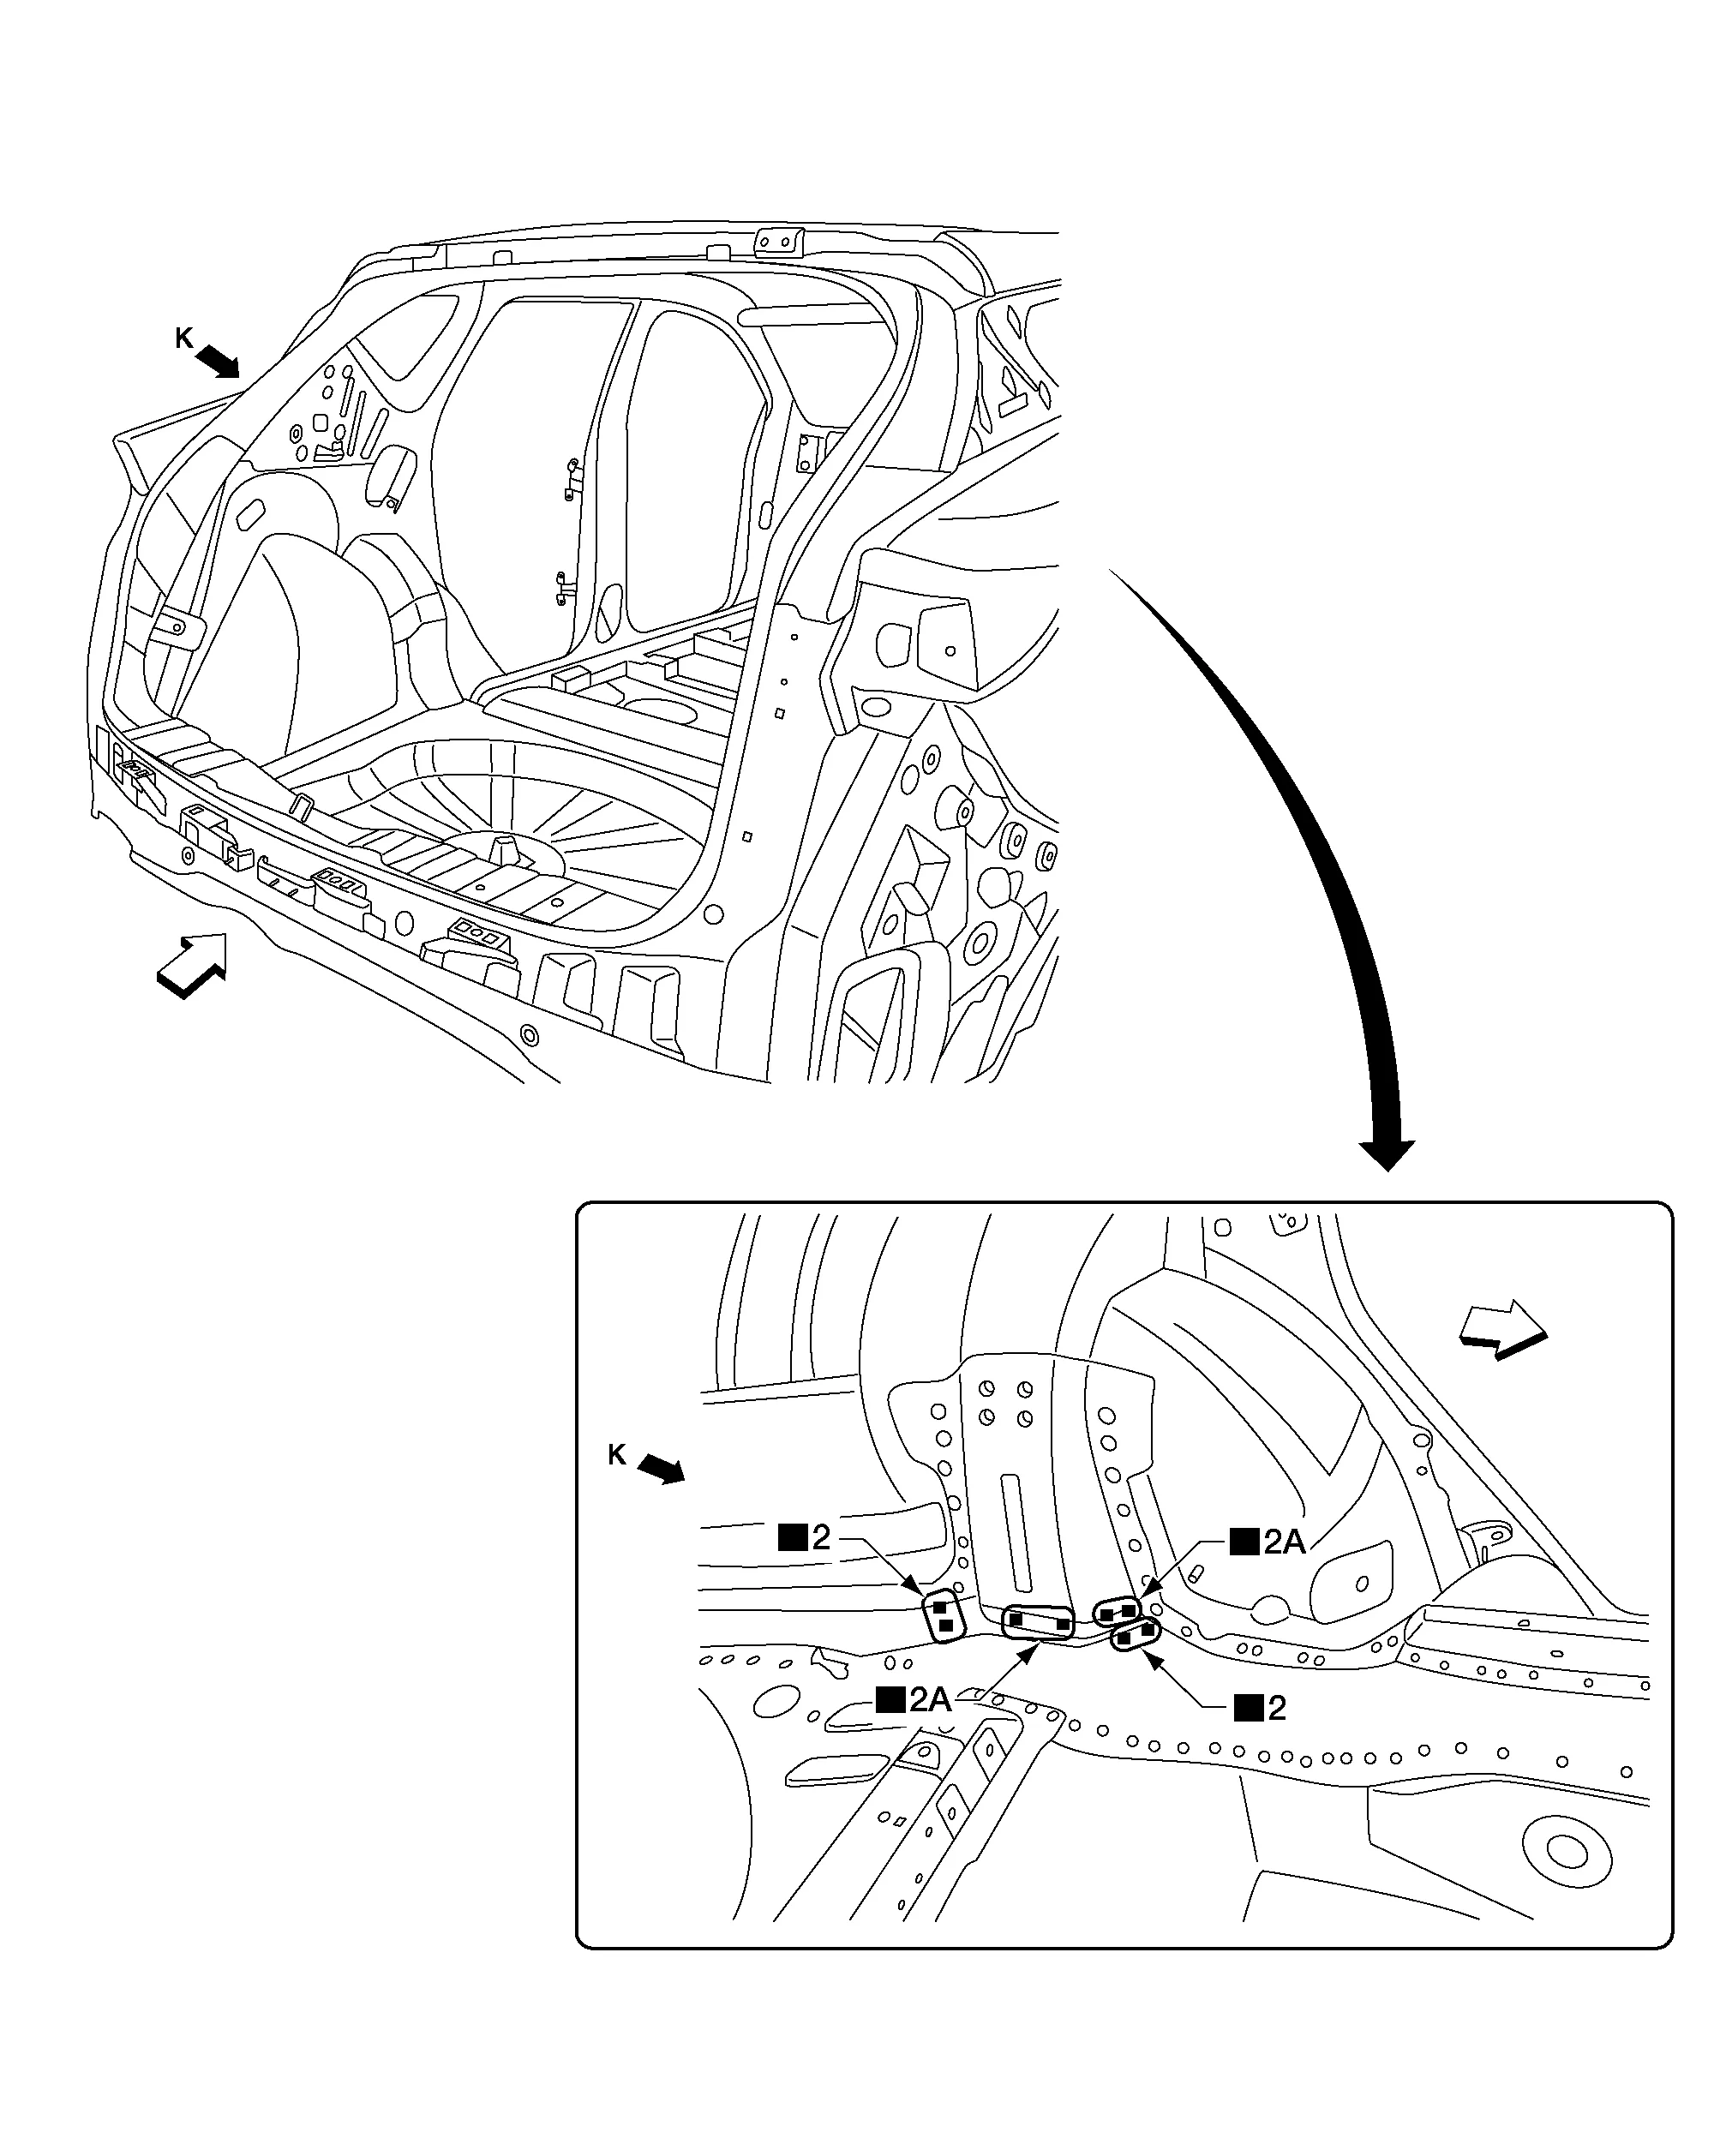
The symbols used in this section for welding operations are shown below.
Symbol marks
Description
"Number"
"Number" after symbol mark is the total number of welds to apply.
Example 1: ■"4"A = 4 MAG plug welds for 3-panel plug weld method.
Example 2: "1" x20 (0.79) = 1 MAG seam weld by length 20 mm (0.79 in).
2-panel spot weld
3-panel spot weld
MAG plug weld
For 3-panel plug weld method
MAG seam weld / Point weld
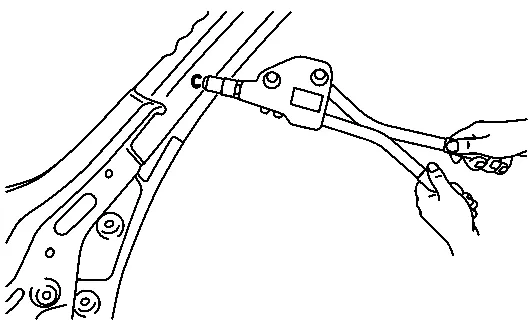
Rivet
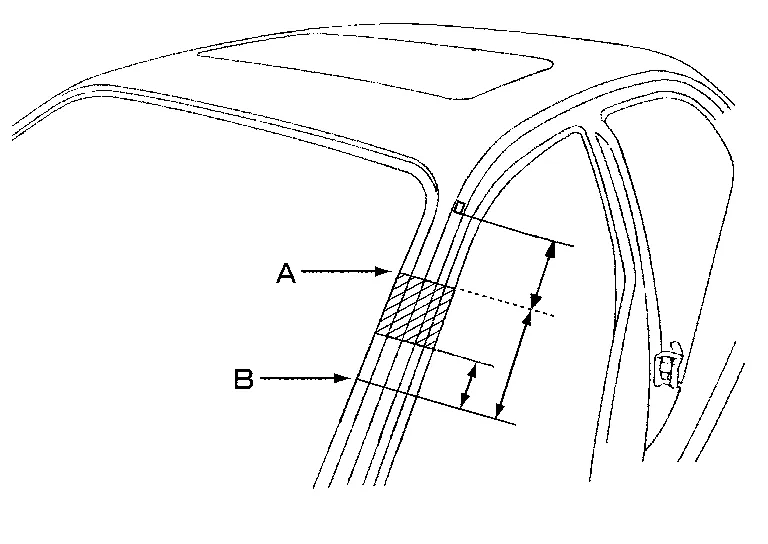
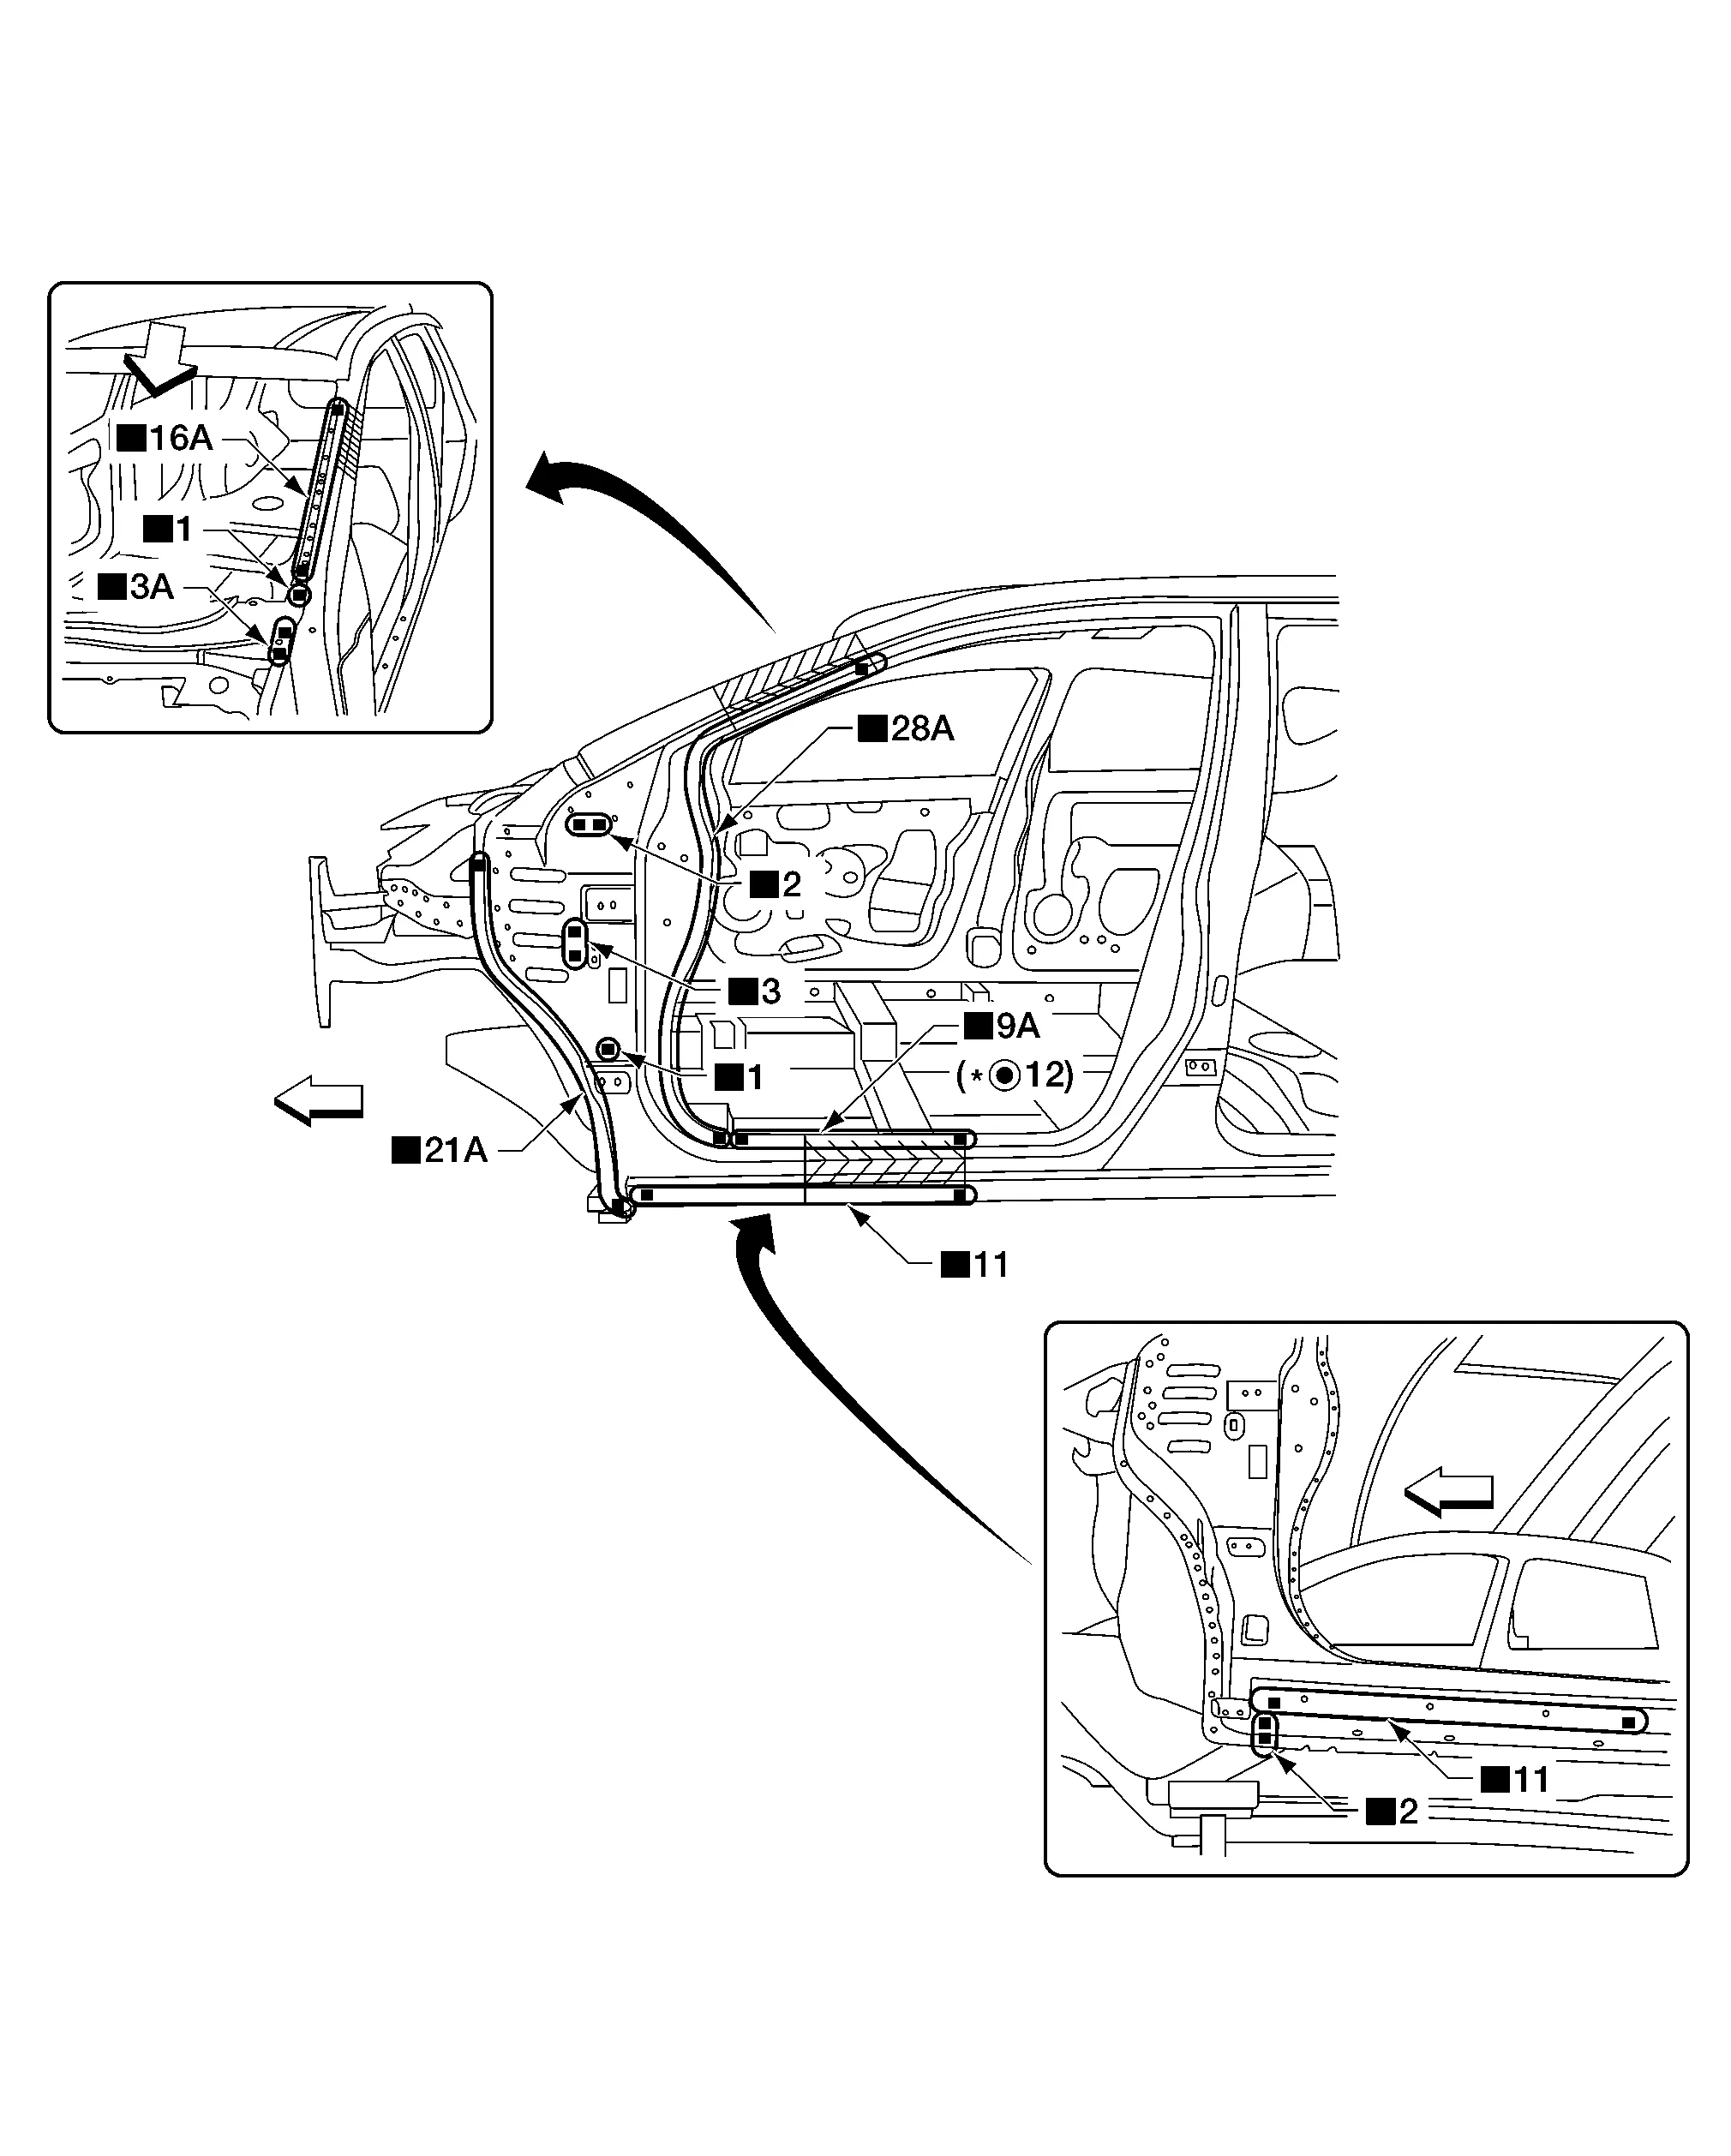
Front pillar butt joint can be determined anywhere within shaded area as shown in the figure. The best location for the butt joint is at position A due to the construction of the Nissan Murano vehicle.
Determine cutting position and record distance from the locating indent. Use this distance when cutting the service part. Cut outer front pillar over 60 mm (2.36 in) above the inner front pillar cut position.
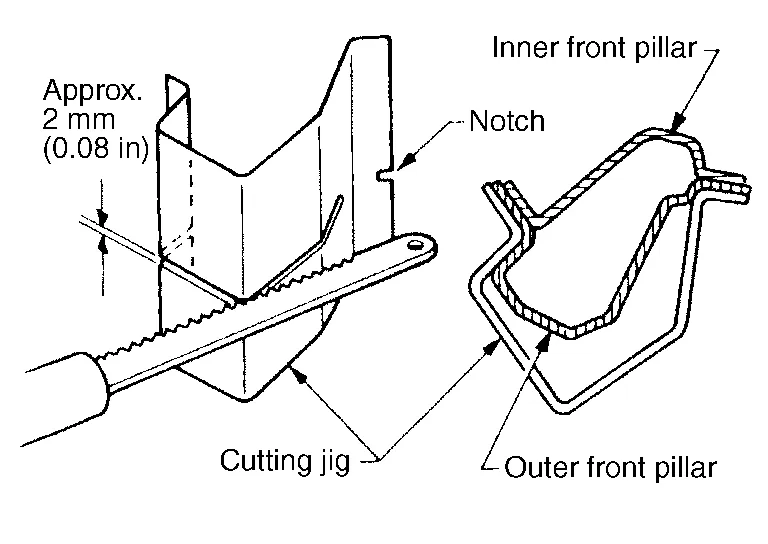
Prepare a cutting jig to make outer pillar easier to cut. Also, this will permit the service part to be accurately cut at the joint position.
An example of cutting operation using a cutting jig is as per the following.
Mark cutting lines.
A: Cut position of outer pillar
B: Cut position of inner pillar
Align cutting line with notch on jig. Clamp jig to pillar.
Cut outer pillar along groove of jig (at position A).
Remove jig and cut remaining portions.
Cut inner pillar at position B in same manner.
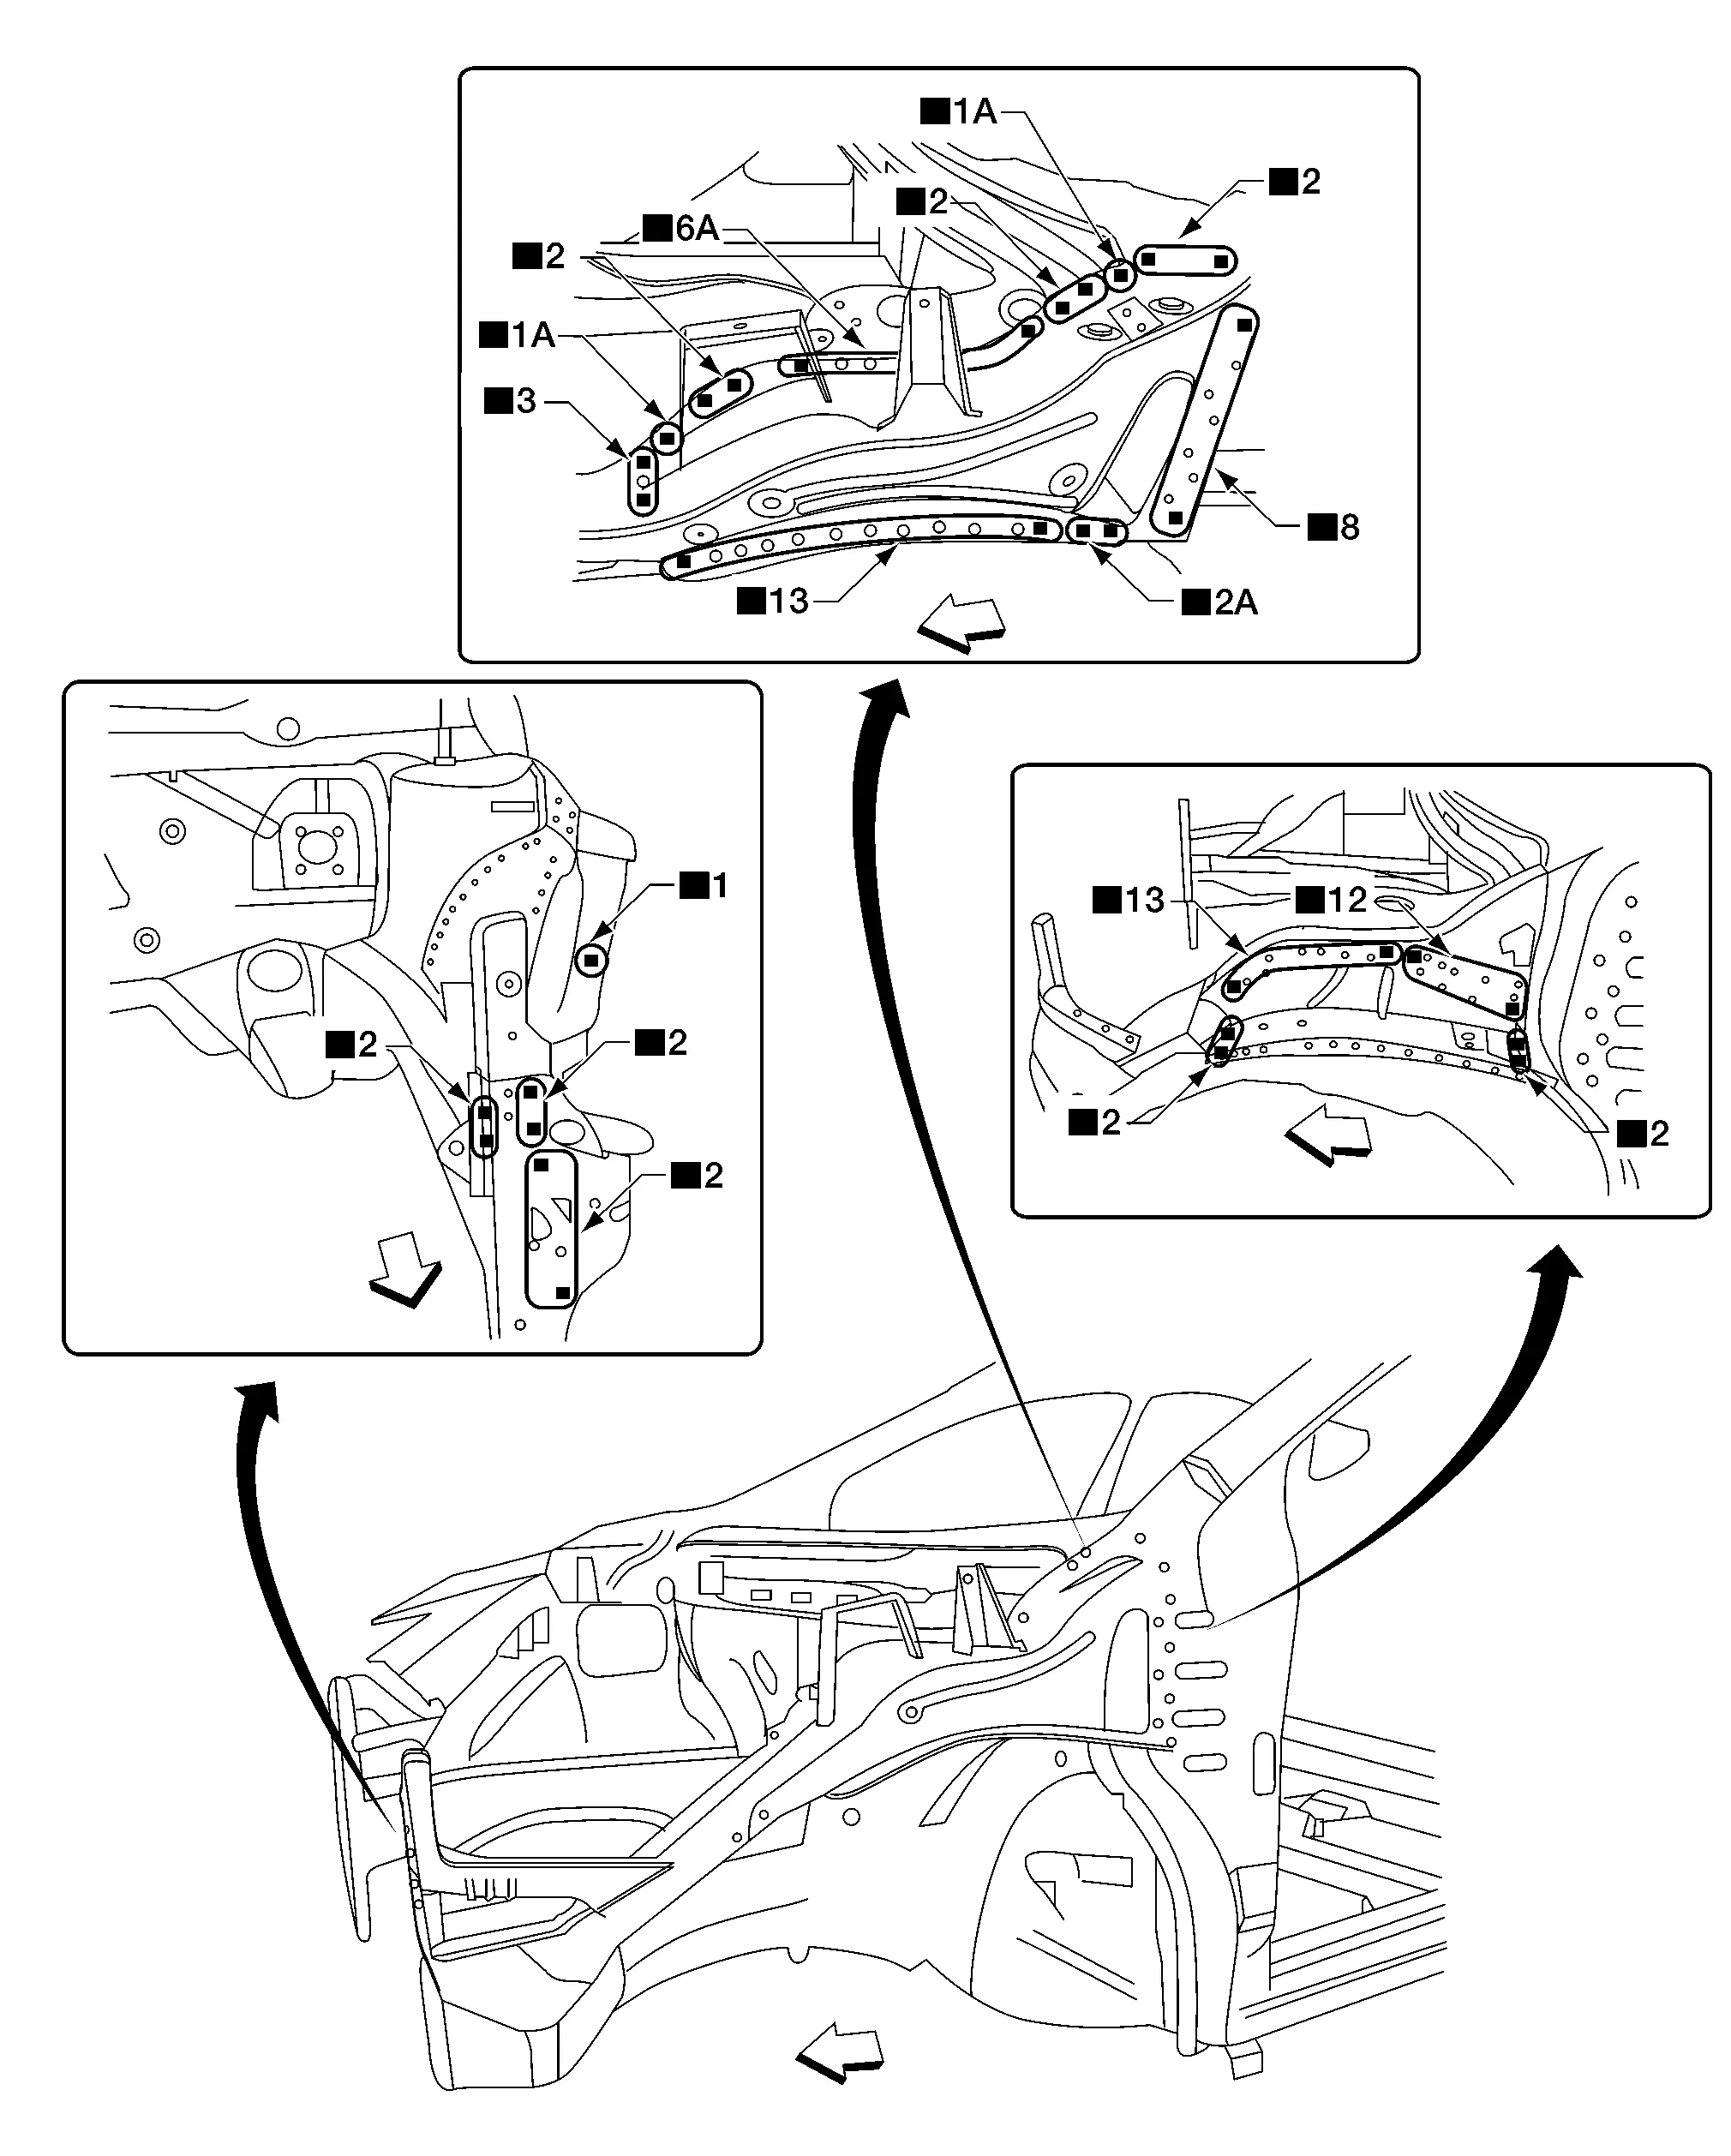
Hoodledge
Replacement parts
•
Upper radiator core support
•
Hoodledge
•
Hoodledge reinforcement
Front
Front Strut Housing
Replacement parts
•
Front strut housing
•
Front strut housing extension
•
Front side member extension
•
Front side member closing plate
A.
MAG weld
Front
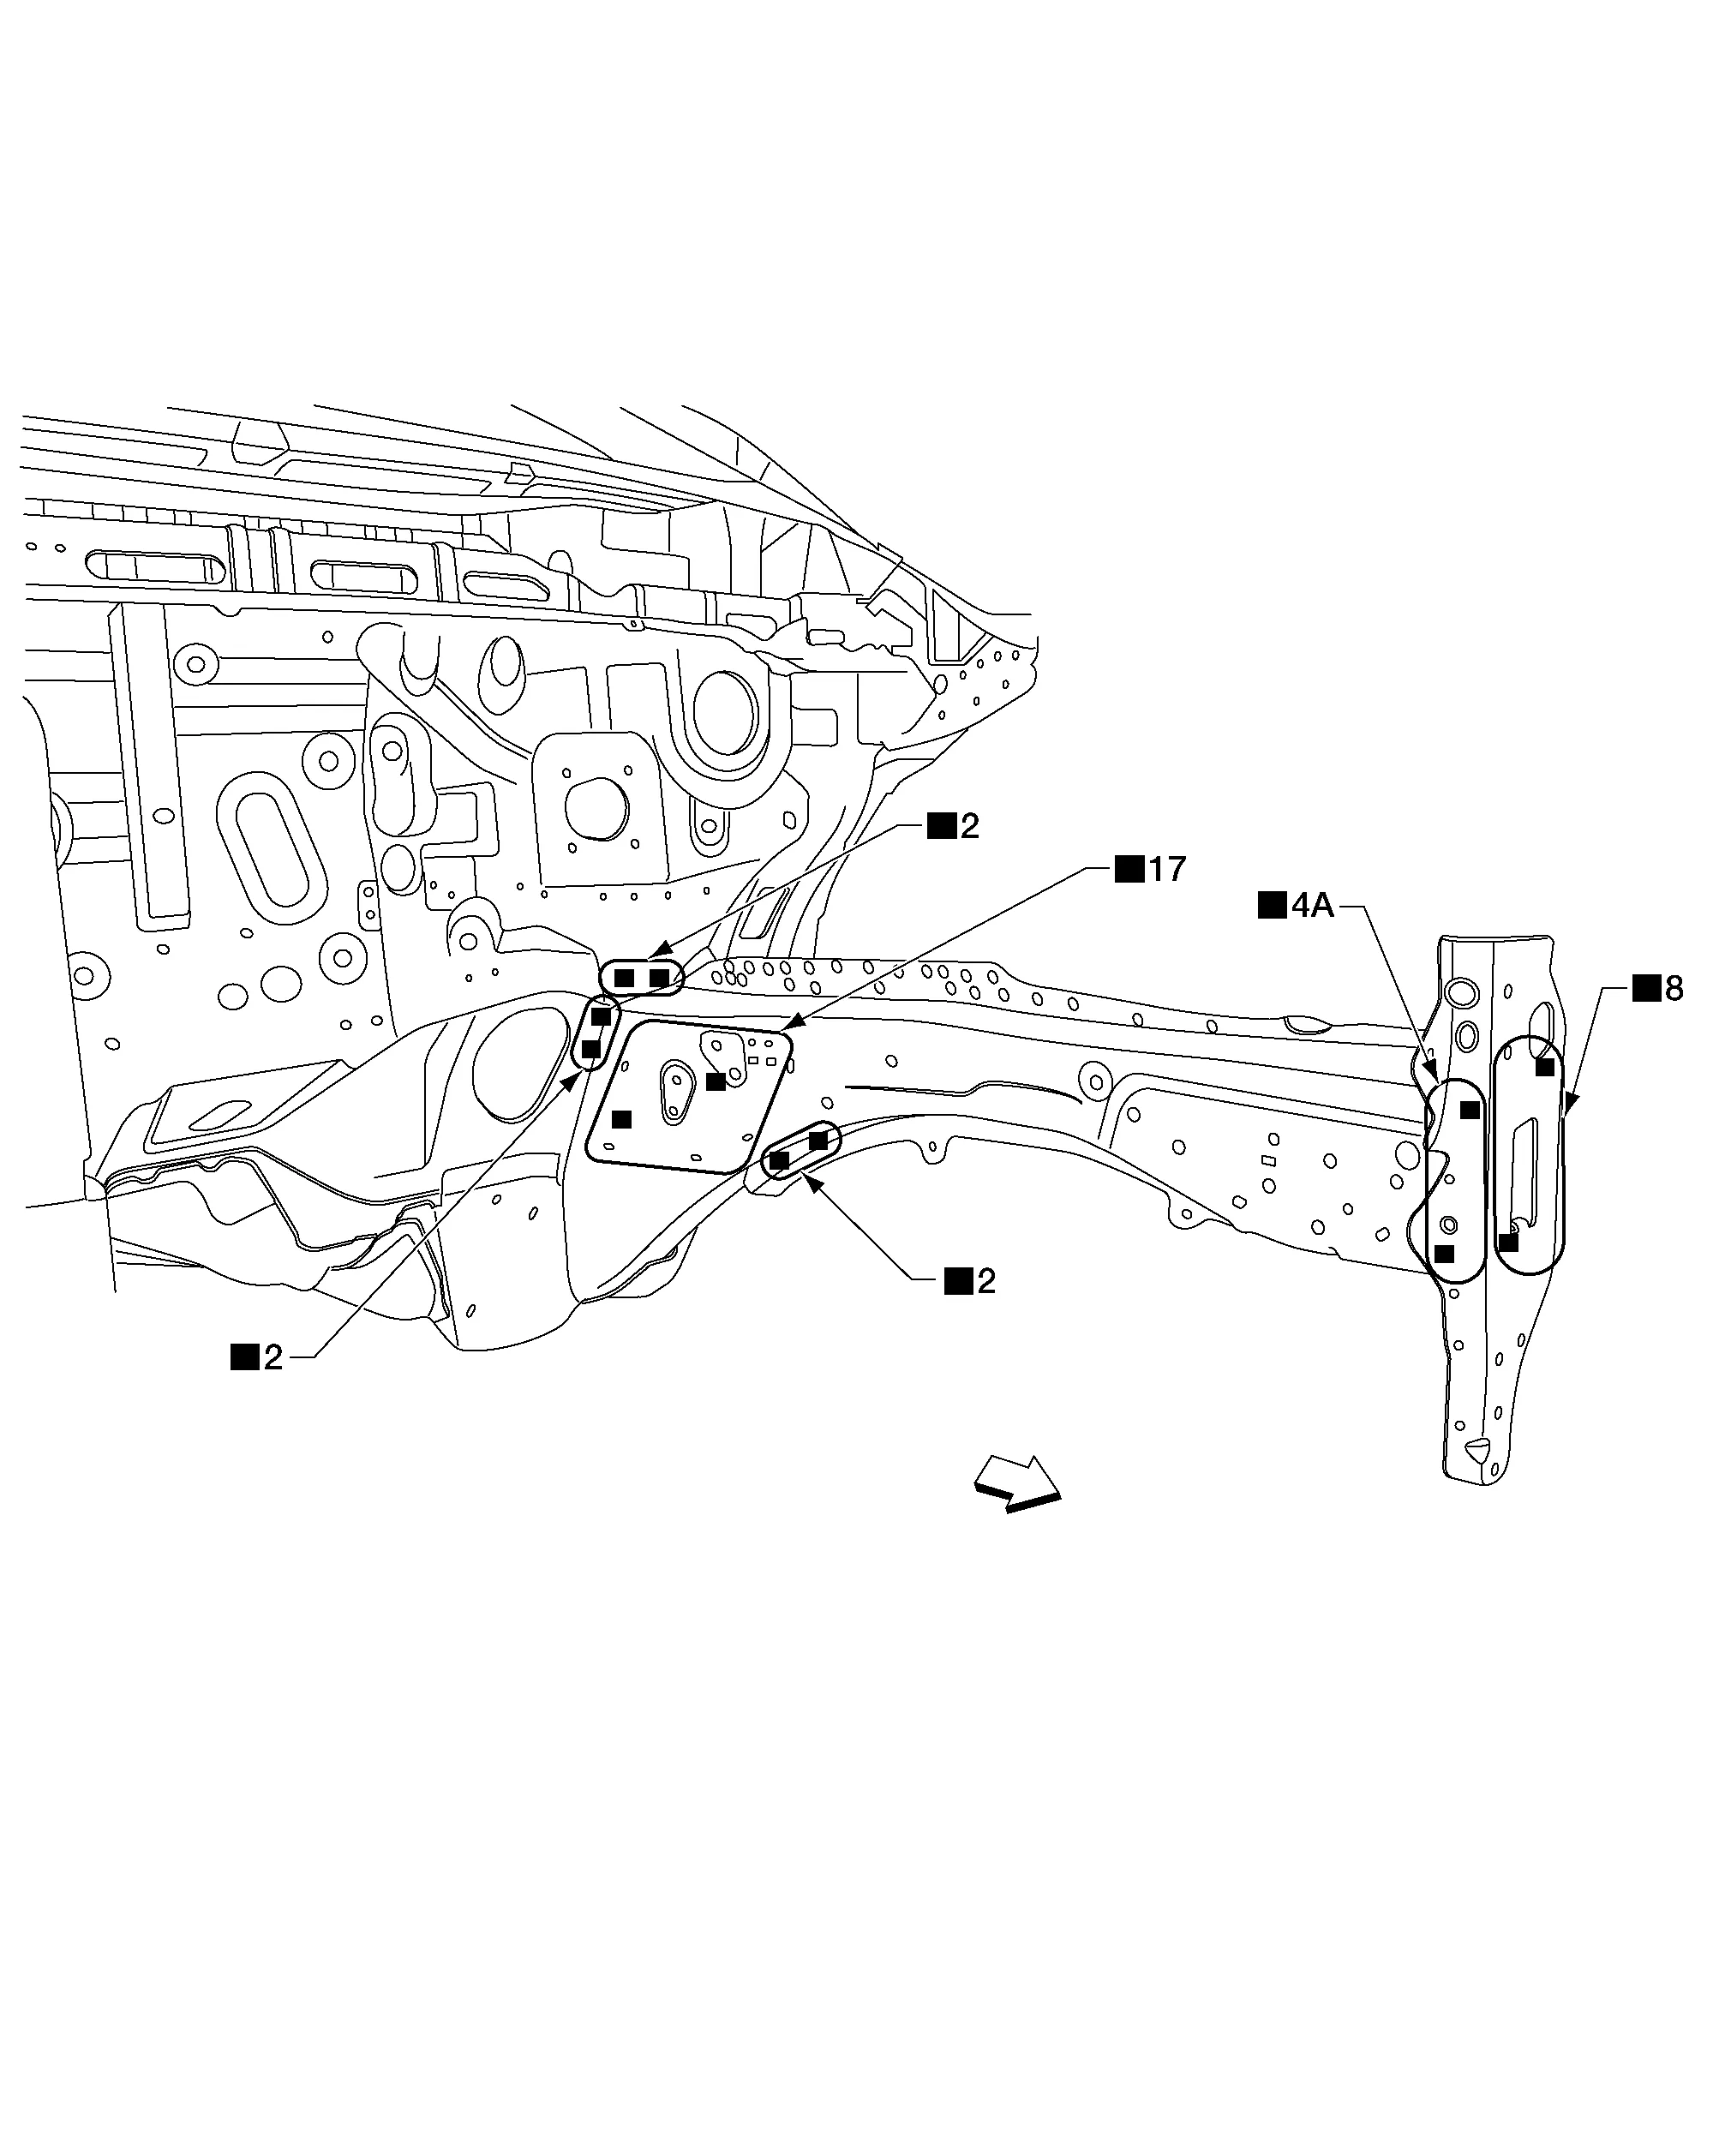
Front Side Member (Partial Replacement)
Work after the hoodledge assembly and front suspension spring support assembly has been removed.
Replacement parts
•
Front side member
•
Front side member extension
Front
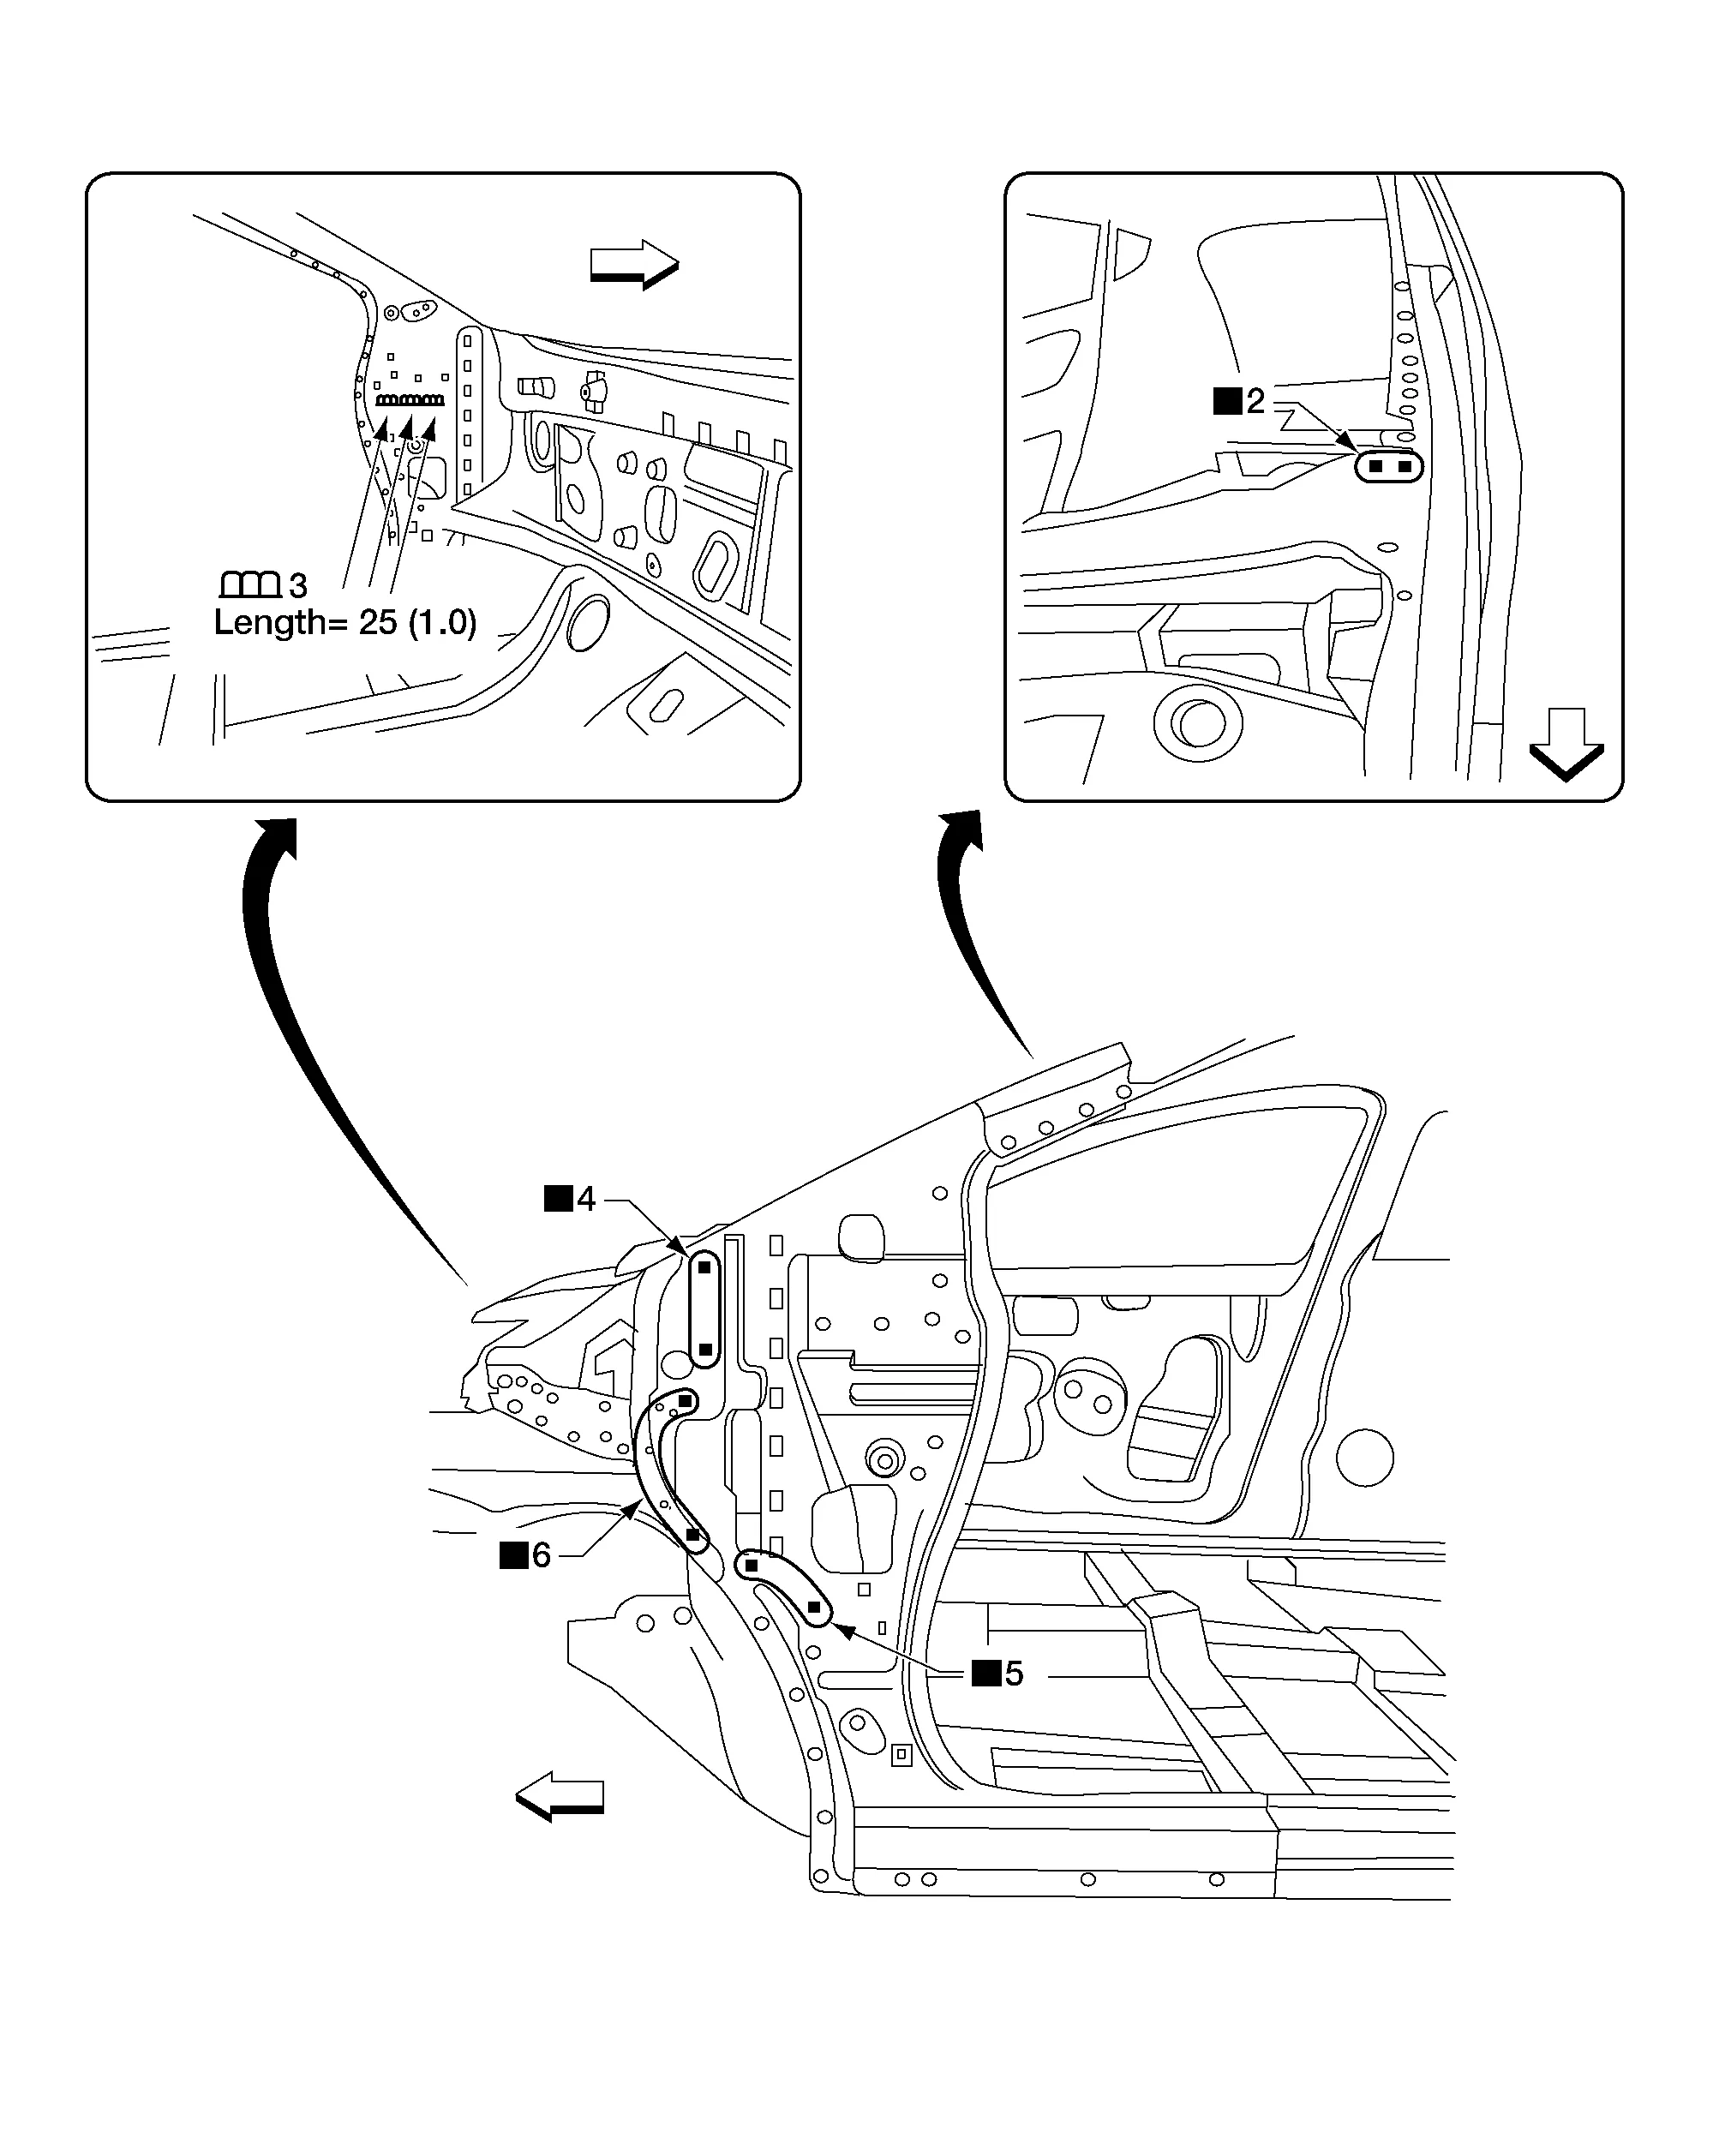
Front Pillar
OUTER
Work after the upper hoodledge has been removed.
Replacement parts
•
Front pillar section of front body side outer
Front
For spot welding of steel plate of strength 980 MPa, observe the indicated welding conditions. Refer to Welding of Ultra High Strength Steel.
HINGE PILLAR BRACE
Upper
Work after front pillar outer has been removed.
Unit: mm (in)
Replacement parts
•
Front pillar upper hinge brace
Front
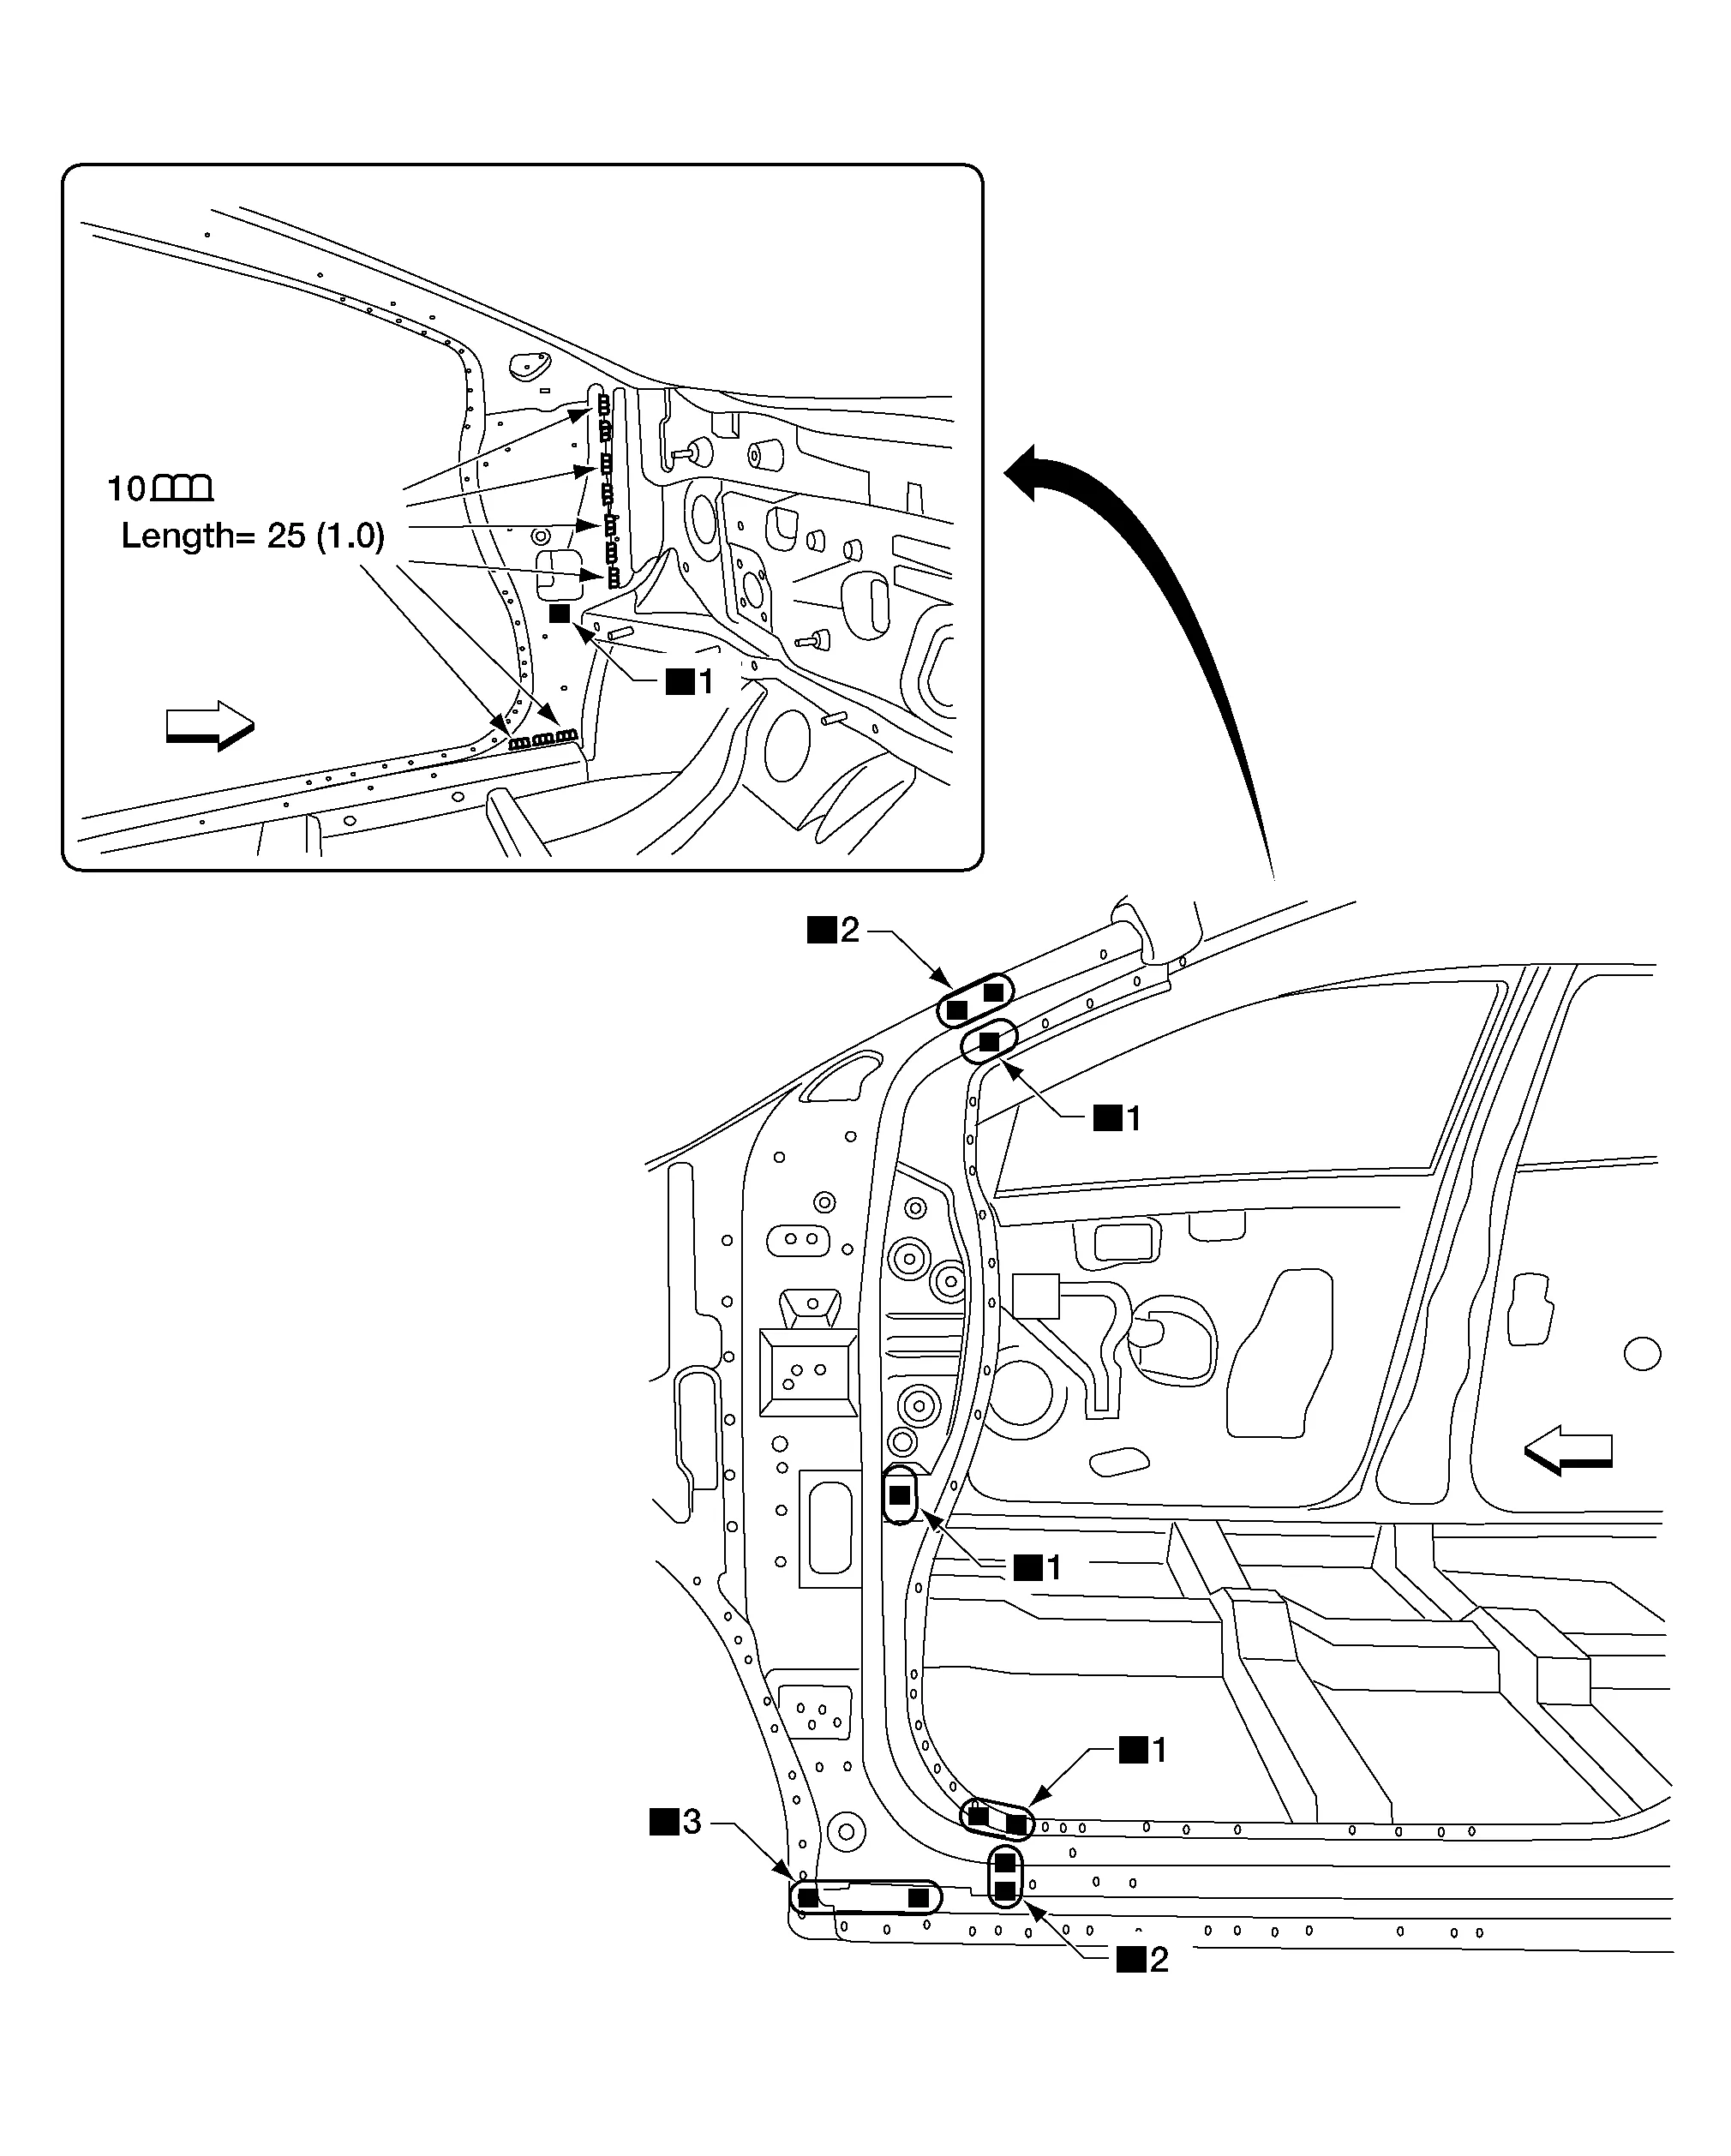
Dash Side
Work after the front pillar portion of body side inner reinforcement and the front pillar lower hinge brace have been removed.
Unit: mm (in)
Replacement parts
•
Dash side
Front
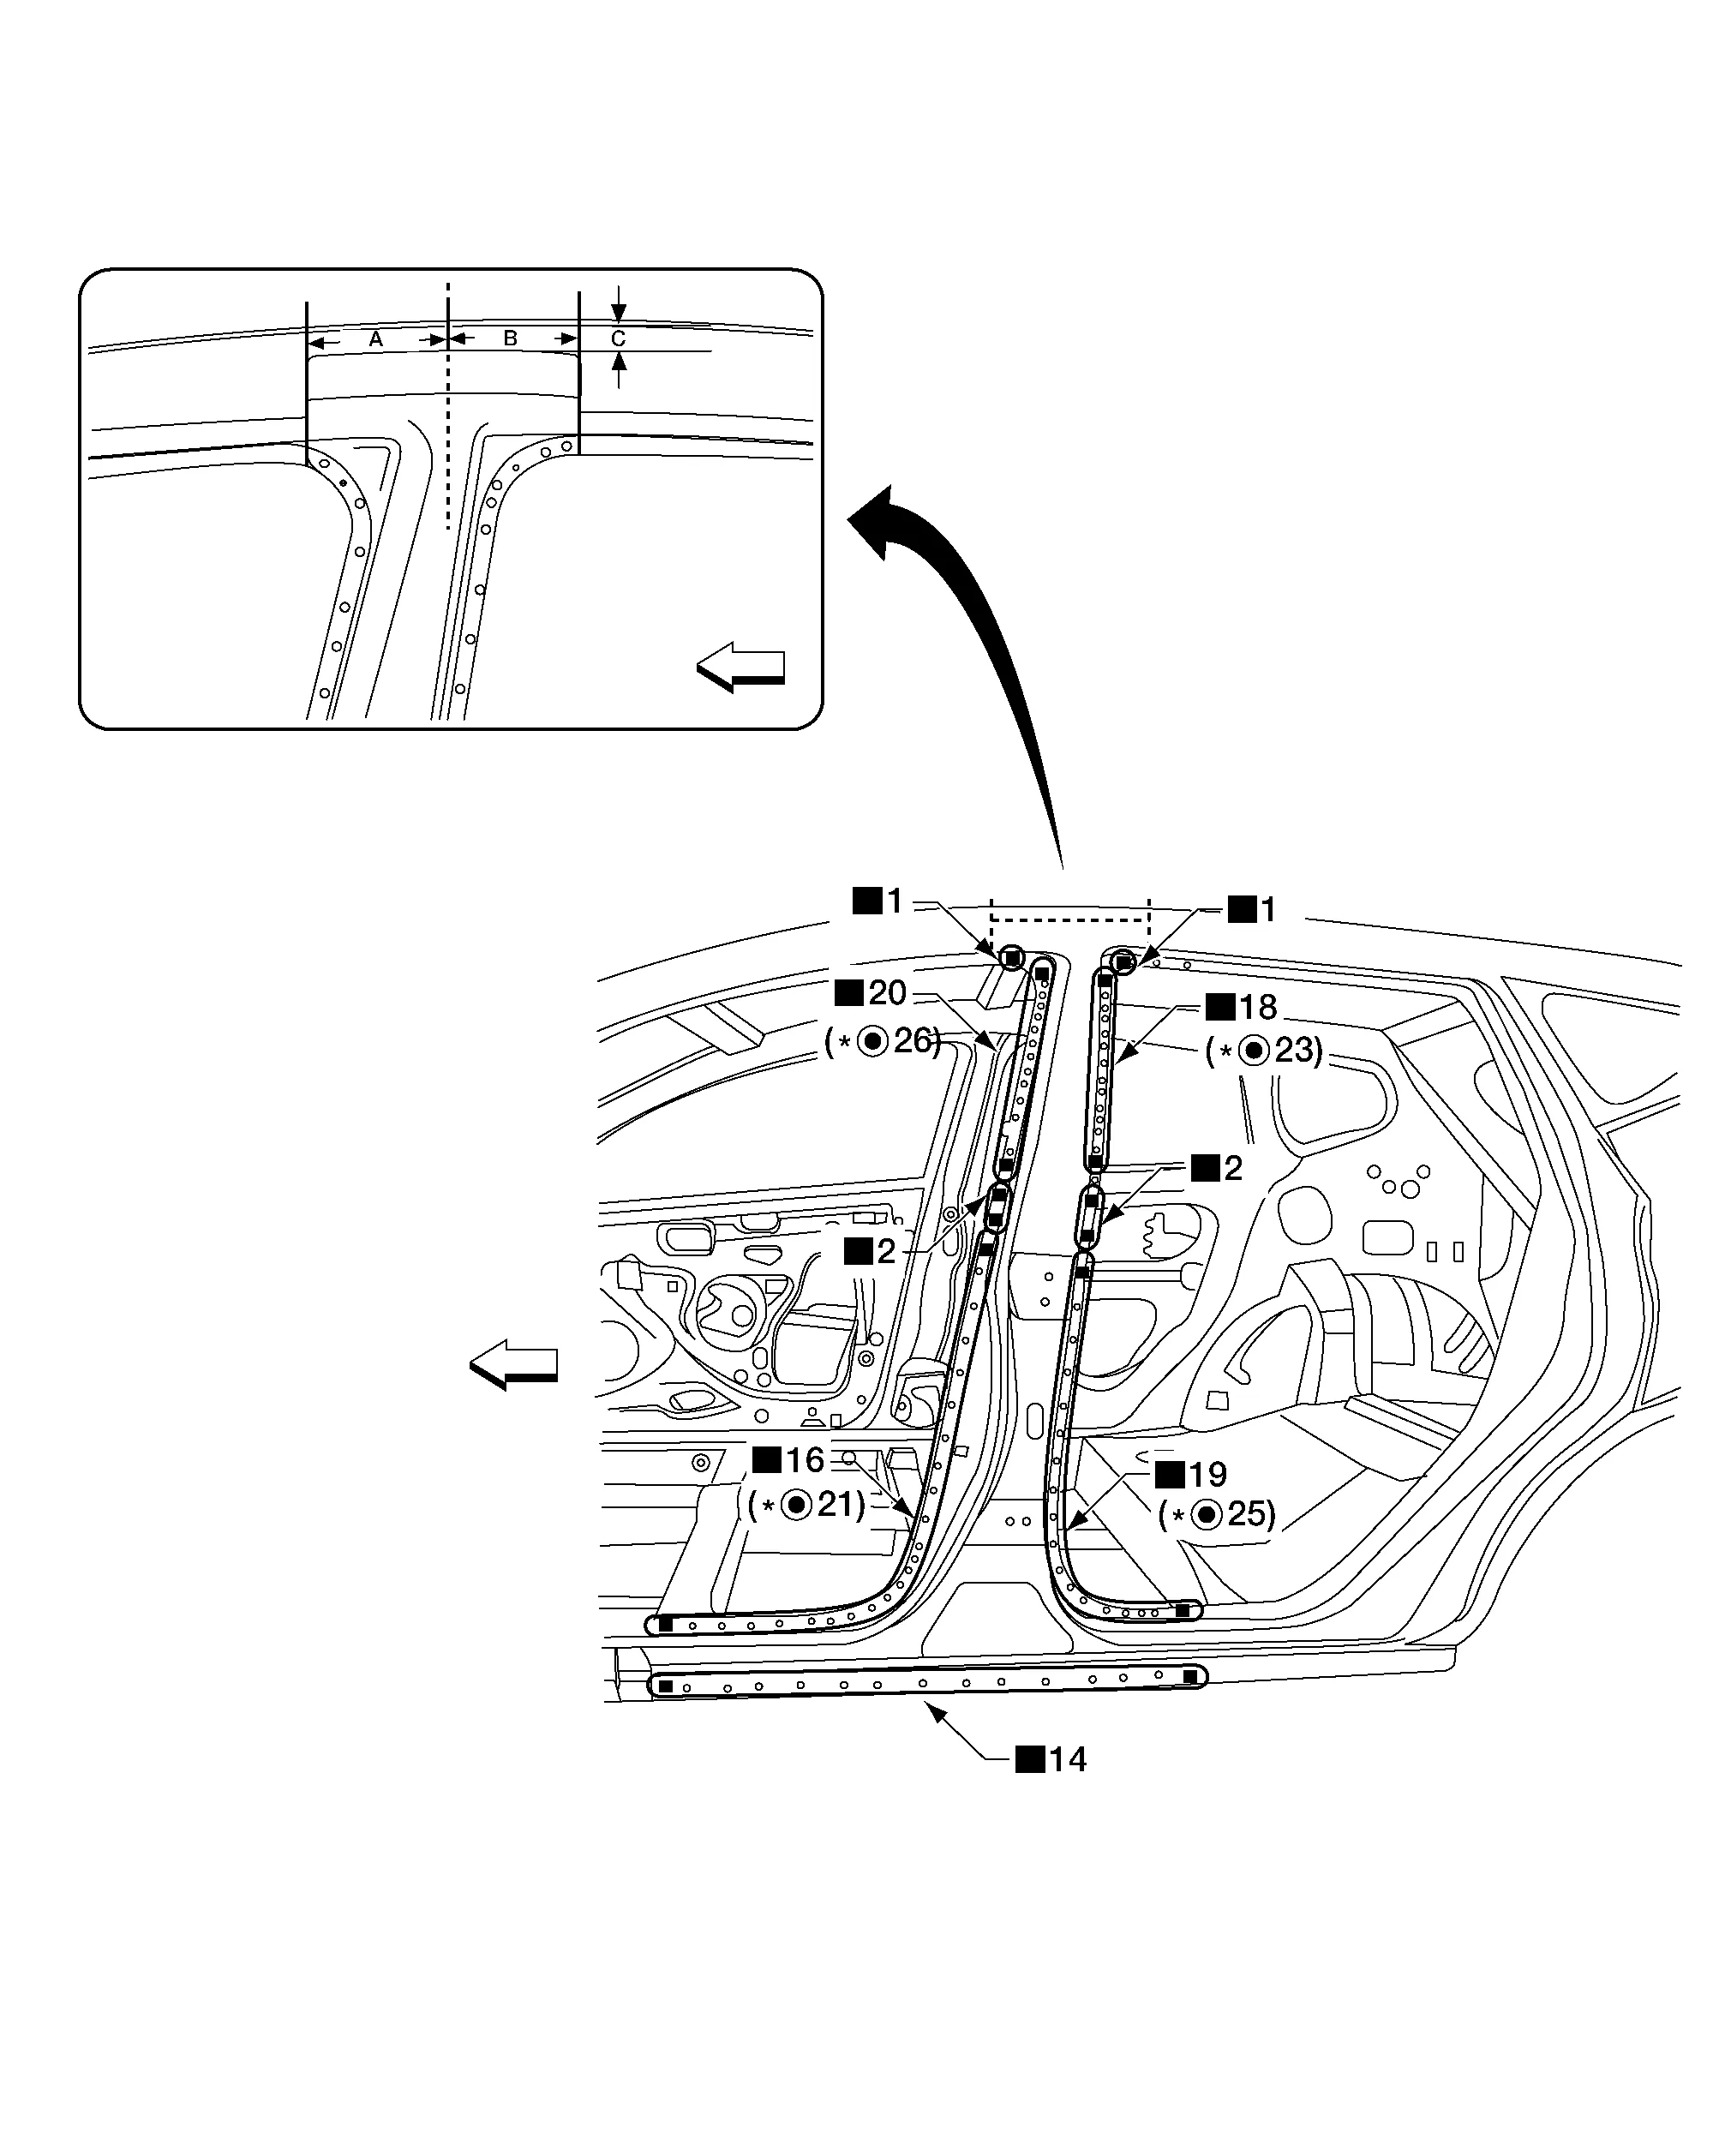
Center Pillar
OUTER
Unit: mm (in)
Replacement parts
•
Center pillar portion of front body side outer
A.
130 (5.12)
B.
110 (4.33)
C.
50 (1.97)
Front
For spot welding of steel plate of strength 980 MPa, observe the indicated welding conditions. Refer to Welding of Ultra High Strength Steel.
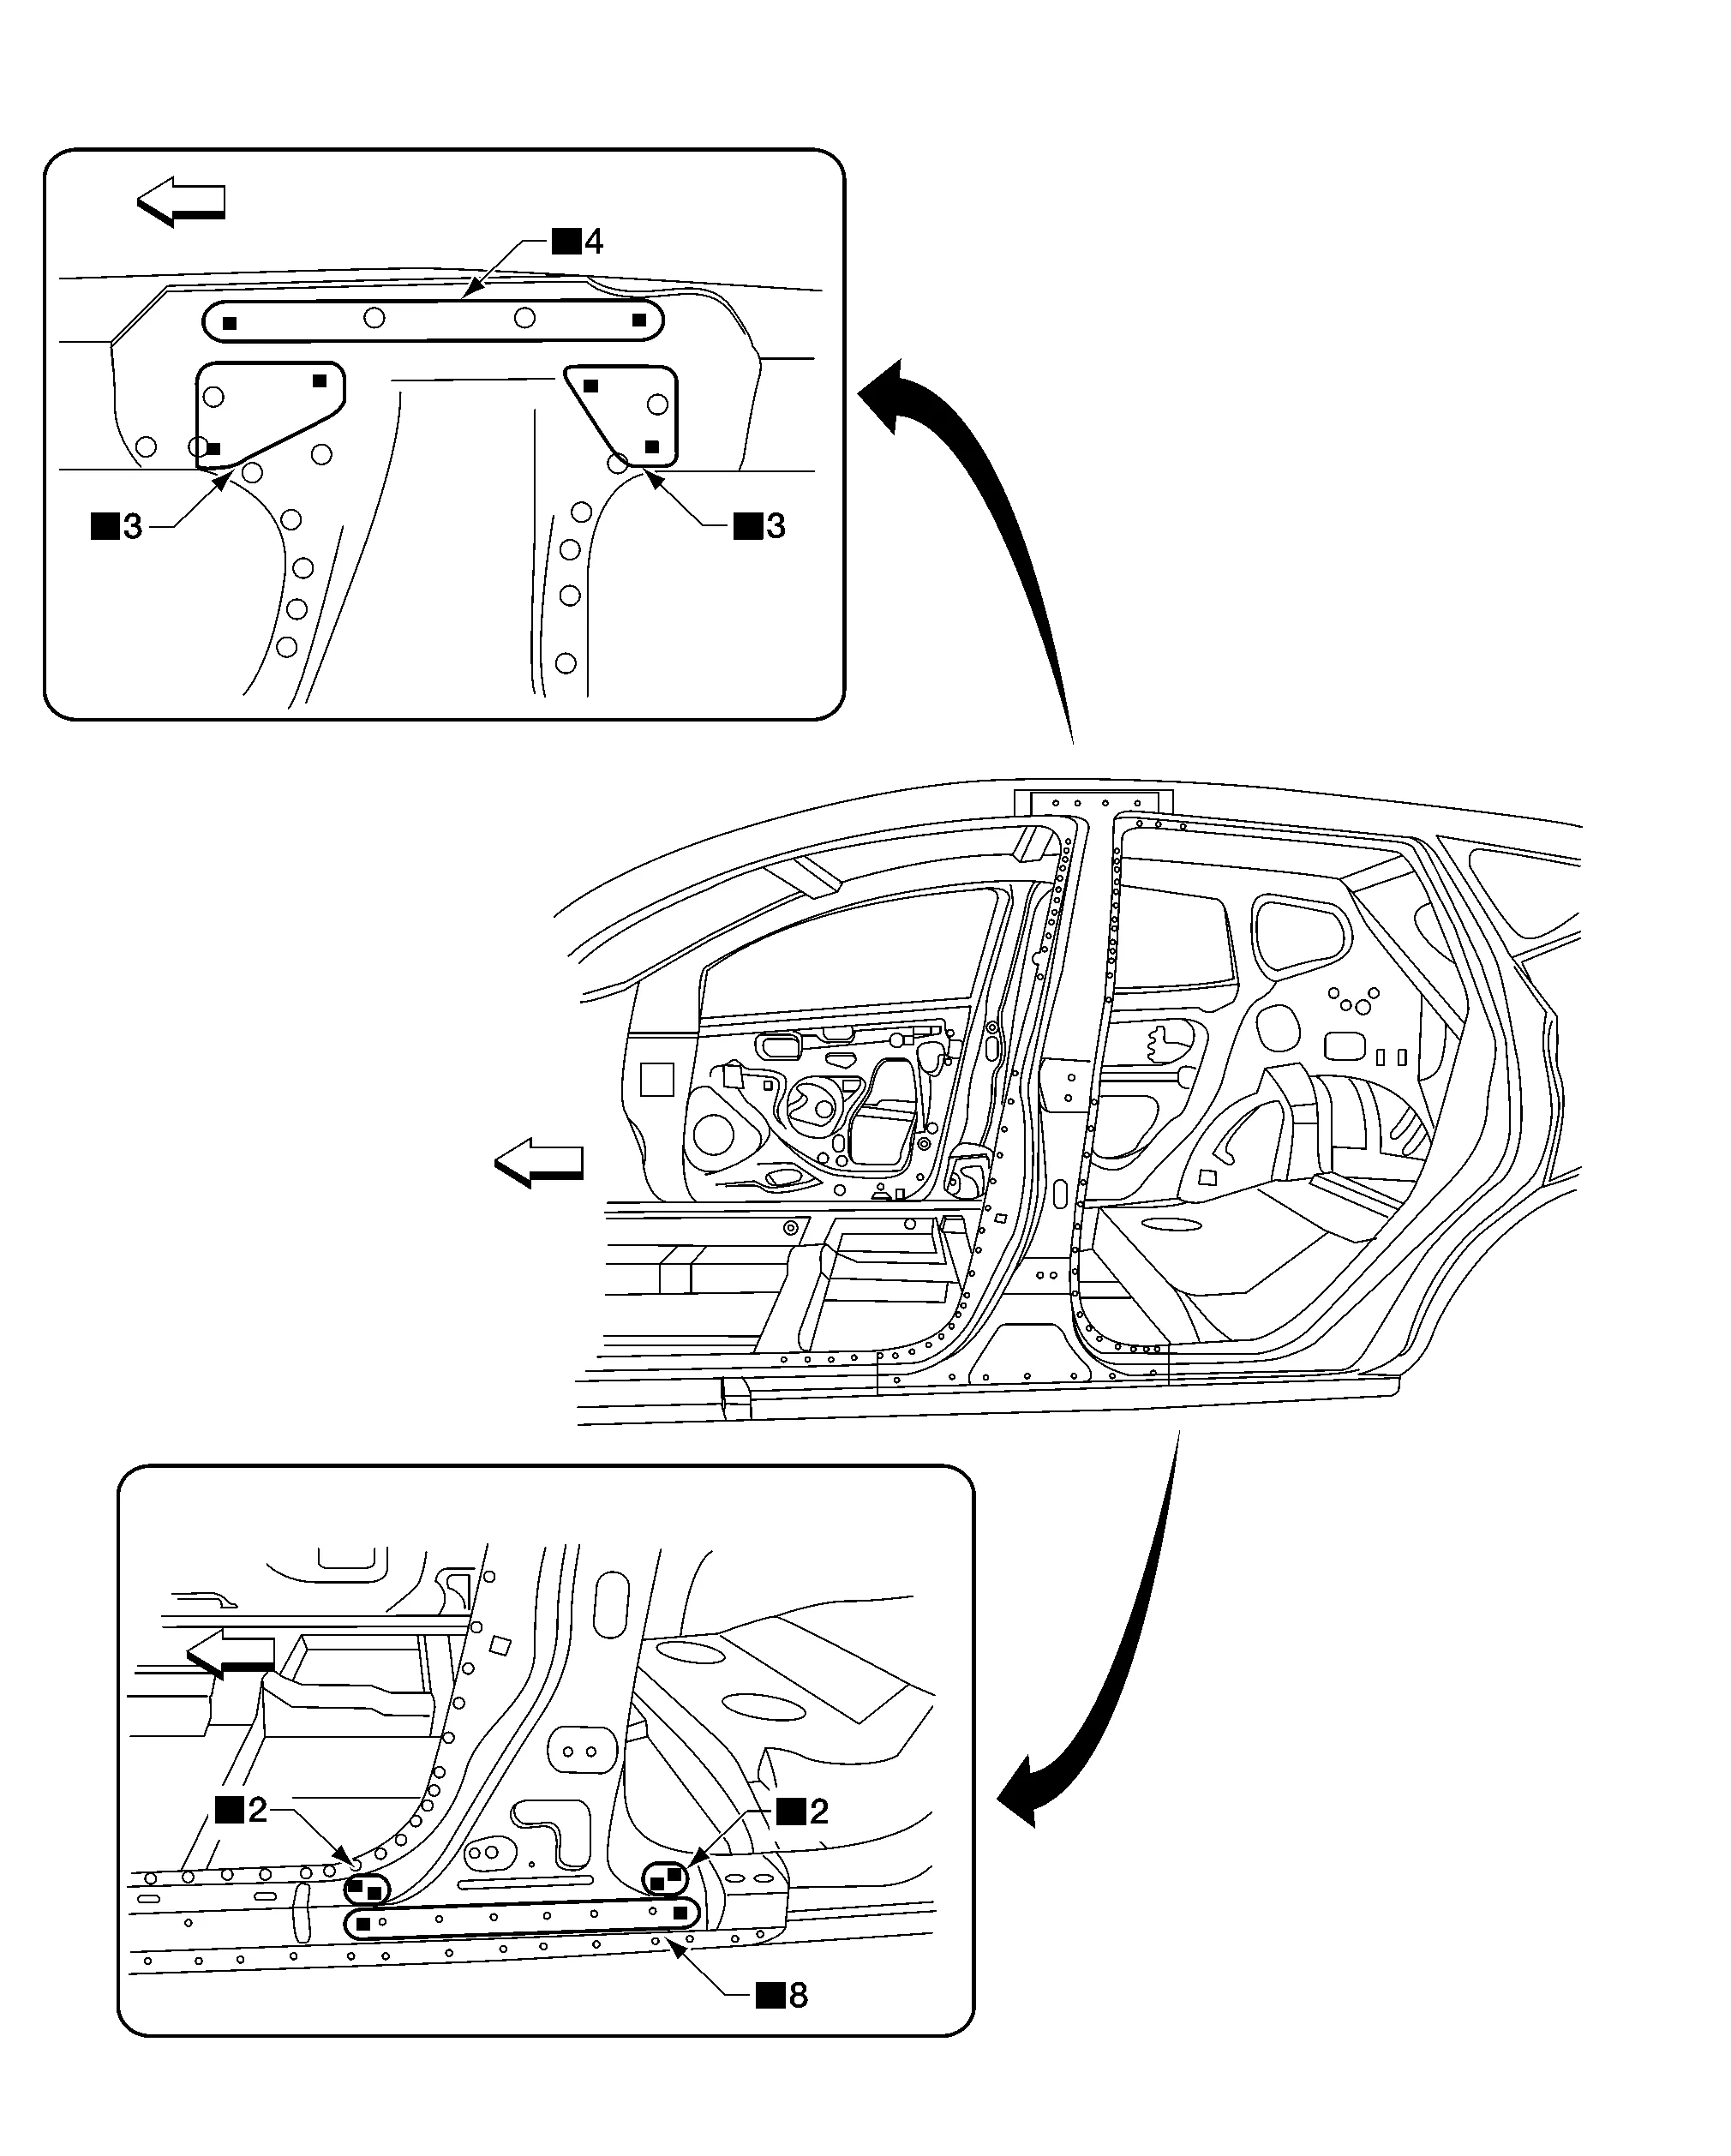
REINFORCEMENT
Work after center pillar portion of front body side outer has been removed.
Replacement parts
•
Center pillar reinforcement
Front
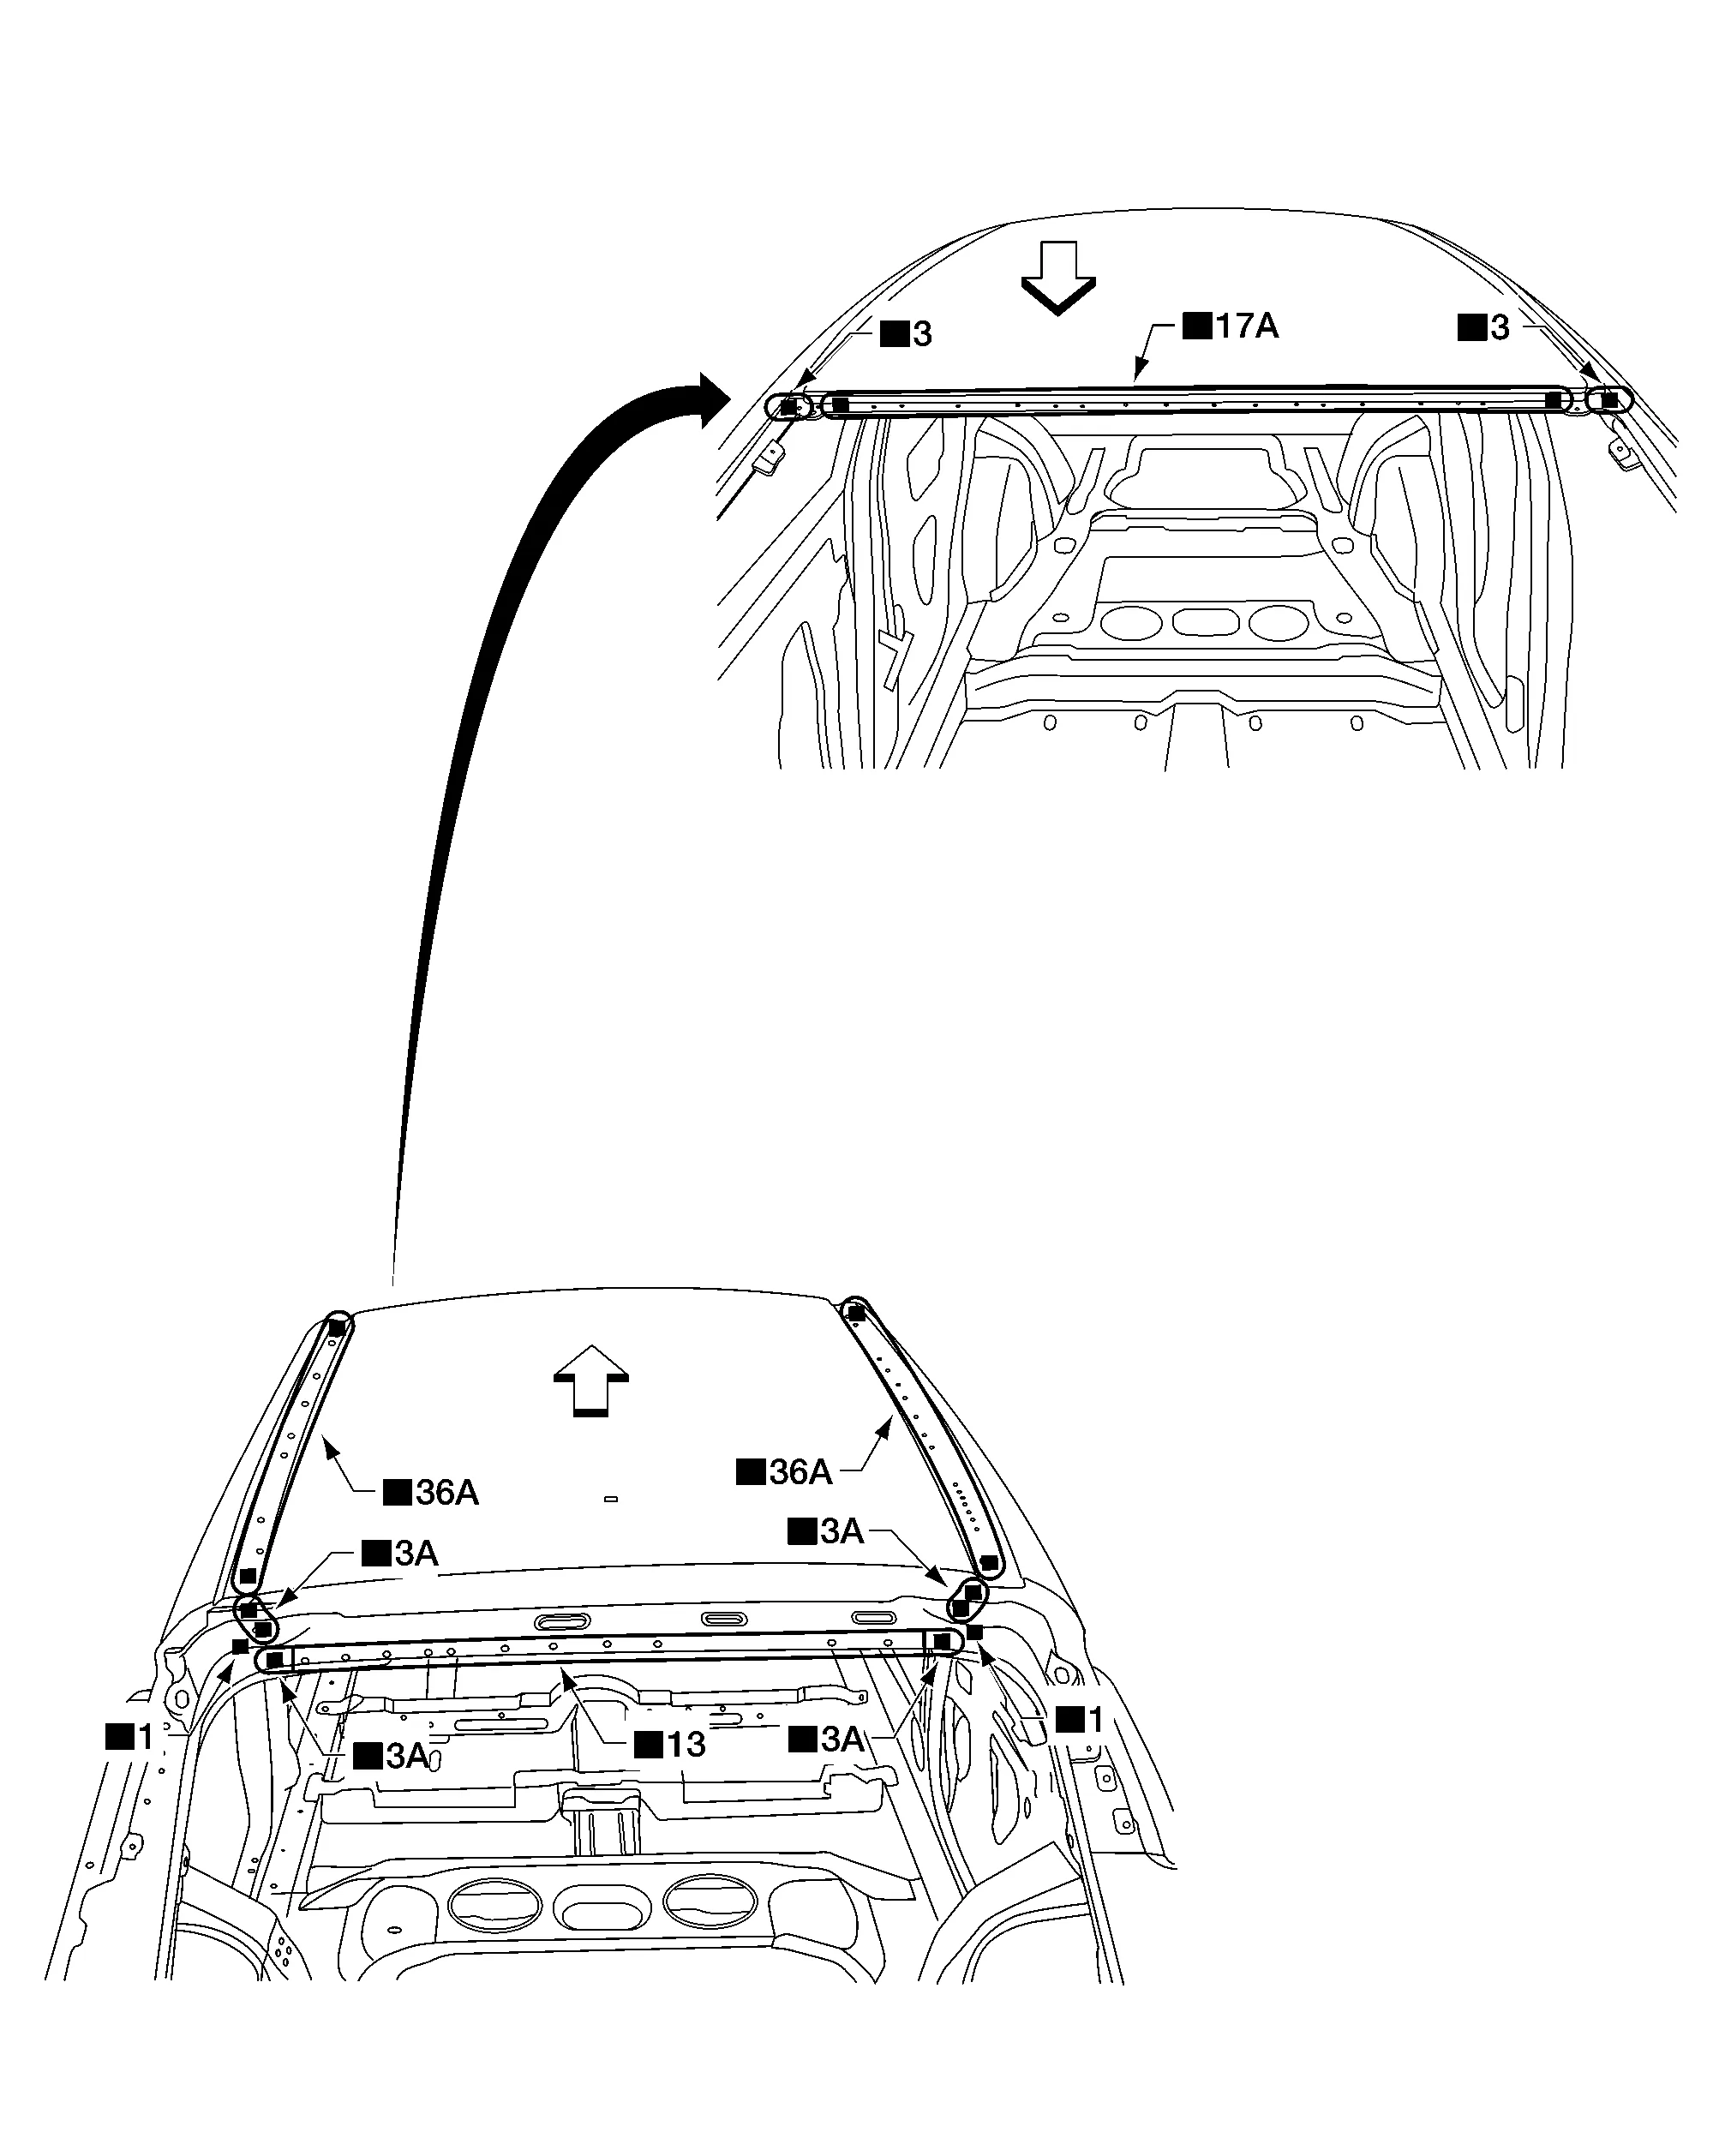
Roof
Replacement parts
•
Roof panel
Front
Moon Roof
Replacement parts
•
Roof panel, Moon roof shown
Front
Rear Fender
Replacement parts
•
Rear fender
Front
For spot welding of steel plate of strength 980 MPa, observe the indicated welding conditions. Refer to Welding of Ultra High Strength Steel.
Sill outer Reinforcement
Work after the front pillar lower hinge brace and the center pillar reinforcement have been removed.
Replacement parts
•
Sill outer reinforcement
Front
For spot welding of steel plate of strength 980 MPa, observe the indicated welding conditions. Refer to Welding of Ultra High Strength Steel.
Sill Outer Reinforcement Extension
Work after the Rear Fender has been removed.
Replacement parts
•
Sill outer reinforcement extension
Front
For spot welding of steel plate of strength 980 MPa, observe the indicated welding conditions. Refer to Welding of Ultra High Strength Steel.
Back Pillar Reinforcement
Work after the Rear Fender has been removed.
Replacement parts
•
Back Pillar Reinforcement
Front
For spot welding of steel plate of strength 980 MPa, observe the indicated welding conditions. Refer to Welding of Ultra High Strength Steel.
Wheelhouse Outer and Inner
Work after the Rear Fender and the Back Pillar Reinforcement and Rear Side Member have been removed.
Replacement parts
•
Wheelhouse inner and outer
Front
For spot welding of steel plate of strength 980 MPa, observe the indicated welding conditions. Refer to Welding of Ultra High Strength Steel.
 "1" x20 (0.79) = 1 MAG seam weld by length 20 mm (0.79 in).