Add-on side panel
INTRODUCTION
Replacing this part is a basic operation for a rear side impact.
It also requires replacement of the Grand Volume add-on roof, which is bonded over it at their common joint (see section 45AA).
In the operation described below, you will only find descriptions of the joints specific to the part concerned.
Information on the parts this one complements will be covered in their respective sections (see contents).
M.P.R. PART COMPOSITION
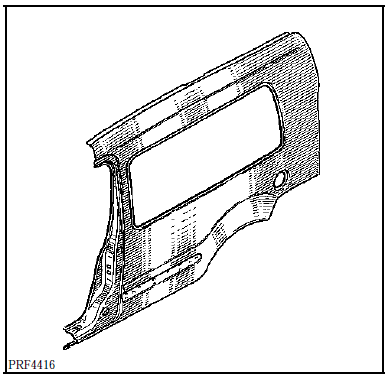
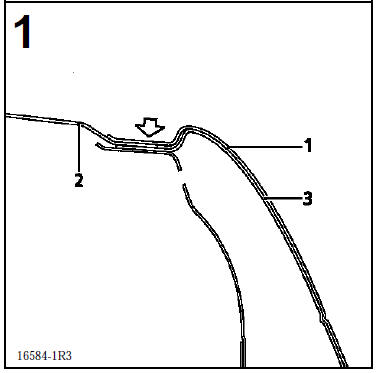
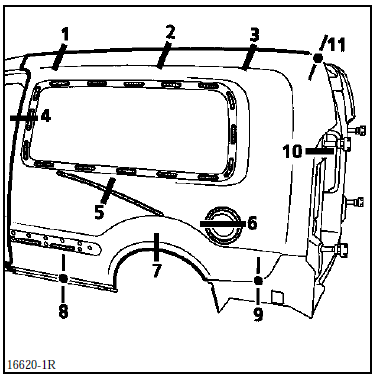
IMPORTANT: to make refitting easier, the panels are attached to the body under repair differently from the original attachment (see detailed method below).
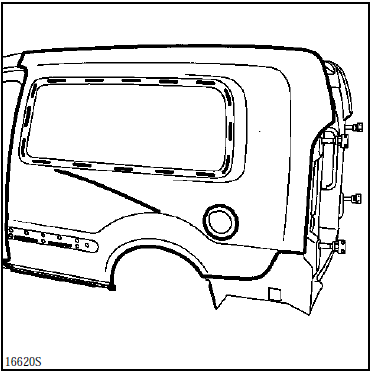
ORIGINAL ATTACHMENT
ATTACHMENT FOR REPAIR
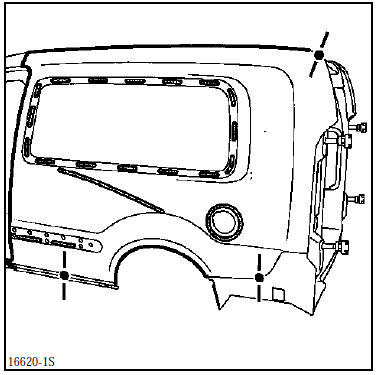
PARTS CONCERNED (thickness in mm):
Add-on side panel 0.8
Basic body roof panel 0.8
Base body side panel 0.8
Side panel gutter, lamp bracket 1.5
Side panel extension 1
Rear upper corner reinforcement 1
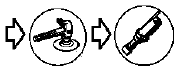
REMOVAL (ORIGINAL ATTACHMENT)
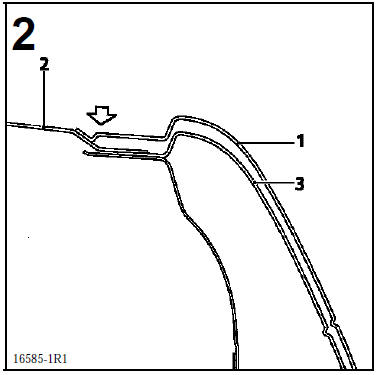
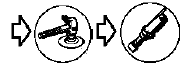
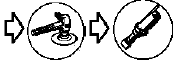
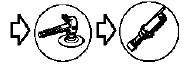
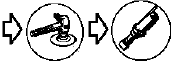
Masking tape width 5 cm
Adhesive bead
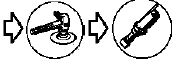
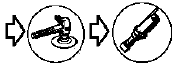
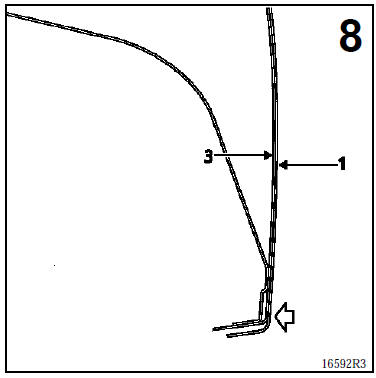
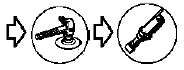
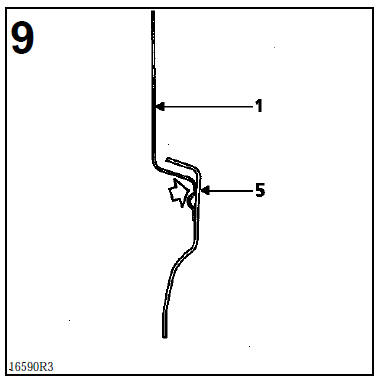
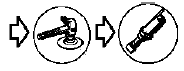
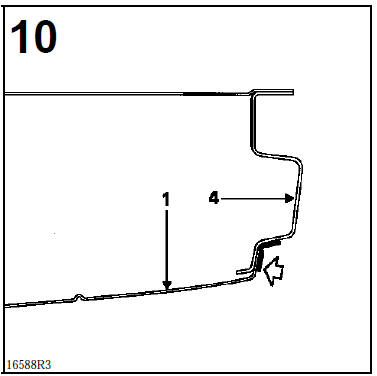
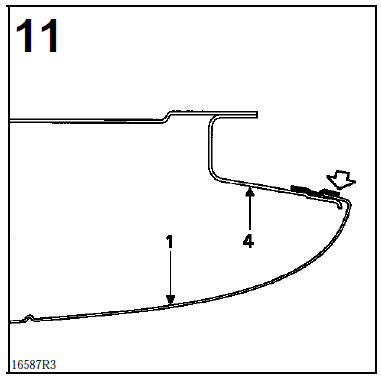
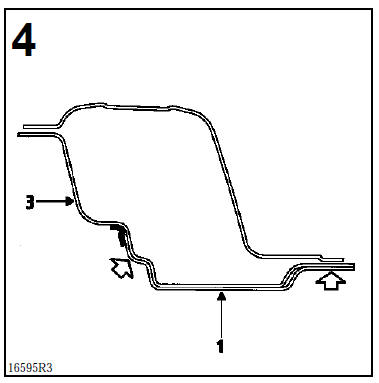
INSTALLATION
It is advised to follow this order:
apply adhesive to the panel,
adjust and strap the part (see section 44Bb),
carry out the welding.
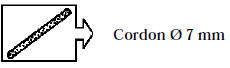
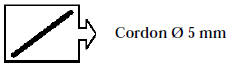
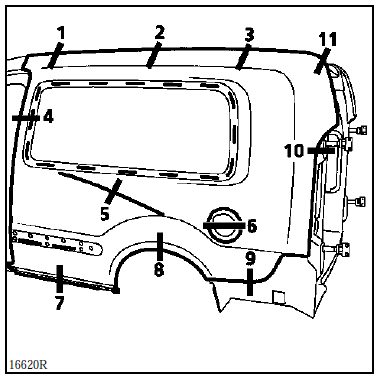
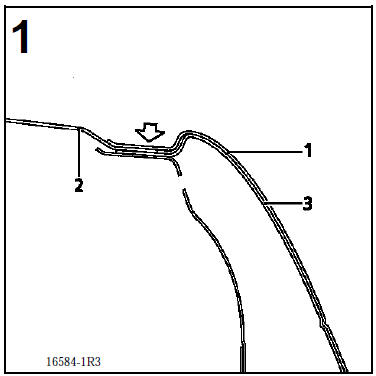
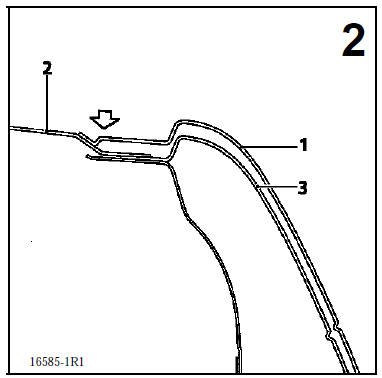
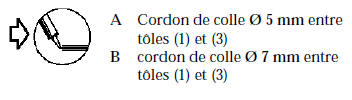
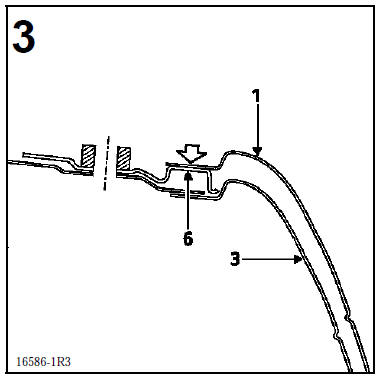
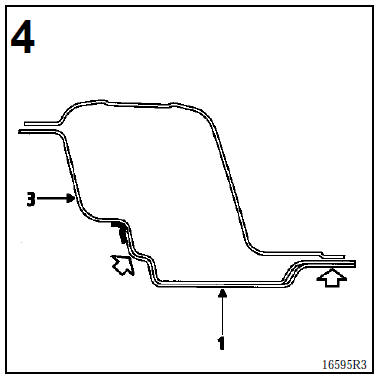
ATTENTION: bead diameters vary depending on the adhesive paths (see below).

SPECIAL NOTE
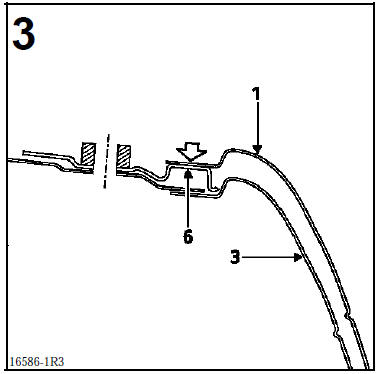
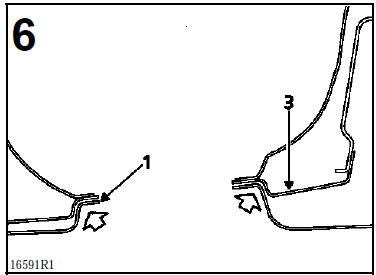
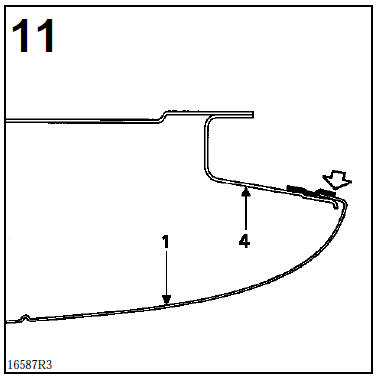
At the adhesive bead location (section 6), wide masking tape must be applied to the wing panel of the base body. This prevents distortion of the support body side panel if the part is removed again.
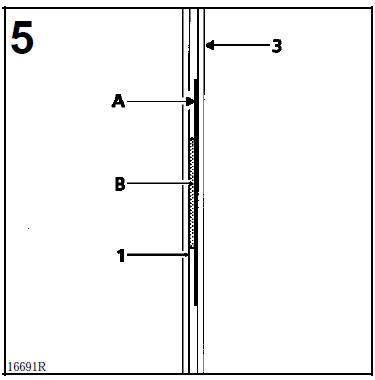
Masking tape width 5 cm
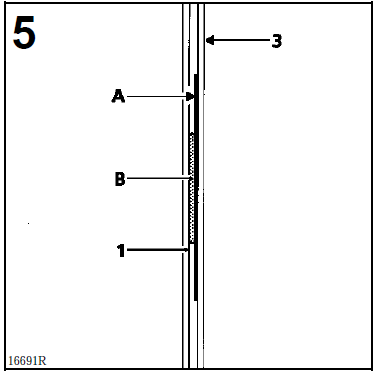
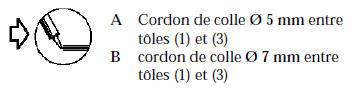
Adhesive bead Ø 7 mm
 between panels (1) and (A)
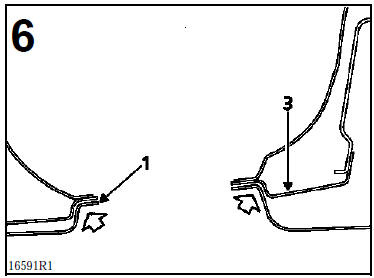
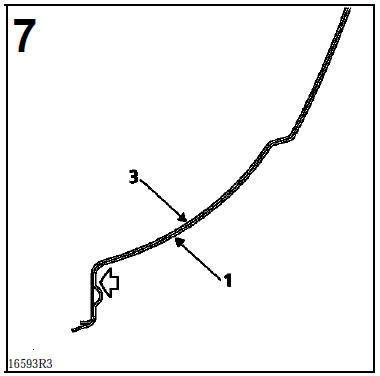
 Ø 7 mm adhesive bead between panels (1) and (3)
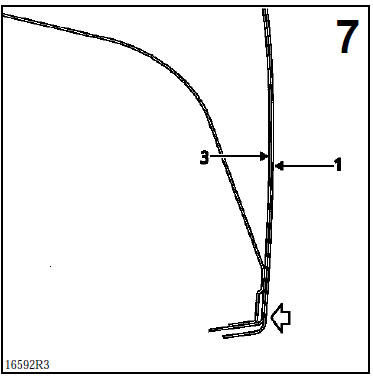
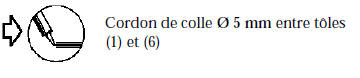
 Ø 5 mm adhesive bead between panels (1) and (3)
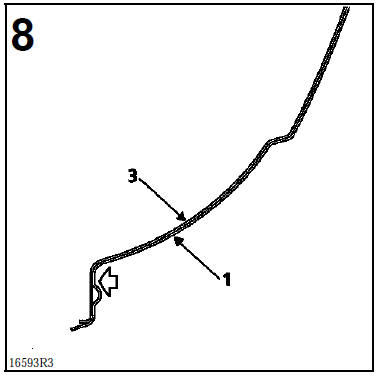
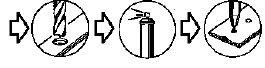
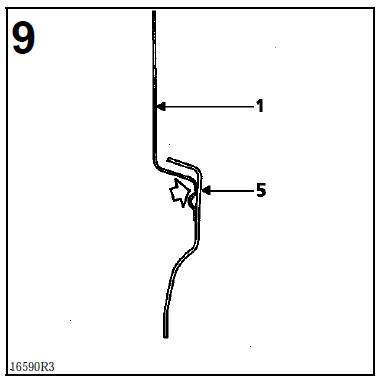
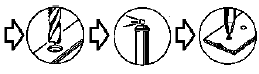
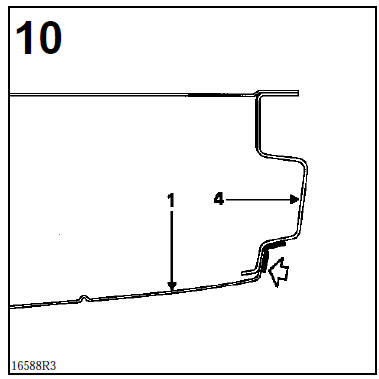
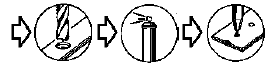
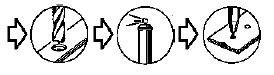
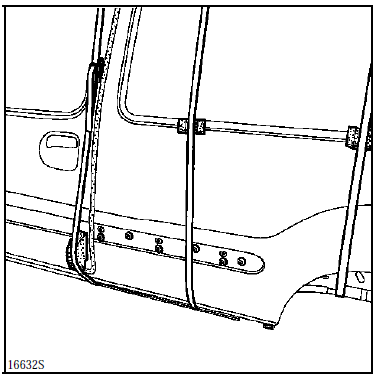
Example of clamping for bonded areas
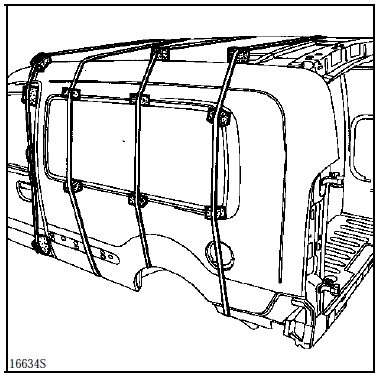
Fit the front door seal in reverse on the door. Close the door, then position the straps (see below).
ATTENTION: protect the seals from adhesive overflow using masking tape.
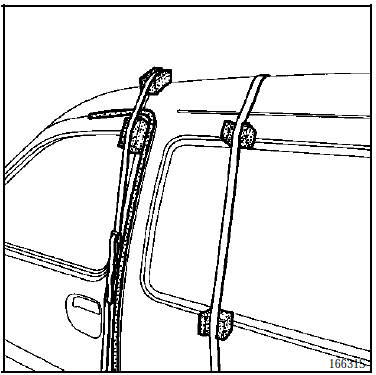
Use Ø 6 mm bolts, nuts and wide washers to clamp the panel at the clipping holes of the side trim strip.
Test yourself
A quick Renault Kangoo quiz: every answer comes with an explanation and a link to the manual page.