Position of expanding inserts
Expanding inserts provide sealing and sound insulation of the vehicle's hollow sections.
They react to temperature when the body is immersed in the cataphoresis baths at the factory.
These conditions cannot be reproduced in the workshop.
The inserts cannot be reused and must always be replaced.
The inserts supplied by the spare parts store are identical to the original parts.
To restore their sealing and sound-insulation properties, carry out the following procedure:
- Clean the bonding surfaces with heptane (reference: 77 11 170 064).
- If necessary, close the insert holes by cutting a piece of sound-deadening plate (reference: 77 01 423 546).
- Apply pre-formed sealing bead for trim (reference: 77 01 423 330) around the edge of the insert and in its holes.
Position the insert while compressing the sealant.
WARNINGDo not remove the part again after compressing the bead.
During MIG welding, protect the inserts from molten metal spatter and heat dispersion.
For example, use a heat protection paste (reference: 77 11 172 826).
In some cases, it is possible to replace only the accessible part of the insert, which is to be cut from the spare part.
Version B
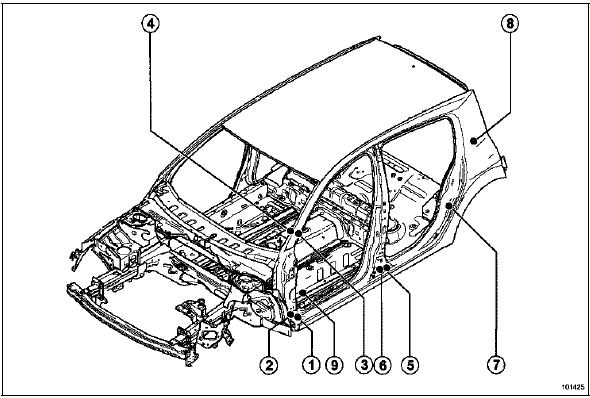
Version C
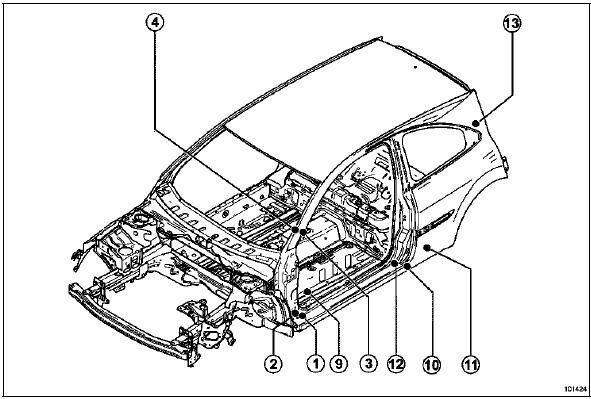
Versions B and C
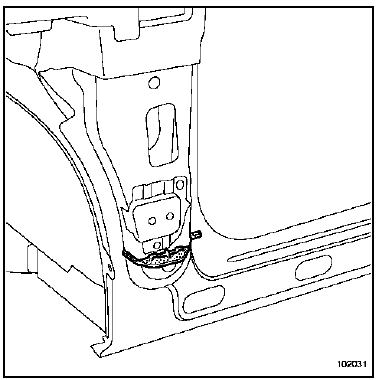
Front pillar foot insert (1).
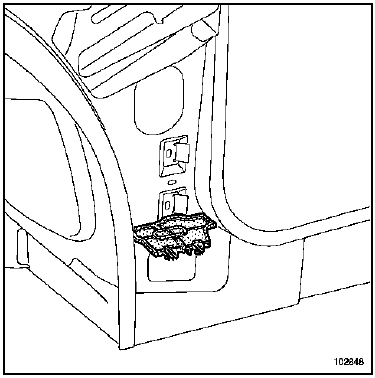
Front pillar foot reinforcement insert (2).
Versions B and C
Door aperture pillar insert (3).
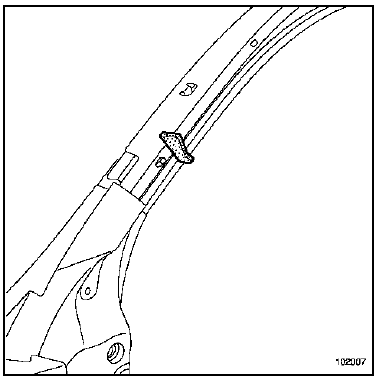
Door aperture pillar lining insert (4).
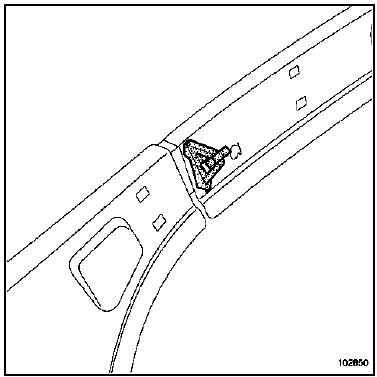
Front side member rear insert (9).
Version B
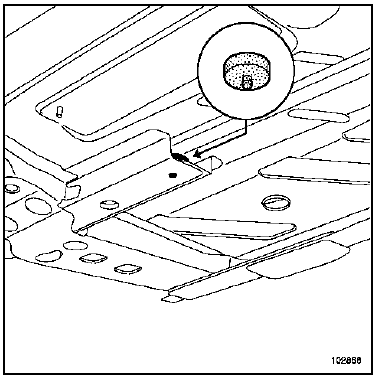
Centre pillar foot insert (5).
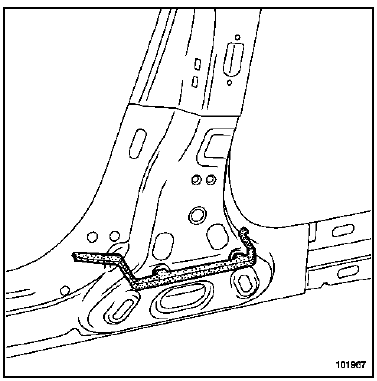
Centre pillar foot reinforcement insert (6).
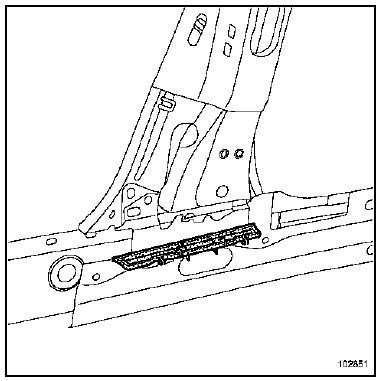
Rear wing panel lower insert (7).
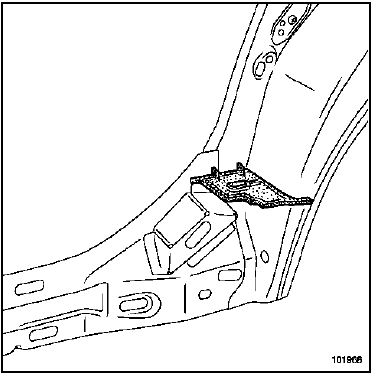
Rear wing panel upper insert (7).
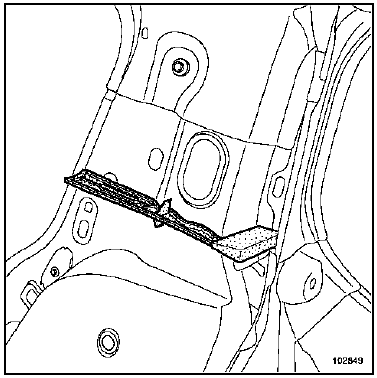
Version C
Rear sill rear insert (10, 11).
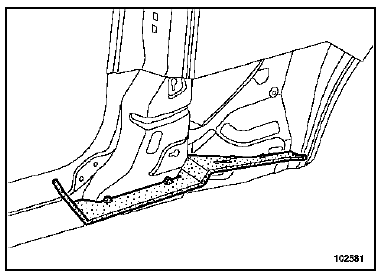
Sill reinforcement insert (12).
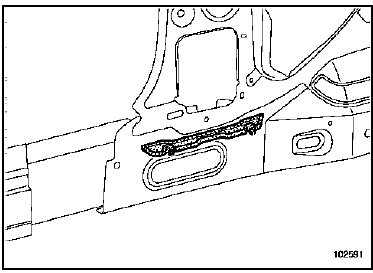
Rear wing panel upper insert (13).
Test yourself
A quick Renault Megane quiz: every answer comes with an explanation and a link to the manual page.