Front pillar reinforcement
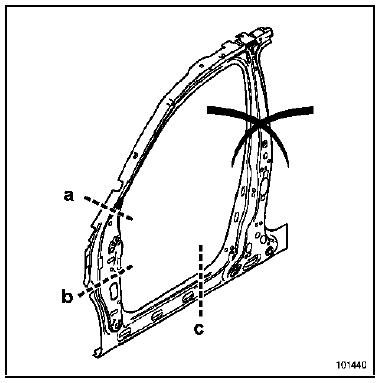
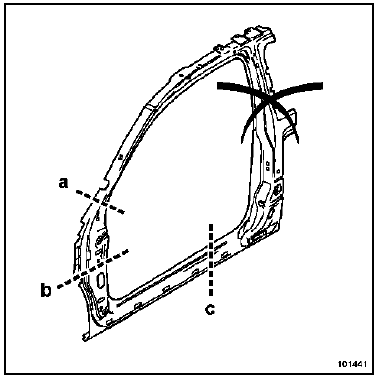
This part can be partially replaced in two ways, using cuts (a), (b) and (c). These are operations supplementary to front pillar replacement for a front side collision.
The combination of cuts is chosen according to the deformation (typical examples are given at the end of this chapter).
WARNINGThe cut positions given in the methods cannot be moved. They are set according to those of the linings and reinforcements, except for cut (c), which can be moved according to the impact deformation.
In the method described below, you will only find the descriptions and joins specific to the part concerned.
Information on related parts is covered in their respective sections (see contents).
Note: If the spot welds cannot be made with the spot welder, they may be replaced with plug welds.REPLACEMENT PART CONTENTS
Assembled with:
Upper hinge reinforcement
Lower hinge reinforcement
Weld-on bolts
Clinch nuts
3-door version
5-door version
PARTS CONCERNED (thickness in mm):
- Front pillar reinforcement 1.2 / 1.5
Cut detail (a)
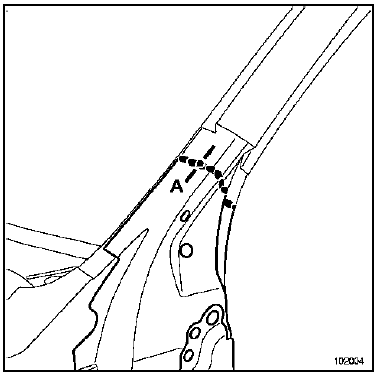
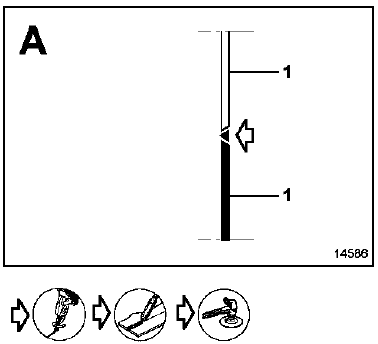
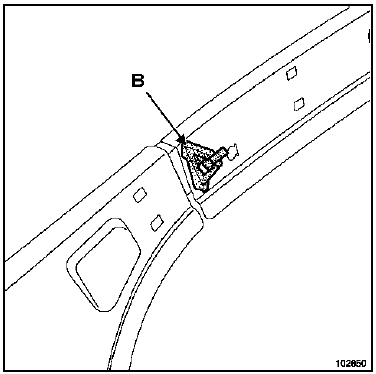
Upper front pillar reinforcement expanding insert (B).
REMINDERIt is essential to replace the expanding inserts (see method described in chapter 40A-L).
Cut detail (b)
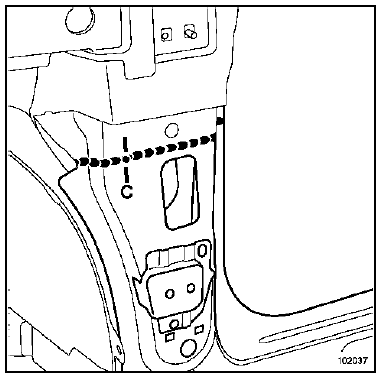
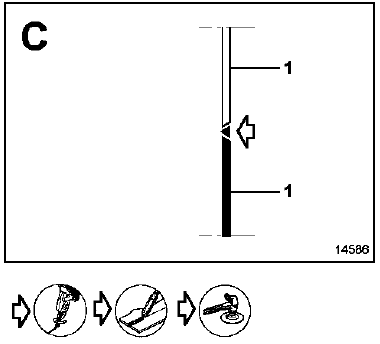
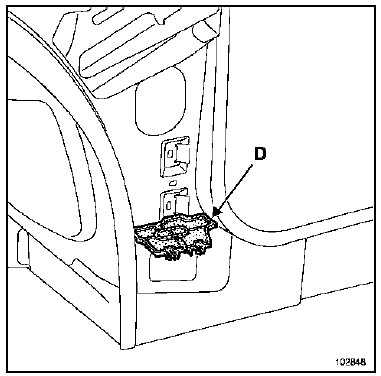
Lower front pillar reinforcement expanding insert (D).
Note: It is essential to replace the expanding inserts (see method described in chapter 40A-L).Cut detail (c)
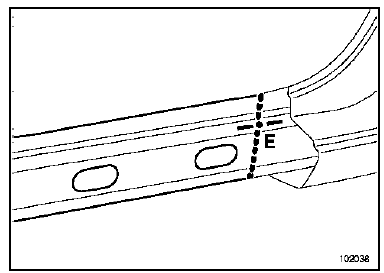
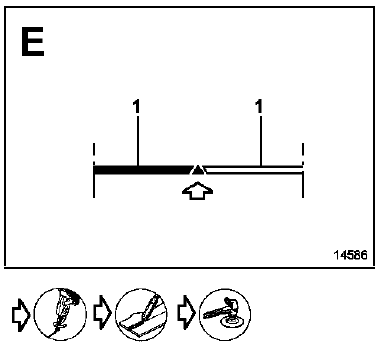
Note: It is possible to make cut (c) within zone (X2).
EXAMPLE OF CUT COMBINATION
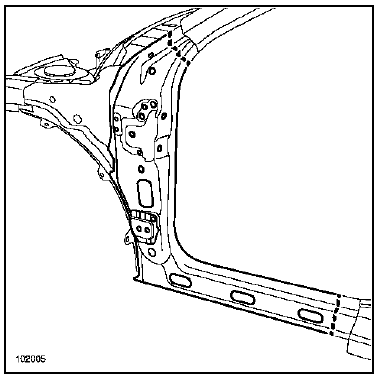
Partial front replacement using cuts (a, c)
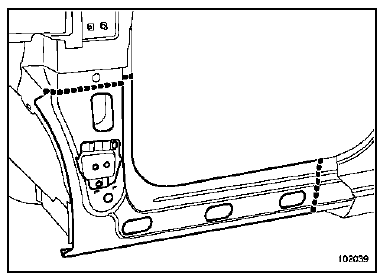
Partial front replacement using cuts (b, c)
Test yourself
A quick Renault Megane quiz: every answer comes with an explanation and a link to the manual page.