Engine
Oil cooler / oil cooler hose inspection and cleaning
In this manual: Engine
4steps
~24min
2/5difficulty
Done 0 of 4
Refer to “exterior parts removal and installation” in section 9d .
Oil cooler hose inspectionInspect the oil cooler hoses for any damage and oil leakage. If any defects are found, replace the oil cooler hose with a new one.
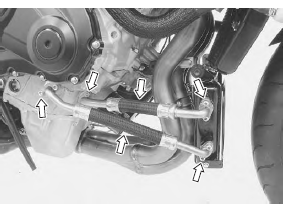
Oil cooler inspection
- Remove the oil cooler guard (1).
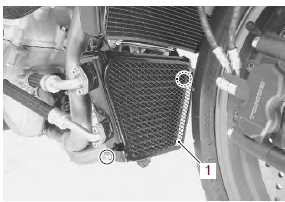
- Inspect the oil cooler for oil leakage. If any defects are found, replace the oil cooler with a new one. If the fins are bent or dented, repair them by carefully straightening them with the blade of a small screwdriver.
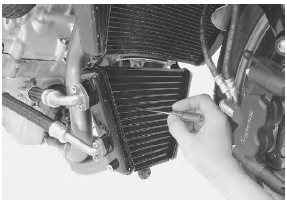
- Reinstall the removed parts.
- Remove the oil cooler guard (1).
- Remove the oil cooler mounting bolts.
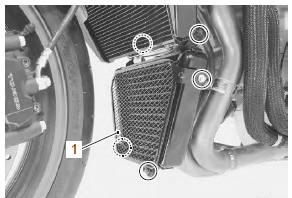
- Blow out any foreign matter that is stuck in the oil cooler fins using compressed air.
- make sure not to bend the fins when using compressed air.
- If compressed air is applied from the front side, dirt will be forced into the pores of oil cooler.
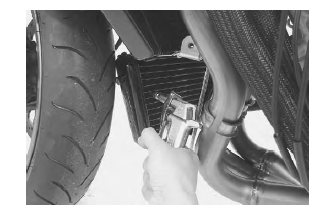
- Reinstall the removed parts.
- Remove the oil cooler guard (4).
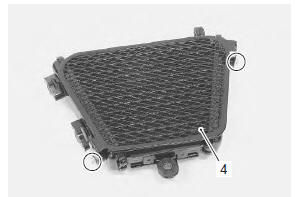
Installation
Install the oil cooler and oil cooler hoses in the reverse order of removal. Pay attention to the following points:
- apply thread lock to the oil cooler mounting bolt and tighten them securely.
 : Thread lock cement
99000–32110 (thread lock cement super “1322” or equivalent)
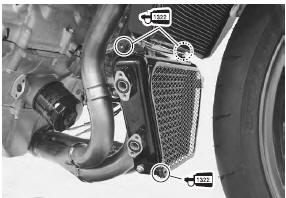
- Apply engine oil to new o-rings.
Caution replace the o-rings with new ones to prevent oil leakage.
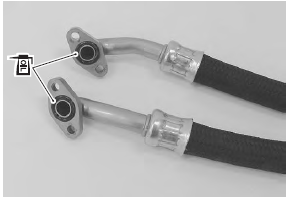
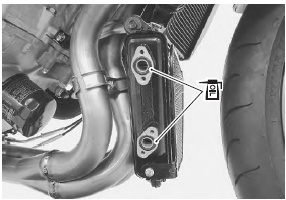
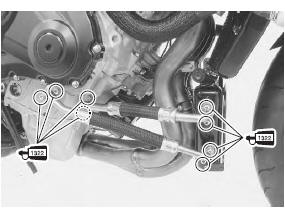
- Apply thread lock to the oil cooler hose bolts and tighten them securely
 : Thread lock cement
99000–32110 (thread lock cement super “1322” or equivalent)
- Pour engine oil. Refer to “engine oil and filter replacement” in section 0b .
- Install the removed parts.
Test yourself
A quick Suzuki GSX-R 1000 quiz: every answer comes with an explanation and a link to the manual page.
Was this page helpful?