Inspection and maintenance
Rear wheel removal
In this manual: Inspection and maintenance
8steps
~48min
2/5difficulty
Done 0 of 8
- Place the motorcycle on the side stand.
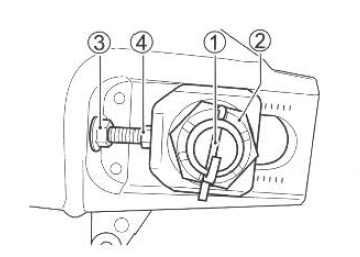
- Remove the cotter pin 1.
- Remove the axle nut 2.
 Warning
A hot muffler can burn you. The muffler will be hot enough to burn you for some time after stopping the engine.
Wait until the muffler cools to avoid burns.
- Place an accessory service stand or equivalent under the swing arm to lift the rear wheel slightly off the ground.
- Loosen the lock nut 3 (right and left). Turn the chain adjusting nuts 4 clockwise (right and left).
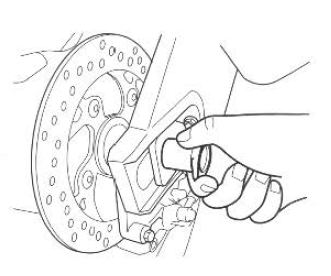
- Draw out the axle shaft.
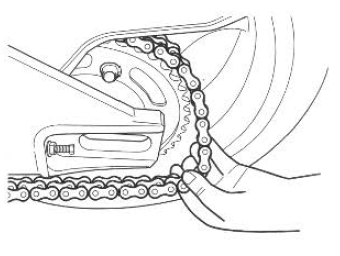
- With the wheel moved forward, remove the chain from the sprocket.
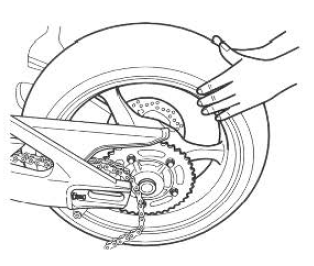
- Pull the rear wheel assembly rearward.
: never depress the rear brake pedal with the rear wheel removed. It is very difficult to force the pads back into the caliper assembly.
- To replace the wheel reverse the complete sequence listed.
- Adjust the drive chain slack.
- Replace the cotter pin with a new one.
- Atter installing the wheel, apply the brake several times and then check that the wheel rotates freely.
 Warning
Failure to adjust the drive chain and failure to torque bolts and nuts properly could lead to an accident.
- Adjust tlhe drive chain as described in drive chain adjustment section after installing the rear wheel.
- Torque bolts and nuts to the proper specifications. If you are not sure of the proper procedure, have your authorized suzuki dealer or qualified mechanic do this.
Rear axle nut tightening torque: 100 N·m
Warning Failure to extend brake pads after installing the wheel can cause poor braking performance and may result in an accident.
Before riding, "pump" the brake repeatedly until brake pads are pressed against the brake disks and proper lever/ pedal stroke and firm feel are restored. Also check that the wheel rotates freely.
Test yourself
A quick Suzuki GSX-R 1000 quiz: every answer comes with an explanation and a link to the manual page.
Was this page helpful?