Front Door Opening Trim Weatherstrip
Removal
REMOVAL
PRECAUTION / NOTICE / HINT
HINT:
- Repeat the same procedure for the right side and the left side.
- The following procedure applies to the left side.
PROCEDURE
1. REMOVE FRONT DOOR SILL PLATE
Click here
2. REMOVE ROOF SIDE GARNISH PANEL
Click here
3. REMOVE FRONT DOOR OPENING TRIM WEATHERSTRIP
(a) Remove the front door opening trim weatherstrip. |
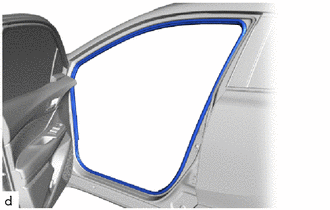 |
Components
COMPONENTS
ILLUSTRATION
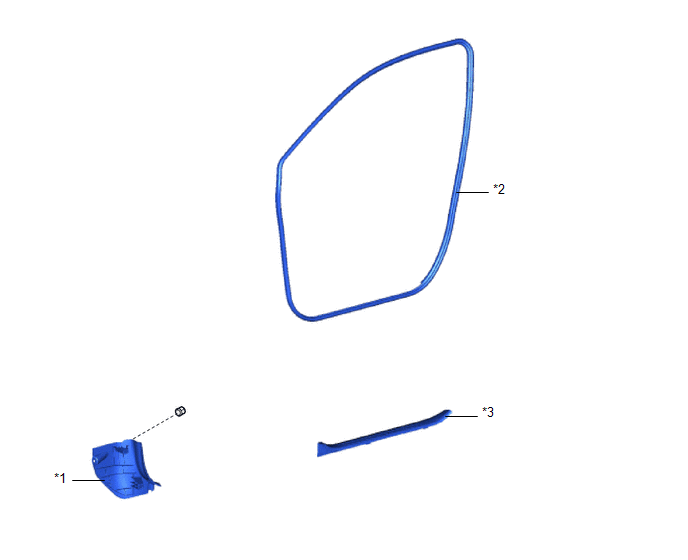
*1 |
COWL SIDE TRIM PANEL |
*2 |
FRONT DOOR OPENING TRIM WEATHERSTRIP |
*3 |
FRONT DOOR SCUFF PLATE |
- |
- |
Installation
INSTALLATION
PRECAUTION / NOTICE / HINT
HINT:
- Repeat the same procedure for the right side and the left side.
- The following procedure applies to the left side.
PROCEDURE
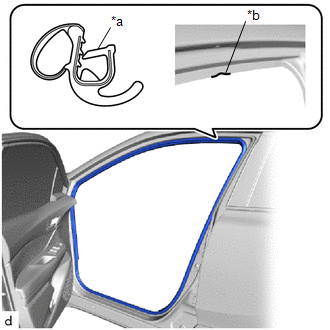
1. INSTALL FRONT DOOR OPENING TRIM WEATHERSTRIP
(a) Align the paint mark on the rear door opening trim weatherstrip with the position mark on the vehicle, then install the rear door opening trim weatherstrip as shown in the illustration. Paint Mark:
NOTICE:
HINT: To install the weatherstrip easily, first prepare the area with the paint mark as shown in the illustration. Then install the part toward the corners and push any excess length into the corners. |
|
2. INSTALL COWL SIDE TRIM PANEL
Click here
3. INSTALL FRONT DOOR SCUFF PLATE
Click here