Doors / Back Door
Back Door Weatherstrip
In this manual: Doors / Back Door
~1min read
Components
COMPONENTS
ILLUSTRATION
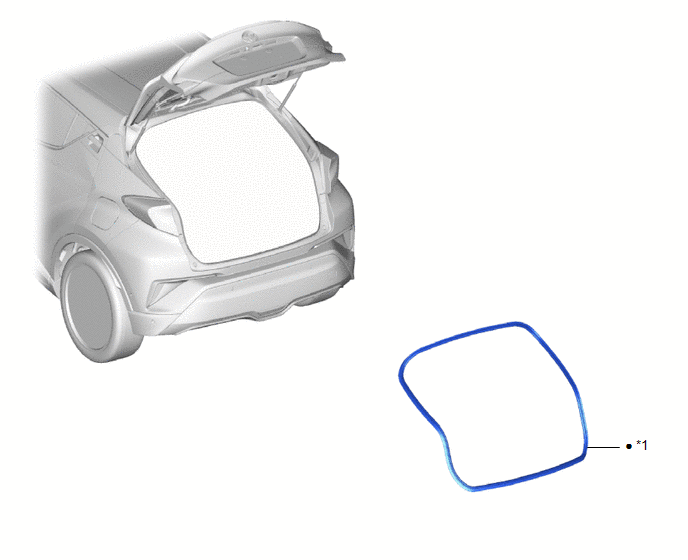
*1 |
BACK DOOR WEATHERSTRIP |
- |
- |
● |
Non-reusable part |
- |
- |
Removal
REMOVAL
PROCEDURE
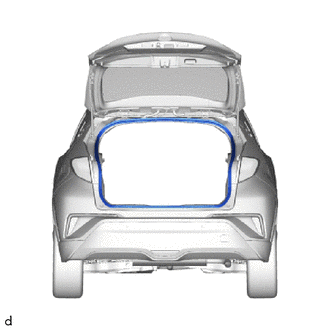
1. REMOVE BACK DOOR WEATHERSTRIP
(a) Remove the back door weatherstrip. |
 |
Installation
INSTALLATION
PROCEDURE
1. INSTALL BACK DOOR WEATHERSTRIP
(a) Remove any non-hardening sealer from the body using a residue-free solvent. |
|
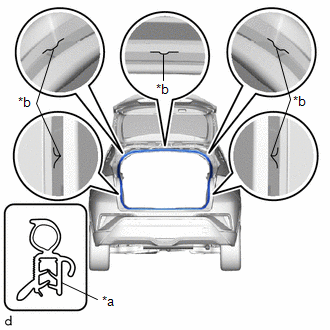
(b) Align the paint marks with the positions on the flange on the body, then install a new back door weatherstrip.
Paint Mark:
Location | Color |
|---|---|
Center |
Green |
Side |
Blue |
NOTICE:
- Always align the paint mark when installing the part. If the paint mark is not in its normal position, water leaks may occur.
- After installation, check that the corners are fitted correctly.
HINT:
To install the weatherstrip easily, first prepare the area with the paint mark as shown in the illustration. Then install the part toward the corners and push any excess length into the corners.
Was this page helpful?